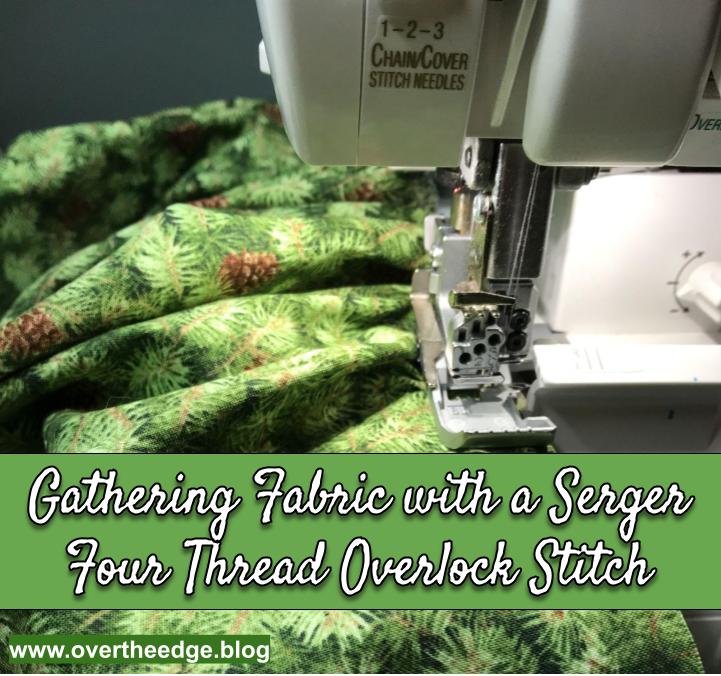
There are several different ways to create gathers with a serger. This tutorial is focused on how to gather fabric using a serger overlock stitch. This technique works best with light weight fabrics.
Serger Set Up
Set up your serger for a four thread overlock stitch using your manual as your guide. Gathering on most sergers is typically done by setting your stitch length to 4 (or your longest) and your differential feed to 2 (or your highest). For some sergers you may also need to increase the tension on your needle threads.
Gather Your Fabric Piece
Place your fabric right side up on your serger and the raw edge next to the blade. Begin to serge, skimming off just a little bit of fabric as your serge (trim those stray threads sticking out). Guide your fabric gently and don’t pull toward you. Let it feed freely through the serger. If you are holding it too tightly the serger will not be able to properly gather the fabric or the gathers may be inconsistent.
How to Adjust Gathering After Serging
If the fabric does not gather as much as you were hoping, you can separate the needle threads from the chain at either end of the seam and pull on them. Then slide the fabric along the threads just as if you had created two rows of basting stitches with your sewing machine. And the raw edge doesn’t fray because the looper threads have encased the edge of the fabric. Yay! (See photos below.)
How to Gather Fabric Using a Serger Overlock Stitch
I hope my tutorial helped you learn how to gather fabric using a serger overlock stitch.

Resources
Some of my projects that use serger gathering with a four thread overlock stitch:
https://overtheedge.blog/tutorials/his-hers-serger-pillowcases-tutorial/
https://overtheedge.blog/my-fun-and-festive-gather-together-serger-apron/
Tips for gathering with a serger by Baby Lock in Australia:
https://www.babylock.com.au/images/tips-techniques/Techniques_gathering_a_single_layer.pdf

