Learn how to make a one seam flying geese quilt block with a serger. Jen’s Serged One Seam Flying Geese Block Tutorial will show you how quick and easy quilting with a serger can be!

Serged One Seam Flying Geese Block
Supplies
- Two identical sized squares of fabric in different colors. Precuts such as 5” charm squares or 10” layer cake squares work well. Each pair of squares will yield two flying geese blocks/units that are twice as wide as they are tall.
- Serger, set up for 4 thread overlock stitch, width ¼” (6mm) and length 2.75
- Clear foot is great for visibility, but a standard presser foot will work as well

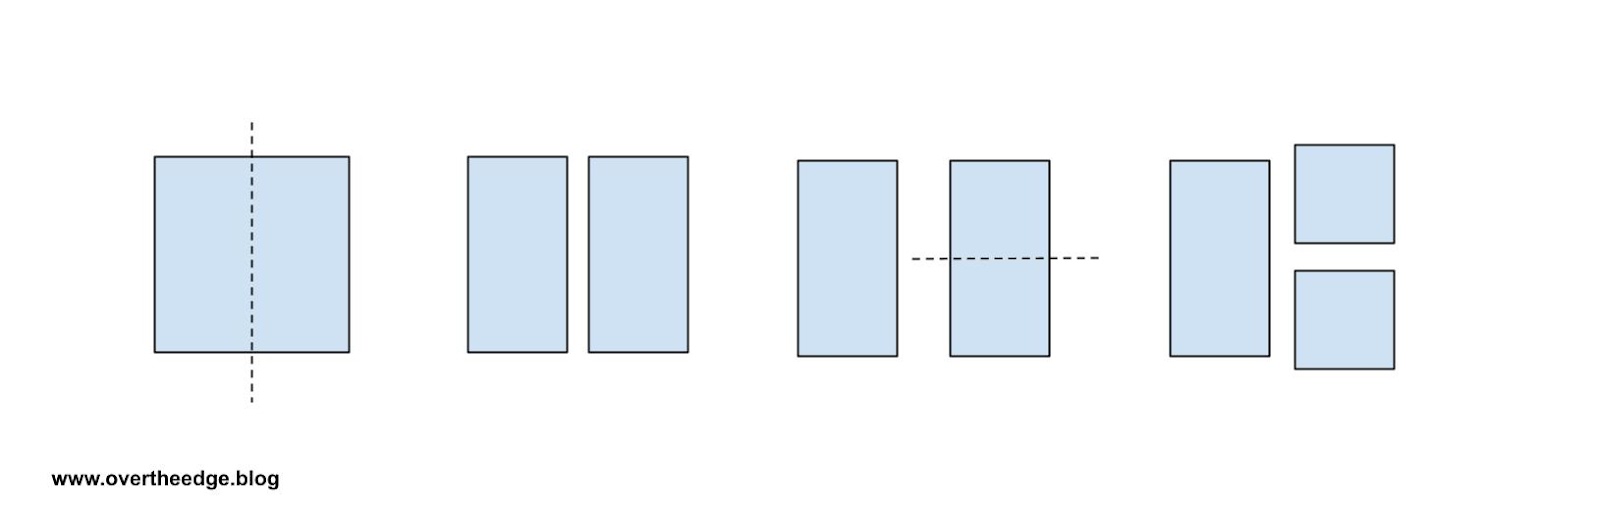
Cut Pieces
Cut each square into three pieces with two simple cuts per the instructions below.
Step 1 – Cut the square in half to yield two rectangles.
Step 2 – Cut one of the rectangles in half to yield two squares.

Assemble Blocks/Units
Each block/unit will consist of one rectangle and two squares. The rectangles will be the geese and the squares will be the sky or background. Mix up the cut pieces so that each rectangle is paired up with two squares of a different color. In the example below I grouped a yellow rectangle with blue squares.
Begin by placing one square on the table right side up.

Fold the rectangle in half wrong sides together to form a square. This folded rectangle will be the goose in the finished block.

Place the folded rectangle on top of the square, with the fold a ¼” down from the top of the square and the sides even. The raw edges of the folded rectangle will be hanging over the bottom edge of the square by a ¼”.

Place the other square right side down on top of the folded rectangle, lining it up with the first square. The raw edges of the squares will line up.
Clip or pin the right edge of the layers to hold the pieces together. The edge with the clip is the edge that will be serged.

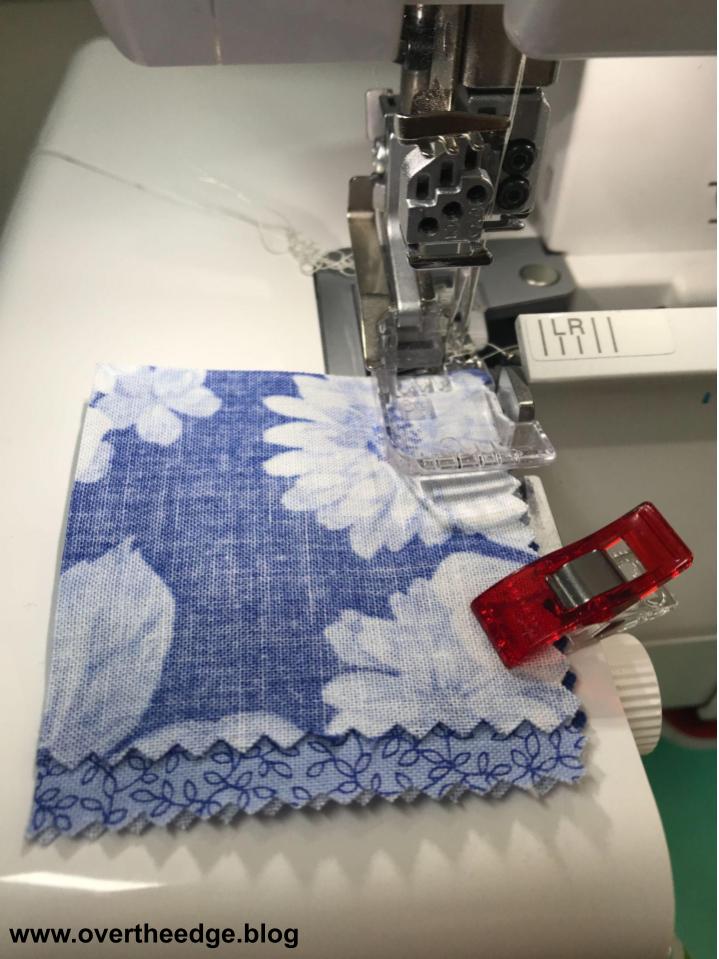
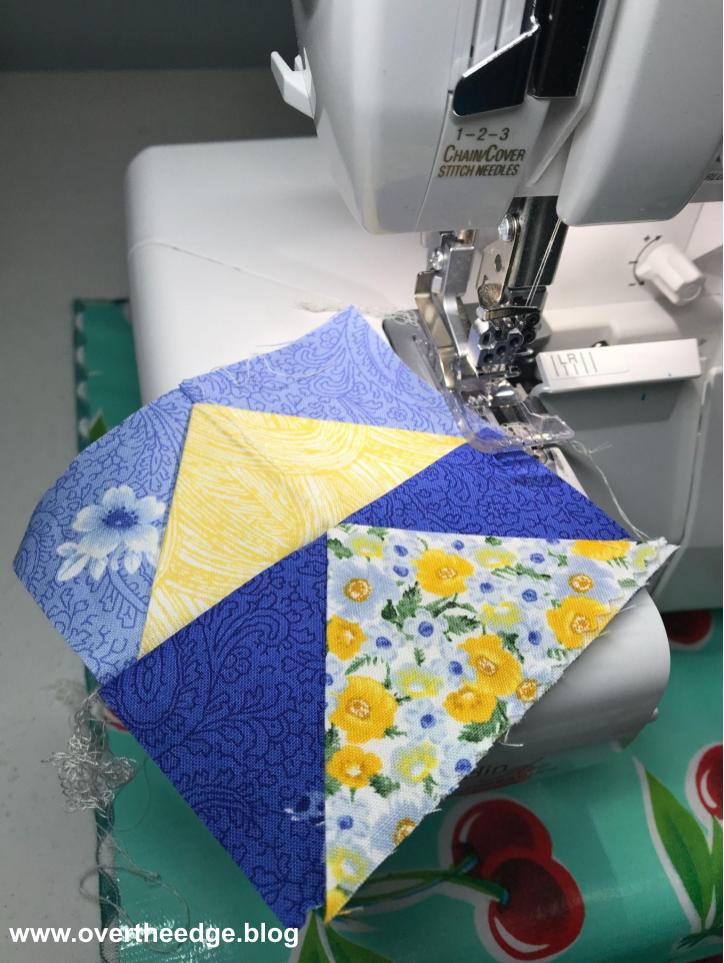
Serge the Seam
Serge the right edge of the layered pieces from top to bottom, just skimming stray threads with the knives.
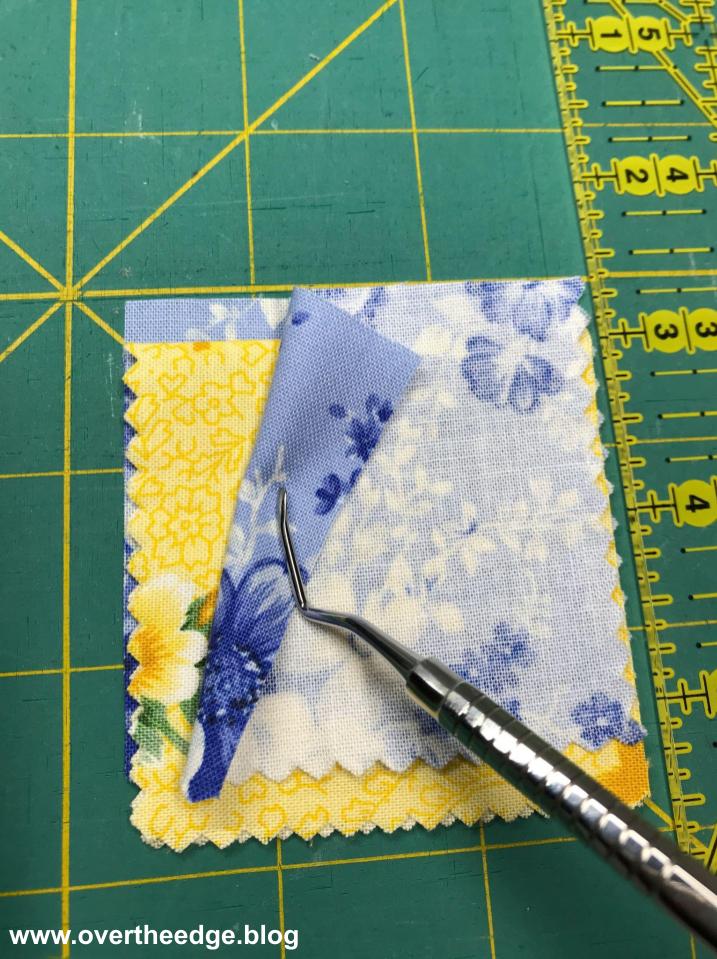
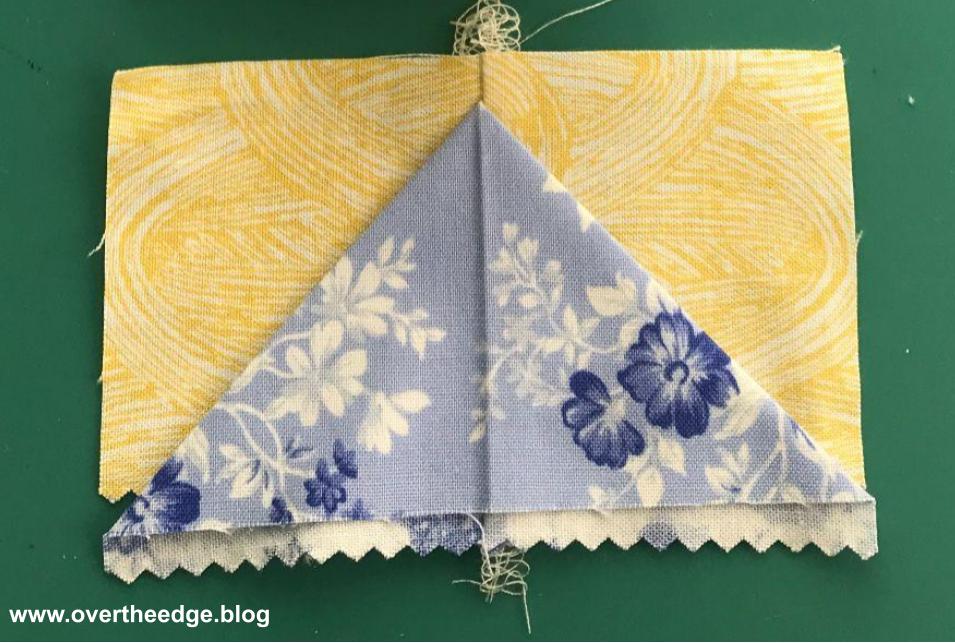
Press, Open, Align
Press the block with an iron, setting the heat at a level appropriate for your thread.
Open up and align the goose. See photo below. First fold the top square over to the right so the right side is up. Press the seam. Then grab the rectangle and open it up, lining up the fold/crease of the rectangle with the serged seam in the center.

Press the block to set the goose. There will be extra goose fabric hanging off the bottom.
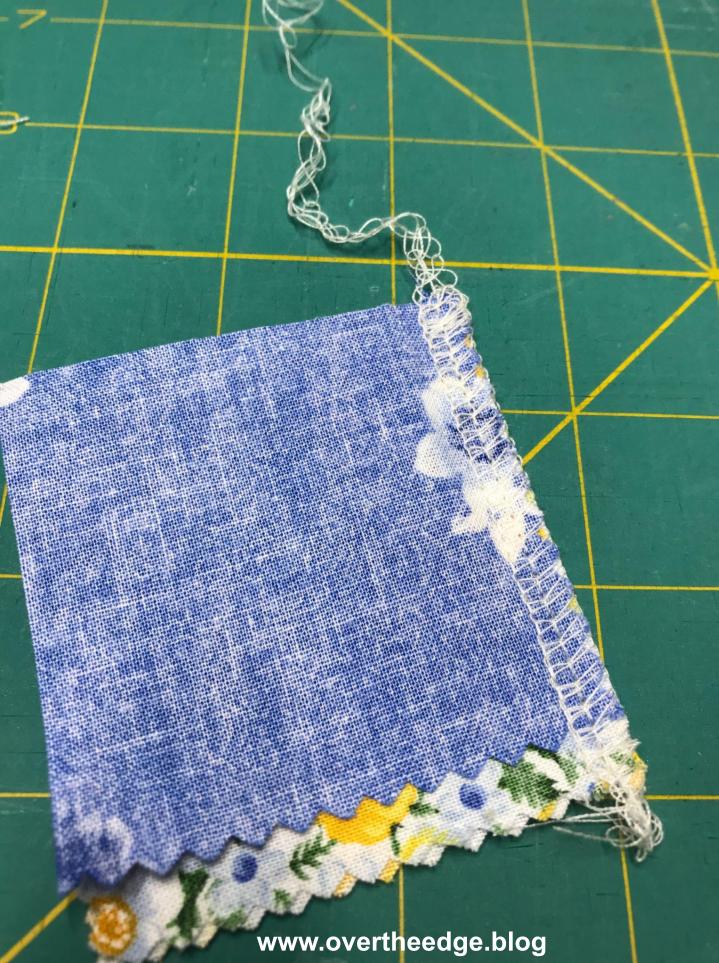
Trim
Trim off the extra goose fabric at the bottom and square up the block.

The wide end of the goose will be “loose”. You may find it helpful to baste it down to keep it in place. I did not baste mine. I just pinned/clipped the loose end of the goose and handled it carefully to keep my layers from shifting.
The Finished Block
Here is the right side of a serged one seam flying geese block.

And here is the wrong side of a serged one seam flying geese block.

Serged One Seam Flying Geese Block Tutorial
I hope you enjoyed my Serged One Seam Flying Geese Block Tutorial. Make lots of geese and serge them together into something fun!

Resources
Be sure to read my blog post about the making of my one seam flying geese table runner with a serger: https://overtheedge.blog/one-seam-flying-geese-with-a-serger/
Tips for Quilting with a Serger: https://overtheedge.blog/tutorials/forty-two-ten-by-jen-serger-quilt-tutorial/
Jenny Doan’s “Make a One Seam Flying Geese Quilt” with a Sewing Machine YouTube Video: https://youtu.be/15Cblb8J6i0