Month: March 2020

Serge and Merge Quilts – Down the Pathway

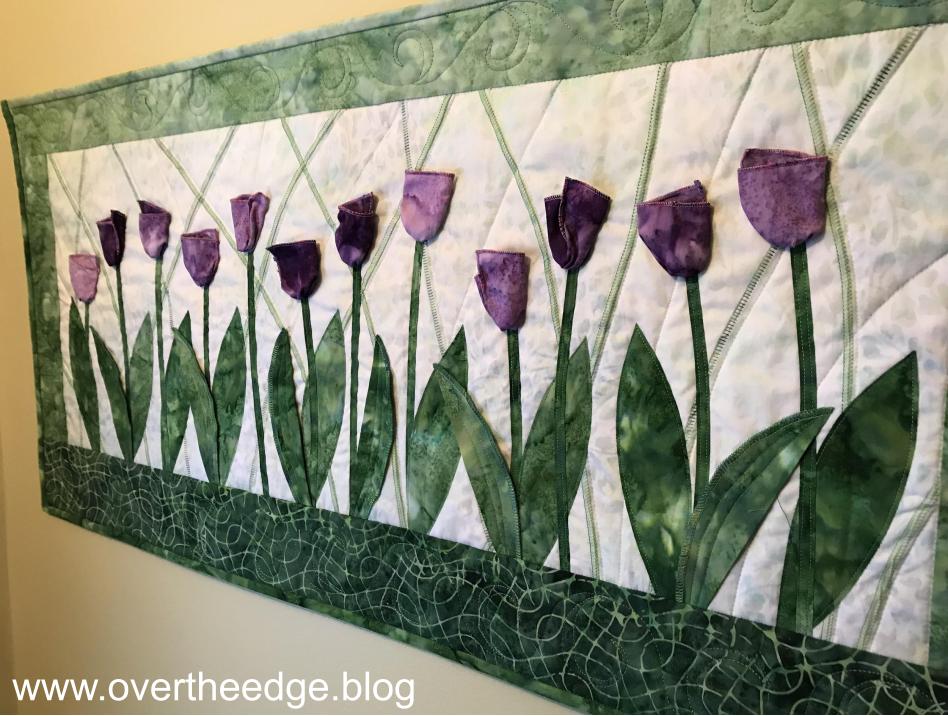
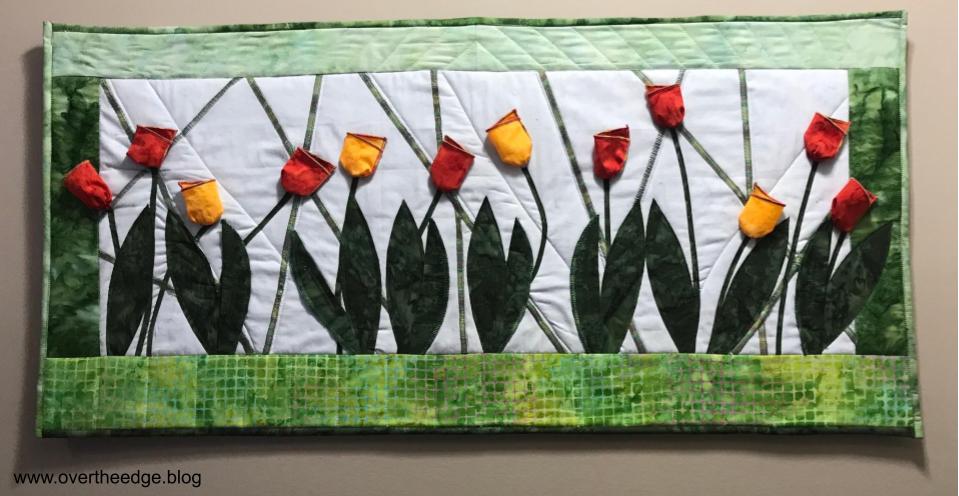
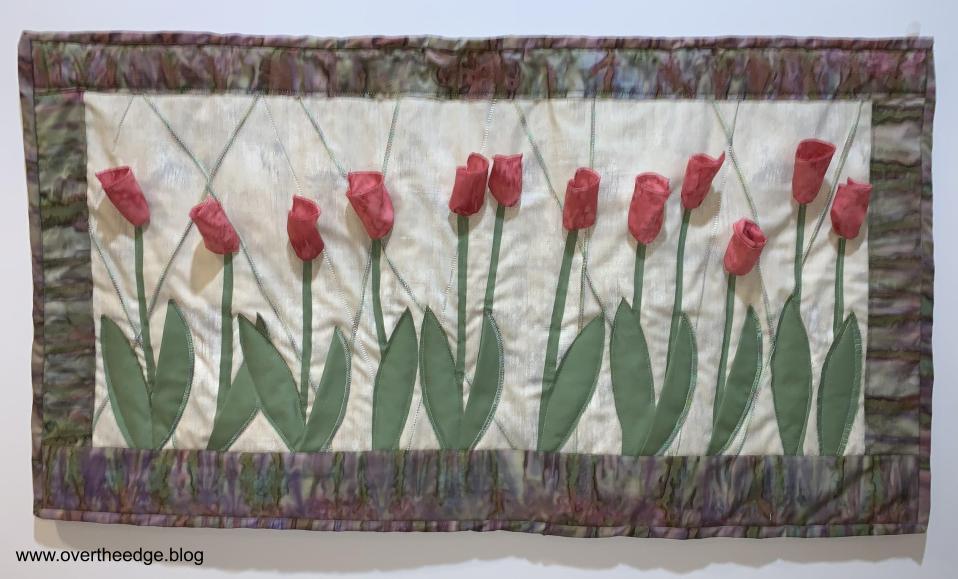
Down the Pathway is a project from the book, Serge and Merge Quilts, by Sharon V. Rotz. As she says in her intro to the project  “Have fun displaying your serging talents as you construct a tulip garden with dimensional flowers and leaves.” And I sure did! This quilt was fun to make!

I love my Down the Pathway quilt. It makes me happy! Every time I look at my quilt I think of a beautiful spring day. I serged it with a combination of flatlock, rolled hem and overlock stitches and merged it with traditional quilting on a sewing machine.

Fabric Prep

I chose an ombre purple batik fabric for my tulips and an ombre green batik for my stems, leaves and borders. The ombre fabrics gave me the perfect variety of colors for my tulips, greenery, borders and binding. The bottom border (or ground) was a coordinating green batik. I used a light green batik as the background (sky). The photo shows how I fussy cut my leaves, stems, borders and binding from the green ombre batik.

Create Background

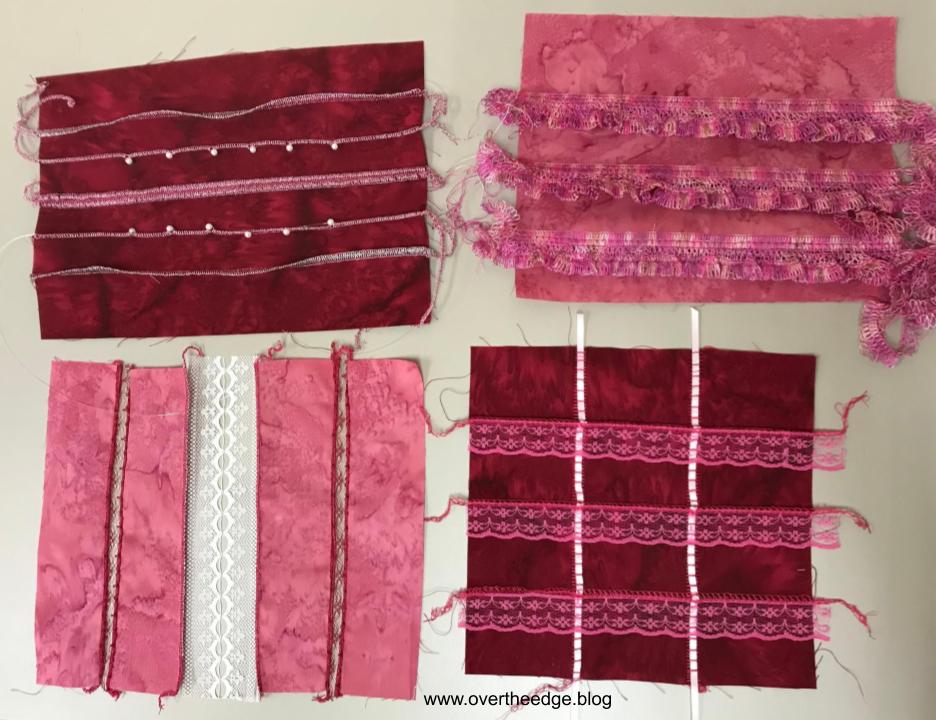
The first step I took in creating the background of this quilt was to serge my “stems” using a flatlock stitch on the fold of the fabric. I serged some stems with the ladder side up and some with the loop side up. I used a variegated Madeira Polyneon thread for my flatlock stitches.

Flatlocking on the fold is a little different than flatlock piecing. By folding the fabric you can place the flatlock stitch in the center of the fabric rather than only on the edge. When you flatlock on the fold, you serge with the loops hanging half off of the fabric, which allows your fabric to lay flat when the stitch is pulled open. I recommend you practice flatlocking on the fold before you begin this part of your project. It takes a little more skill to get a nice even stitch than does flatlock piecing. Flatlock piecing is used to join two pieces of fabric and it is placed on the edge of the fabric. Sharon provides some information about flatlocking on page 16 of her book.

After finishing the flatlock “stems” I added the top and side borders. I did not miter my borders as is instructed in the book. Using a sewing machine, I quilted this piece to the batting/backing along each of the flatlock stems.
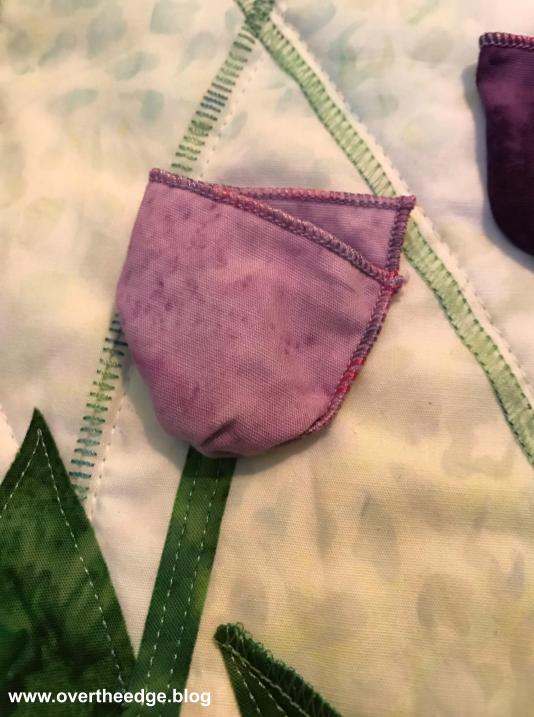
Create Tulips

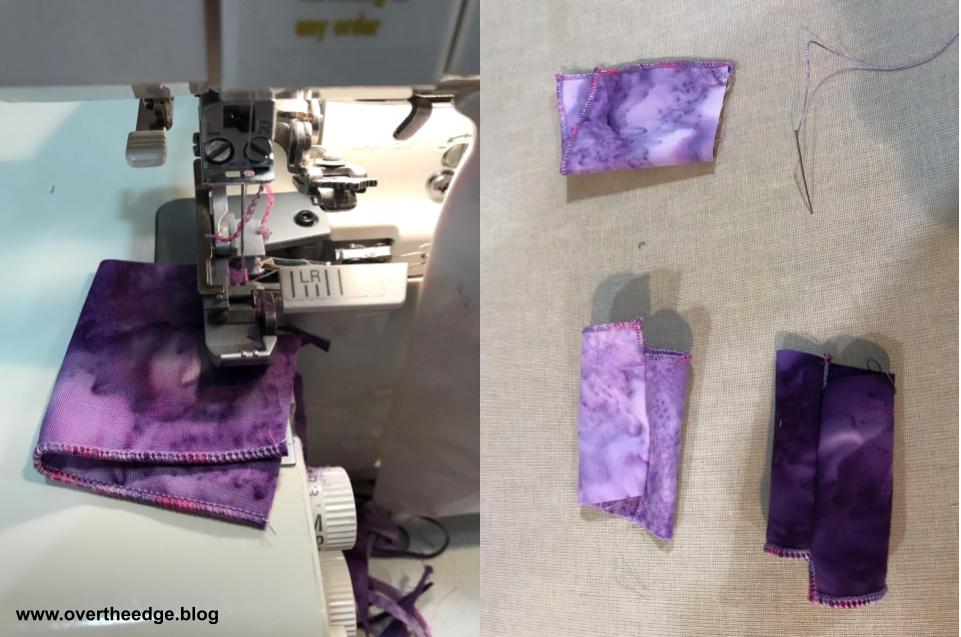
I serged the edges of the tulips using a 3 thread rolled hem stitch with Madeira Polyneon embroidery thread in the upper looper. To create the three dimensional tulips, I gathered the bottoms by hand with a running stitch and a strong thread .

Layout, Fuse and Quilt Greenery and Attach Tulips

After laying out my stems and leaves in a pleasing arrangement, I fused them down with an iron and pressing sheet. The pressing sheet both protected my iron from the fusible web and my thread from the heat of the iron. After fusing, I stitched down the raw edges of the stems and leaves using a sewing machine. I left some leaves 3 dimensional, as it says in book. After finishing the leaves and stems, I hand stitched a tulip at the top of each stem.
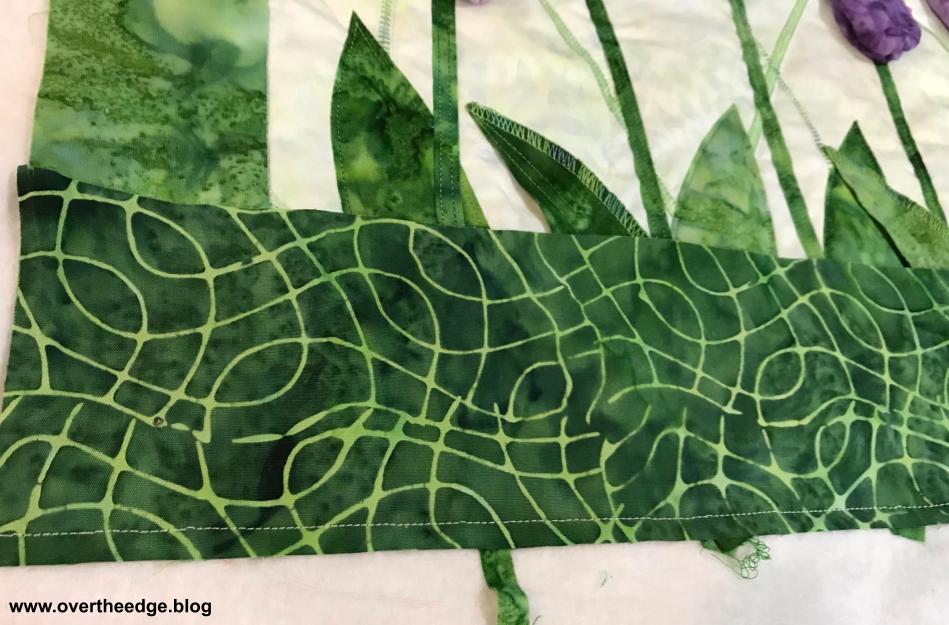
Add Bottom Border

I added the bottom border after the tulips and greenery were attached to the batting and backing.

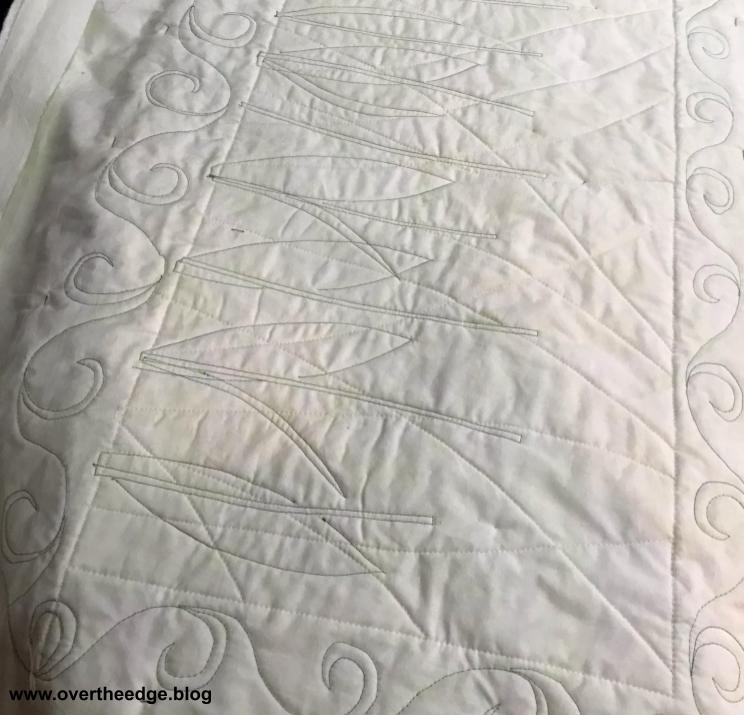
Machine Quilt Borders

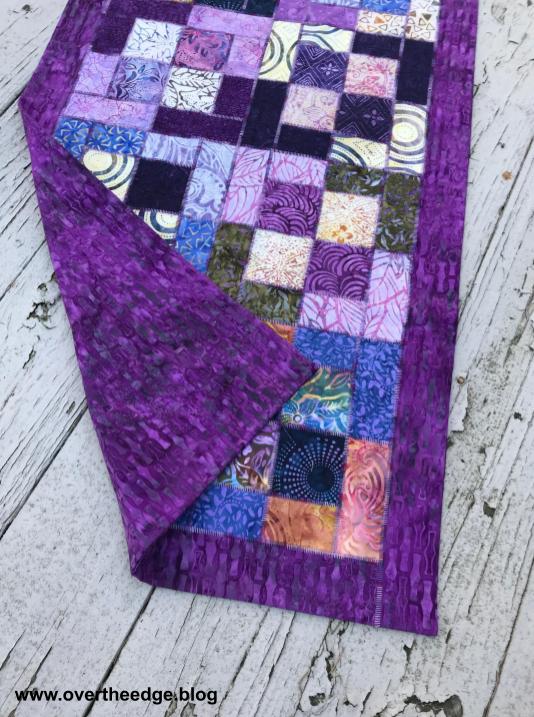
I used a swirly leaf pattern for the free motion machine quilting of my borders, as you can see from the back side of my quilt in the photo below. 

Add Binding and Finish

I used my rotary cutter and a ruler to trim and square my quilt sandwich before adding binding. 

I chose to use two different parts of the green ombre batik fabric for my binding. The light colored green was the perfect choice for the top and right edge binding. And I used the darker green for left and bottom binding.

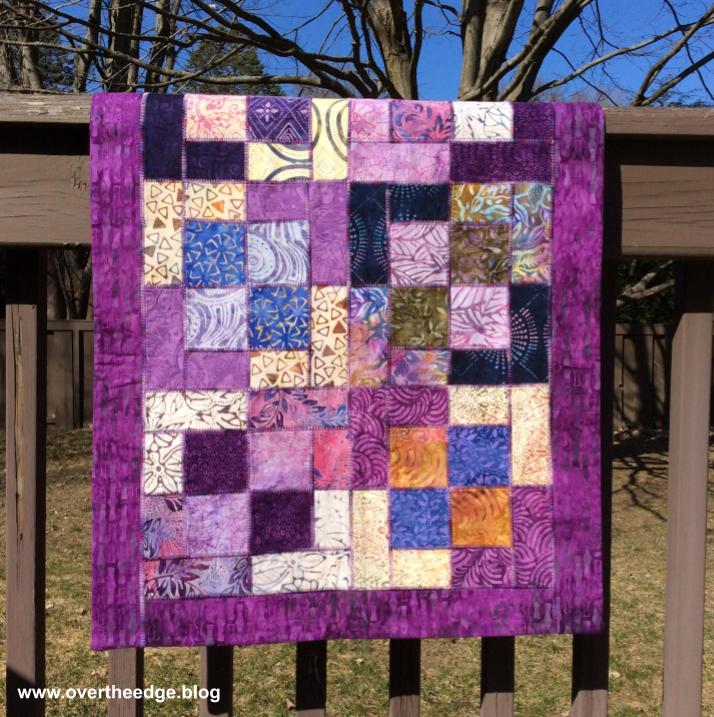
To finish the quilt, I added a hanging sleeve, which you can see pinned on the right side of the photo. 

All done!

serge and merge

Down the Pathway Details

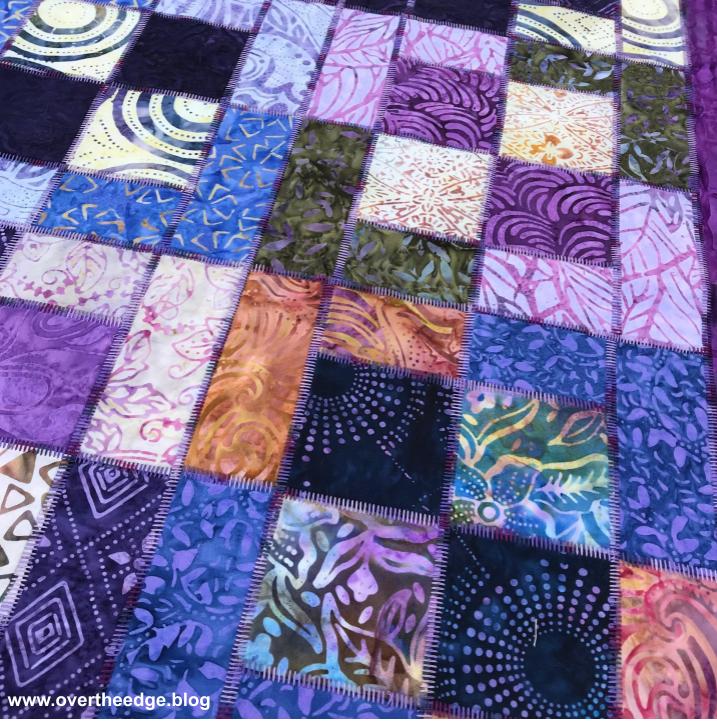
I included a few close up photos of the tulips, leaves and background flatlock stitching so you can better see the details.

Down the Pathway Class

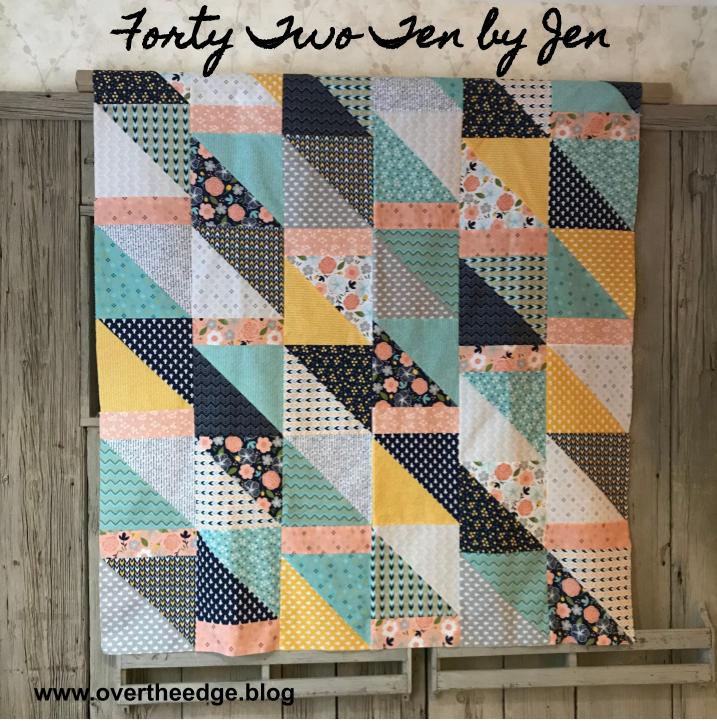
I taught this as a class at my local fabric store. The class covered only the serger portion of the project (flatlocking, overlocking and rolled hem). Students did the rest on their own at home. A few of the students allowed me to share photos of their Down the Pathway quilts. Aren’t they beautiful. Spring is in the air!

A Few Final Words

It’s never too late to change something. After I finished the quilt, I stepped back to admire it from a distance. Everything looked great except one area of the background. My eyes kept being drawn to an area of the background that was a too dense with flatlock stems. I ended up removing one stem of flatlock stitches, and now I think it’s perfect!  Can you spot the change?

serge and merge quilts

Serge and Merge Quilts – Down the Pathway

The book, Serge & Merge Quilts was published back in 2009. After eleven years, it may be unavailable from your local store. If you can’t find a copy at the store, try the internet.

In case you would like to learn more about the author and Serge and Merge Quilts – Down the Pathway, here is a link to Sharon’s blog post. http://sharonrotz.blogspot.com/2013/04/tulips-springing-up.html

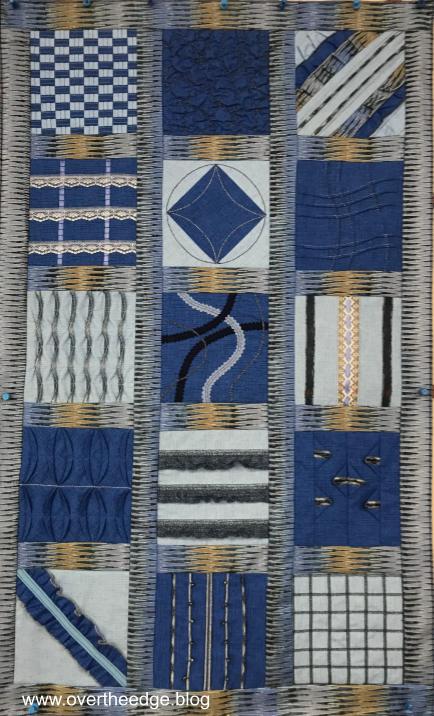
The Down the Pathway quilt is just one of several projects I have completed from Sharon’s book, which I will share with you in the future.  I hope you enjoyed this post!

Flatlock Piecing With a Serger

It’s still March and National Quilting Month, so here I am highlighting another way to use a serger to quilt.  Flatlock piecing with a serger is a great way to add an artistic flair to your quilts. With a serger flatlock stitch, you are embellishing your quilt with decorative thread as you piece it together. The photos in this post are of my Four Square Table Runner that I made in 2014. This table runner is one of my favorite serger quilts I have made!

My Four Square Table Runner 

My table runner is a great example of how easy it is to modify a traditional quilt pattern for serger construction.

Fabric, Pattern and Thread

I used a package of forty 5” squares called Tonga Treats by Timeless Treasures. The “Four Square Table Runner” pattern came free in the package. I don’t know if this fabric is still available, but you can do this technique with any fabric or quilt pattern.

I used a variegated purple YLI machine quilting thread in the needle and Maxilock serger thread in the loopers. 

Serging

I followed most of the pattern instructions to make the quilt top, except for using a sewing machine. Instead, I pieced the quilt together with my serger using a three thread flatlock stitch with a length of 2. I serged the pieces right sides together, so the “ladder” side showed after pulling the flatlock stitches open. 

I added a border, which I also attached with the flatlock stitch. Instead of a traditional quilt sandwich, I used a flannel fabric as batting. and attached the backing using the pillowcase or “birthing” method (without binding). I serged the layers together leaving an opening for turning right sides out. After turning and pressing, I hand stitched the opening closed and hand tacked the layers together invisibly at the corners of the blocks. I wanted the decorative thread and the flatlock stitching to be the center of attention.  

What is a Serger Flatlock Stitch?  

A flatlock stitch can be used to seam two fabrics together and to add detail to a seam line. It has unbalanced tensions that allow you to pull open the seam so it lays flat. Typically the needle thread tension is very loose and the lower looper tension is tight. The flatlock stitch is also reversible. It forms a “loop” stitch on one side of the fabric and a “ladder” stitch on the other side of the fabric. If you serge a seam with the fabrics right sides together, you will end up with a ladder stitch on the right side. The “ladder” you see is the needle thread. If you serge a seam with the fabric wrong sides together you will end up with a “loop” stitch on the right side. The “loop” you see is the looper thread.  The example below show the ladder and the loop sides of two maple leaf quilt blocks that I made when I was practicing flatlocking.

What is Serger Flatlock Piecing?

When you sew your pieces together to form a quilt block, it is referred to as “piecing”. When you piece with a sewing machine the stitches made by a sewing machine are hidden within the seam. Flatlock piecing with a serger is piecing your quilt blocks together with a flatlock stitch. The stitch used in flatlock seams is very visible in the finished quilt. You can use the standard serger presser foot for this technique.

Video – Flatlock Piecing With a Serger

For all you visual learners out there I created this short video of the flatlock stitch in action. https://overtheedge.blog/videos/flatlock-piecing-with-a-serger/

How to Easily Remove a Three Thread Flatlock Seam

Tips for Flatlock Piecing With a Serger

  • Follow the instructions in your manual for setting your serger up for a flatlock stitch. There are different types of flatlock stitches (2 or 3 thread, wide or narrow). I typically use a three thread flatlock for piecing quilts.
  • For piecing a quilt with a flatlock stitch, I keep the blade engaged and run the raw edge of my fabric along the blade. I don’t really cut anything off, I just trim stray threads.  
  • Always test your serger set-up on a scrap of fabric and adjust as needed, before you begin serging your actual project. The actual tension settings and stitch length needed will vary with different threads and fabrics.
  • Leave a few inches of thread tail at the end of each seam. By leaving long tails you will prevent your seams from unraveling until you have a chance to secure them.
  • Press your flatlock seams flat before pulling them open. I feel it helps the fabric within the seam fold properly during the opening process.  After pulling the seams open, I press them again.
  • Your finished blocks may be a little larger than they would be using a sewing machine. The process of opening of the seam allowance changes the size of the seam allowance slightly.  
  • I use the three thread flatlock stitch in smaller projects like table runners and wall hangings. Flatlock stitches are more exposed and tend to snag more easily, so I don’t typically use this stitch for quilts that will get a lot of wear.
  • Set your iron temperature appropriately for the thread you use in your flatlock stitch, or use a press cloth. Since the thread sits on the surface of your fabric it has more exposure to the heat of the iron. It is possible to melt the thread in your serger stitches – I know from personal experience!

Are you Inspired?

I hope you enjoyed this post and are inspired to try flatlock piecing with a serger.

Quilt with a Serger

Since March is National Quilting Month and I love my serger, I thought I would show you how simple it can be to quilt with a serger.  To inspire you to try it, I designed my own pattern. My challenge was to design a quilt that was quick and easy to piece using a serger and used only one layer cake of fabric. I named my design, “Forty Two Ten by Jen”. Simple and catchy don’t you think? 

quilt with a serger

Layer Cakes and Other Precuts

I frequently use precuts for my quilts because I don’t have to stress over choosing coordinating fabrics. Precuts come in many different shapes and sizes such as layer cakes, charm packs and jelly rolls. I believe Moda was the first to create the “layer cake” which is basically a package of 42 ten inch squares that all coordinate. Using the word “layer cake” to describe a package of 42 ten inch squares is like calling all brands of facial tissue “Kleenex”. These packages of ten inch squares go by names such as Moda Layer Cakes, Riley Blake Ten Inch Stackers, and Bali Crackers.  

A Little Information About my Quilt

For my quilt I used Riley Blake’s, Azure Skies Ten Inch Stacker, designed by Simple Simon and Company. 

I am happy to say that my Forty Two Ten by Jen serger quilt is a zero waste quilt, which means it uses every single piece of fabric with no scraps. Those little scraps that are leftover from projects always create a small amount of anxiety for me. Should I throw them away or keep them for another project? If I throw them away I feel guilty. If I keep them I usually can’t find them when I need them. Does anyone else ever feel this way? No need to worry because this quilt has no leftover scraps – yay!

serger quilt

Equipment Required

This project does not require a fancy serger. As long as your serger can do a 4 thread overlock stitch, you can use it to make this quilt. However, not everyone is lucky enough to own a serger, so I also included instructions for how to piece this quilt on a sewing machine. I hope you enjoy quilting with your serger using my free pattern “Forty Two Ten by Jen”. 

Tutorial and Printable Instruction Sheet

Click the link to go to my tutorial and printable instruction sheet. https://overtheedge.blog/tutorials/forty-two-ten-by-jen-serger-quilt-tutorial/

quilt with a serger

National Quilting Month: Texture Quilting with your Serger

March is National Quilting Month and is the perfect month for me to blog about quilting with your serger.   Texture Quilting with your Serger is about stepping out of your comfort zone and experimenting with all your serger can do. 

My Inspiration 

My quilt is made up of all 15 different technique blocks from the book Power Serge, by Pam Damour and Betty Mitchell.  I love all the texture that the serger adds to the quilt. To make all 15 blocks you must have a few accessory feet and be able to do both overlock and coverstitch. If your serger does overlock only, there are 7 technique blocks that you can serge. The blocks can be used to make a reference book of techniques or make a project. The book has a section called “all squared away” where they give instructions for quilts, table runners and pillows made from the technique blocks.

My Textured Block Quilt

Instead of placing my block on point like the quilt projects in the book, I chose a traditional layout with sashing. The blocks were trimmed to 6.5” square and assembled into 3 columns and 5 rows. I cut 2” wide sashing strips to use between my blocks and as a border. The overall size of my wall hanging quilt is approximately 24” x 39”. I used the four thread overlock stitch on my serger to piece the quilt top together.

Some of my favorite blocks to make were the serger lace, the basket weave, the ric rac rope and the stitch and scrunch. 

All Squared Away Class

I taught a class at my local fabric store using the overlock technique blocks from the Power Serge book. Below are photos of some of the blocks made by my students. It’s amazing how different they all look!  My student’s favorite blocks to serge were the serger lace and the decorative trim block with the beads.

In Conclusion

Are you looking to expand your horizons and to better utilize your serger? If so, I recommend you get yourself a copy of the book, Power Serge, and get serging!  If you can’t find the book at your local sewing or quilting store, you can purchase it directly from the author’s website at https://www.pamdamour.com/product/power-serge-by-pam-damour-and-betty-mitchell-hard-cover-book/

The block techniques are a great place to begin, but this book has much more to offer. Also included in Power Serge is a section of great finishes, clutches and covers, all squared away and just for fun. I will definitely be making more projects from this book.

Theme: Overlay by Kaira Extra Text
Cape Town, South Africa