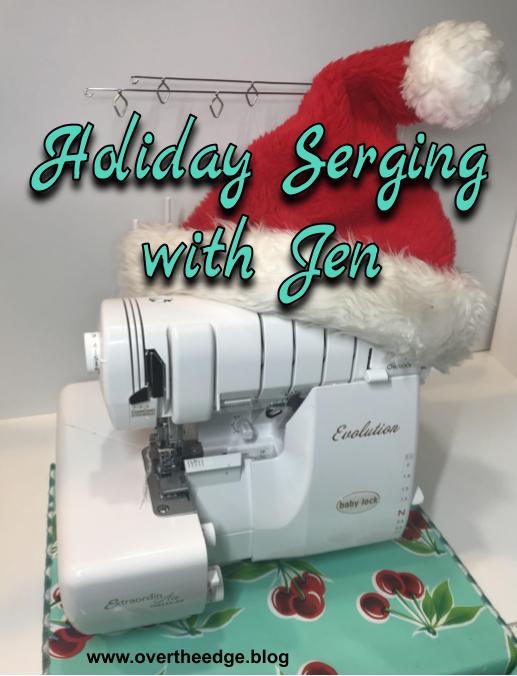
Holiday Serging with Jen
As I started pulling together ideas for this blog post, I realized I did quite a few holiday serging projects this year. I thought it would be fun to share my projects with you. Hopefully, Holiday Serging with Jen, will inspire you to try some future holiday serging of your own.
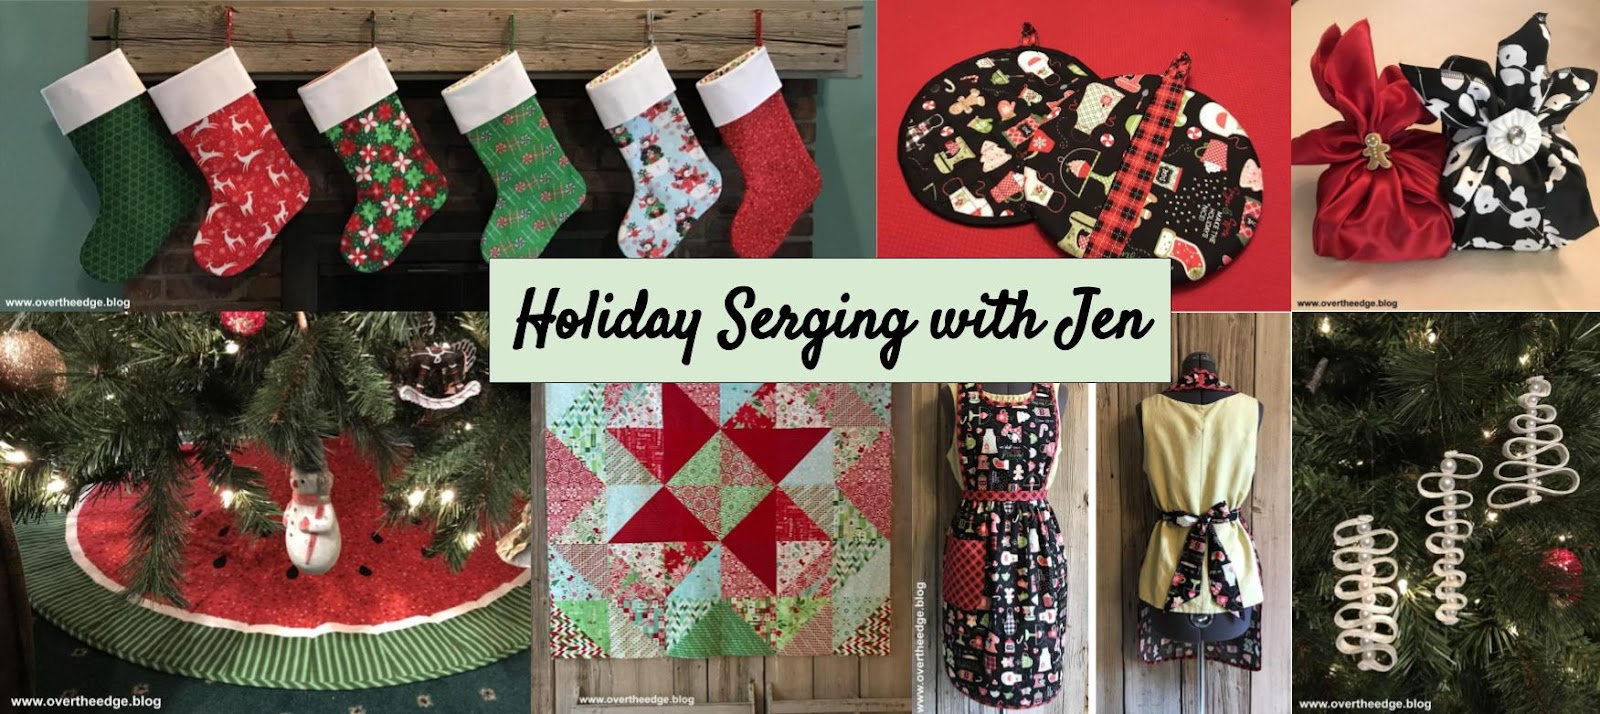
If you’ve been following my blog you’ve probably noticed that I always find ways to incorporate the use of my serger into my projects. For the holidays this year I made stockings, a tree skirt, gift wrap, an apron, some potholders, ornaments and a quilt, all using my serger. Some of these projects were made with only a serger, while others utilized a serger and maybe a sewing machine or some hand sewing.
Christmas Tree Skirt
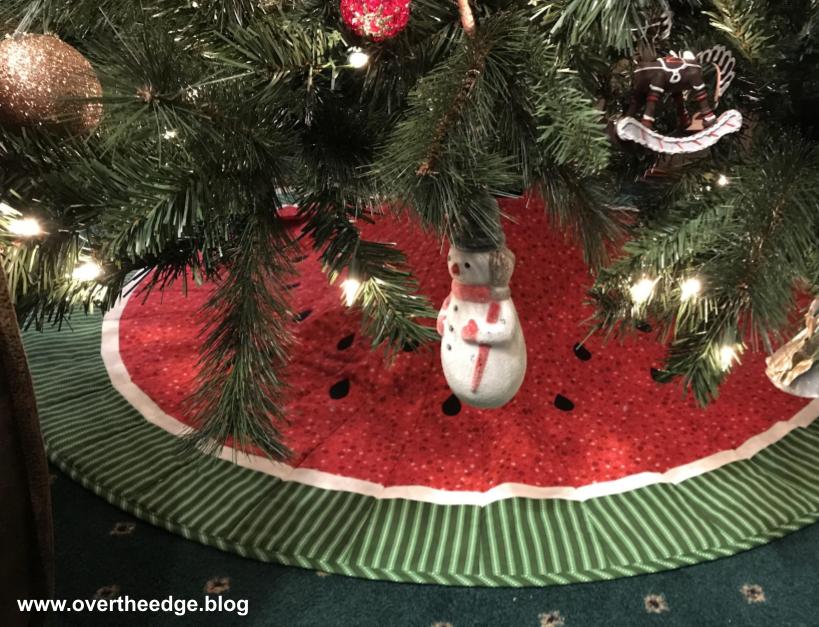
Does this tree skirt look familiar to you? In case you didn’t recognize it, it’s also my watermelon patio table topper I made with my serger that I blogged about this past summer. It fits around the umbrella post on my patio table.
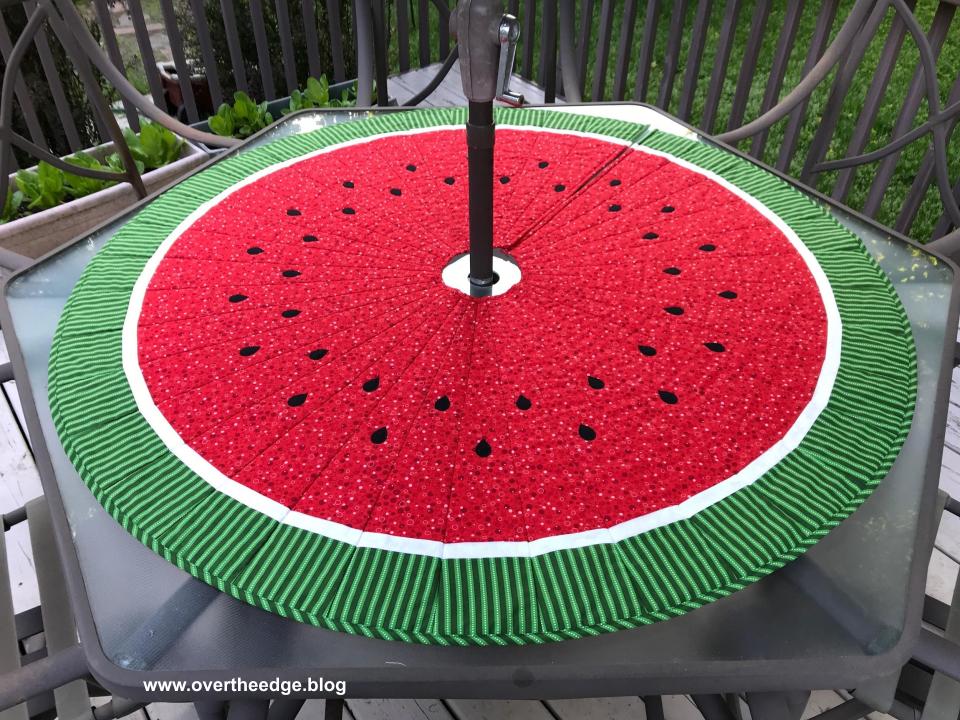
We purchased an artificial Christmas tree this year, and I didn’t have a tree skirt to fit it. Since my table topper is basically a tree skirt in disguise, why not use it as my Christmas tree skirt too? It was actually my husband’s idea. It’s the perfect size for my new tree and the red and green fabrics I used in the tree skirt are from a Patrick Lose’s Christmas collection.
The watermelon design was my own, but I followed the basic tree skirt assembly instructions from the free pattern that came with my wedge ruler. I have a Ten Degree Wedge Ruler from Phillips Fiber Arts. This company has several patterns available that utilize the wedge rulers. See the resources section at bottom of this post for a link to the website.
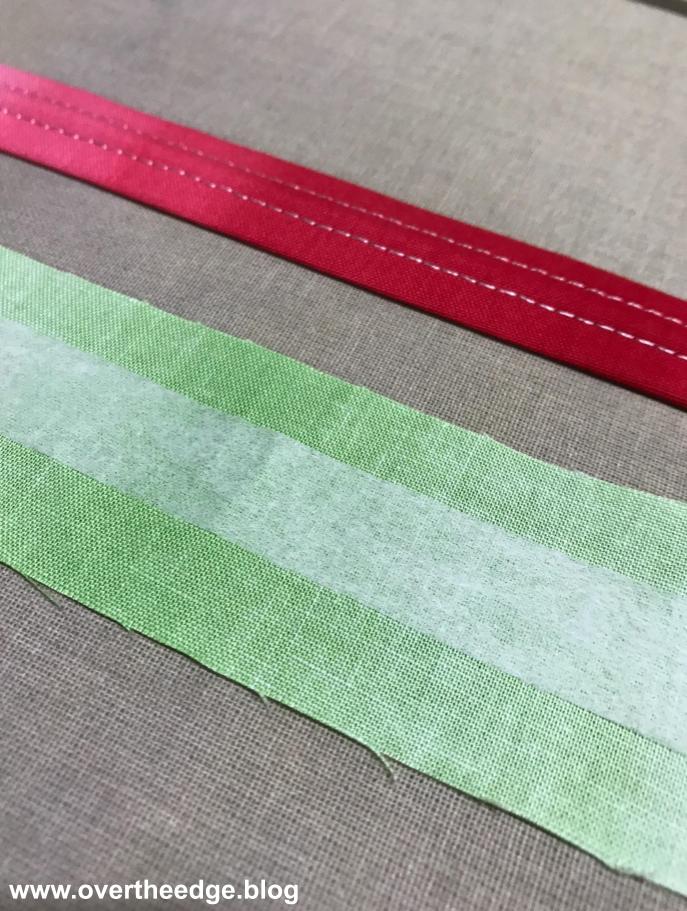
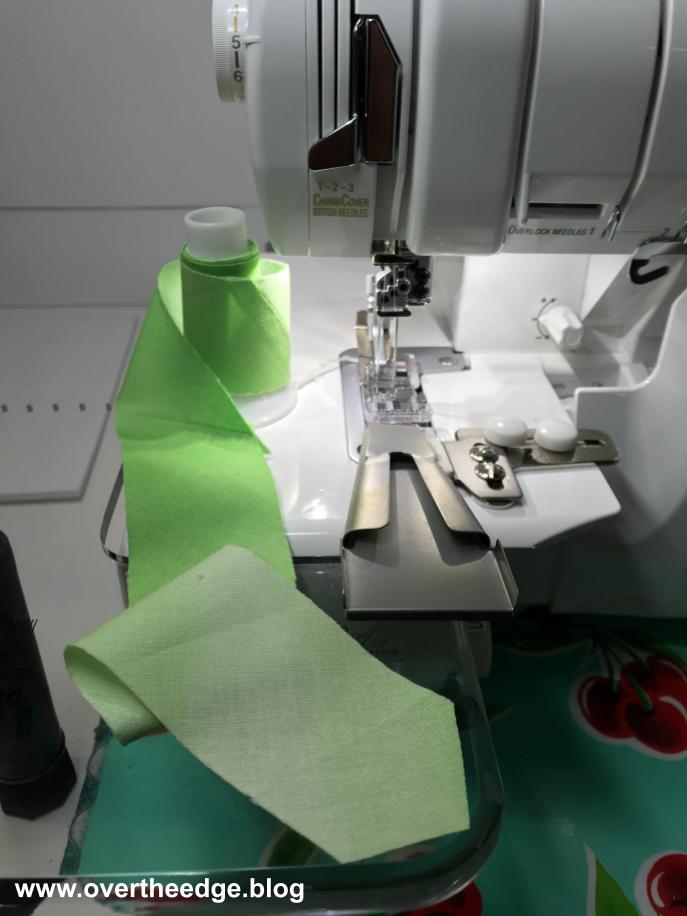
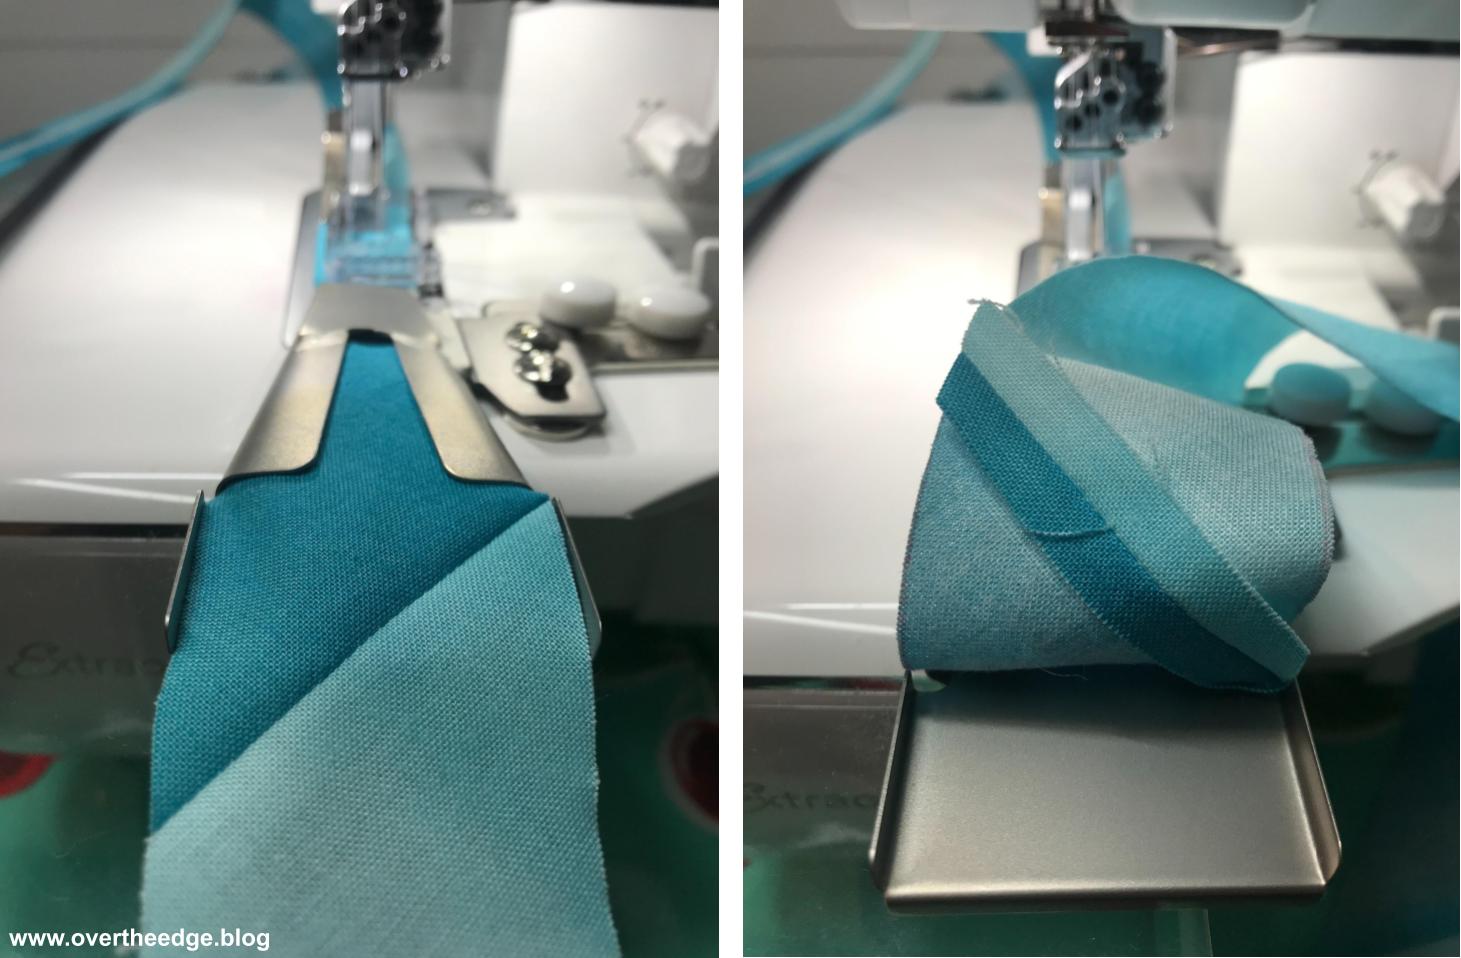
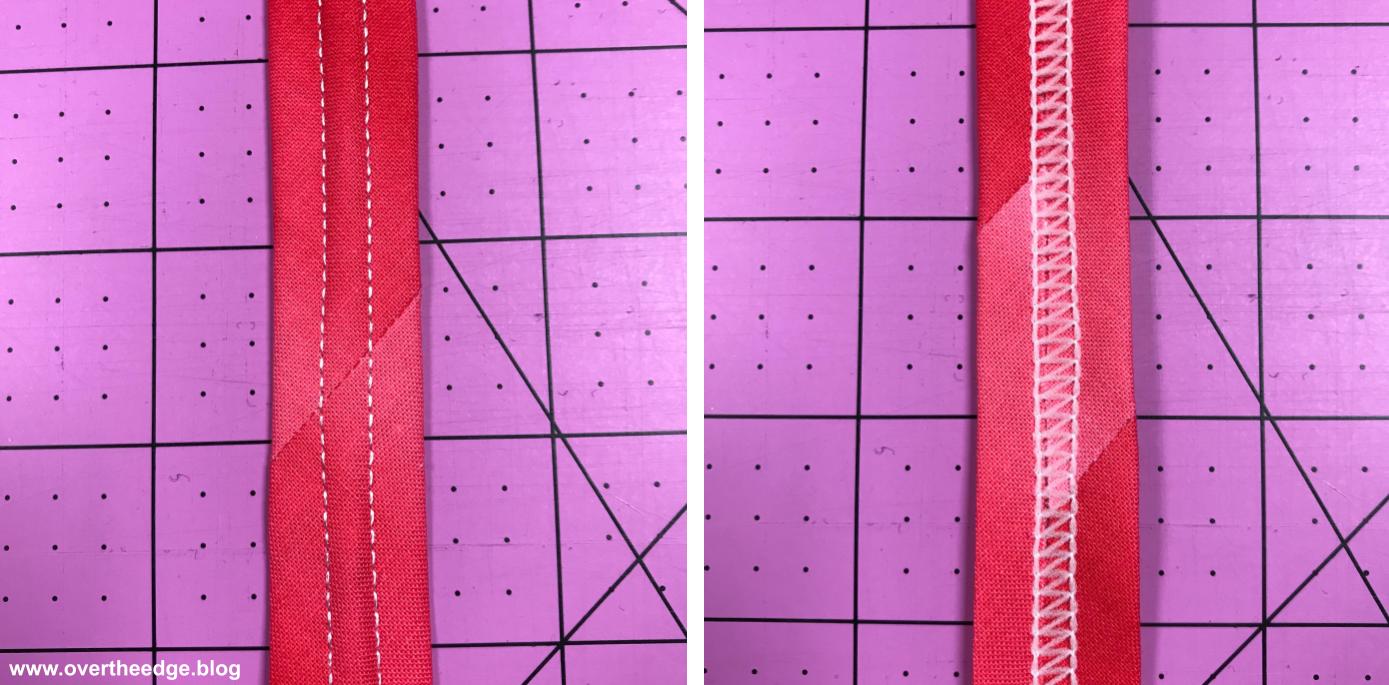
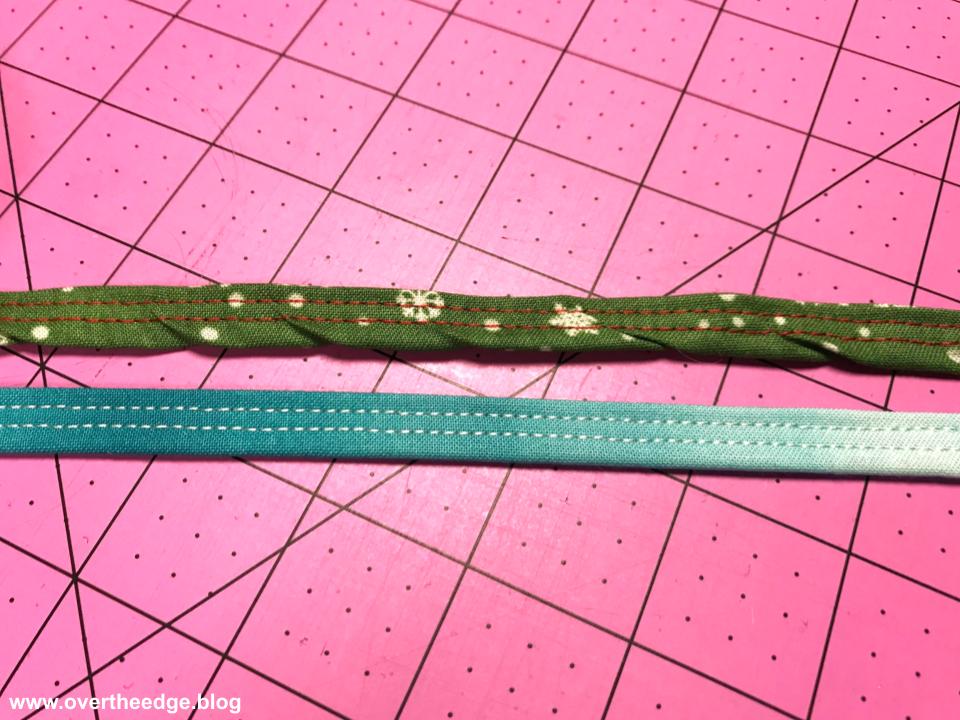
I used a serger four thread overlock stitch to piece together the topper and I used a serger double fold bias binder to bind the circular edges. Here is a link to my tutorial if you would like more information on how to bind the edge of a quilt with a serger double fold bias binder.

Stockings
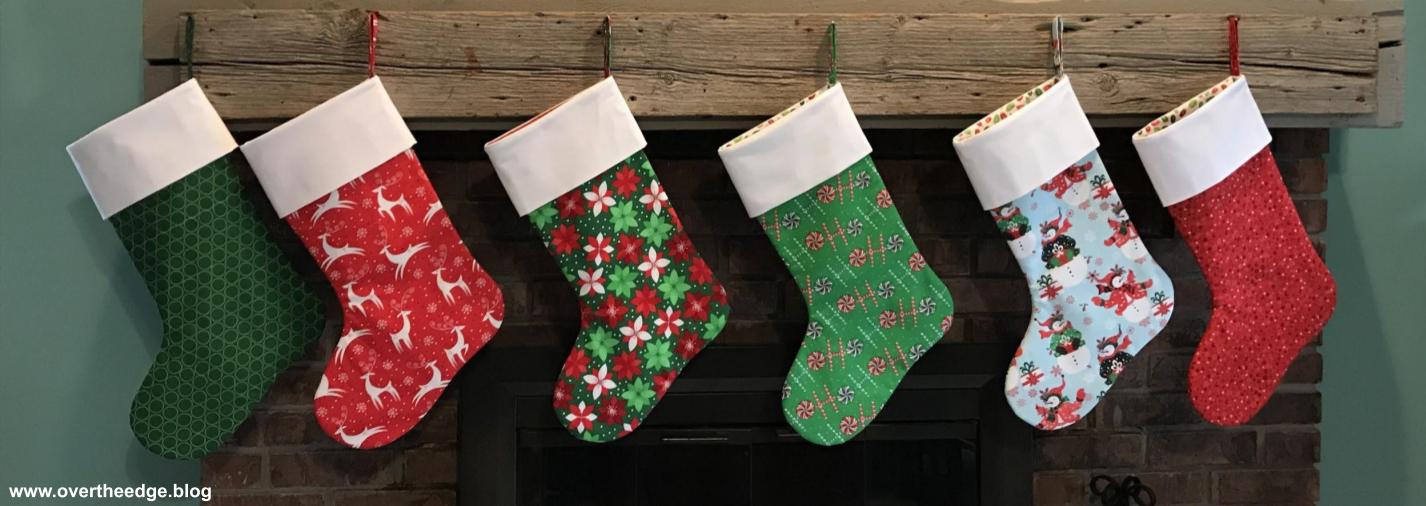
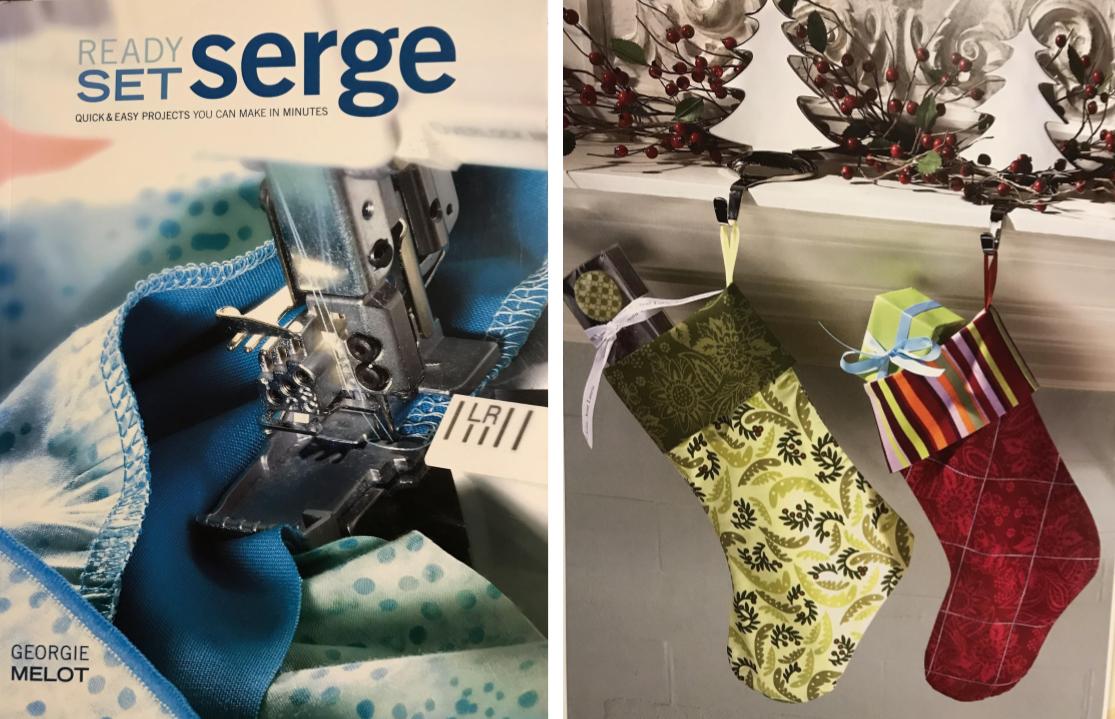
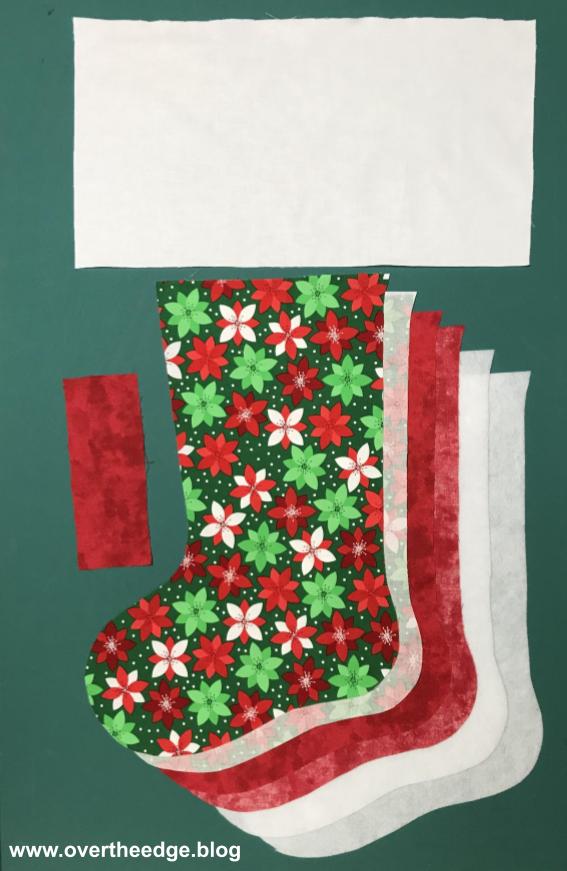
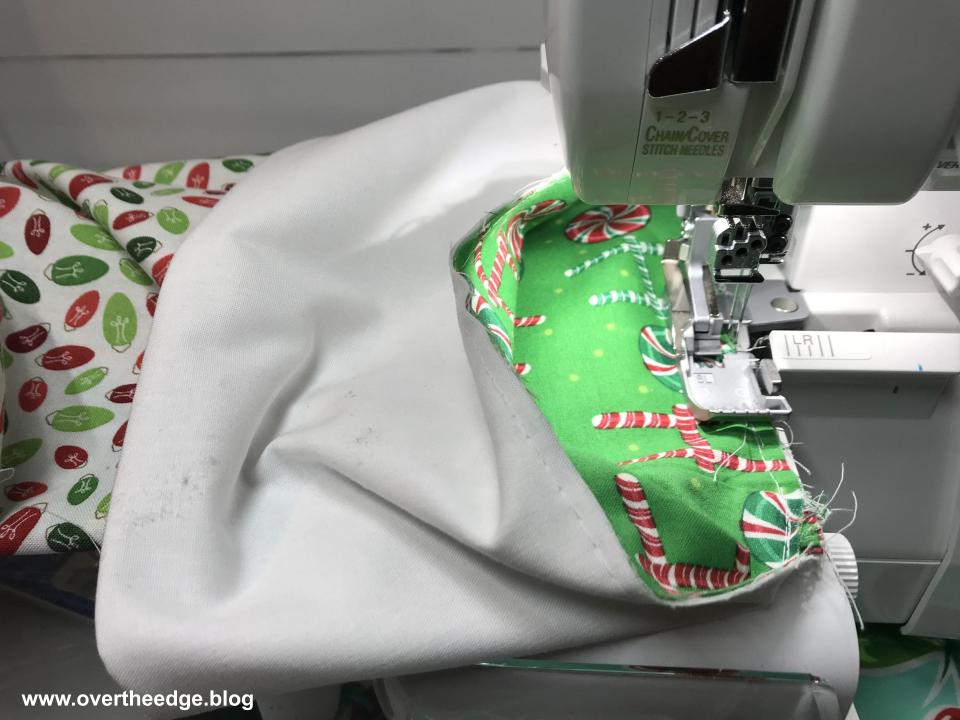
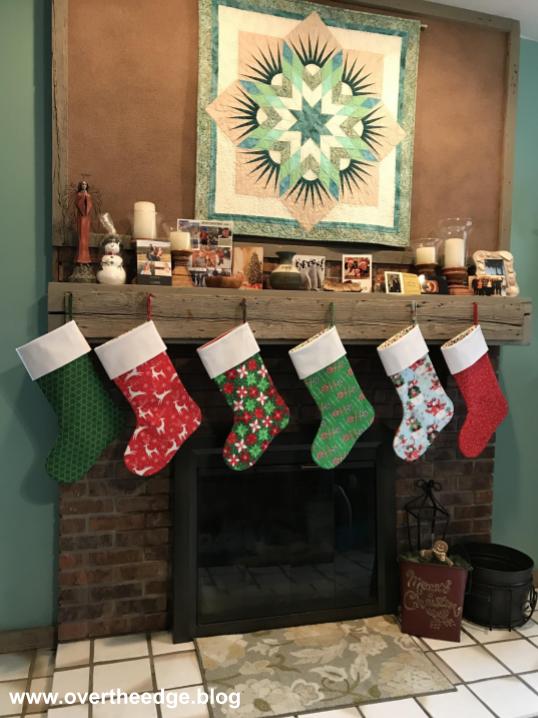
When I pulled my old stockings out of storage, I realized how tattered they looked. It was time to retire them. For the new stockings I chose mostly bright red and green fabrics that coordinate with my watermelon tree skirt. The serger technique I used to make my stockings came from the book, Ready Set Serge, by Georgie Melot. I didn’t use Georgie’s pattern for the stocking shape because I already had a favorite stocking shape. I used the stocking shape from the pattern, Stocking Sweet Stocking, by Bean Counter Quilts.


Many years ago a customer brought in some beautiful quilted stockings to the store where I work. I loved the shape of her stockings, so I asked her what pattern she used. It was the Stocking Sweet Stocking pattern. I’ve never made the quilted twister stocking, but I’ve made many serger stockings using that pattern for the shape.
I used a four thread overlock to construct most of the stocking. Using a sewing machine, I top stitched the hanging loop and basted the layers together before serging around the stocking. Georgie Melot doesn’t use batting or tell you to baste the layers before serging, but I found the fabrics shifted less as I serged if I first basted the layers. If layers shift when you baste, no big deal. You simply take out the stitches and try again. If they shift while you are serging (and cutting) it’s much harder to fix. Plus, I like how the serging compresses the layers to make the seams flatter in the stocking.

Batting or no Batting?
I made one stocking with batting and one without batting so I could compare both methods. Both stockings turned out well. But I prefer the stability of the stockings with the batting. I used a thin sew in fleece batting by Pellon, but many other battings would work too. You can see in the photo below that the stocking without batting is a little floppy. The stocking with batting holds its shape.

Fabric Gift Wrap
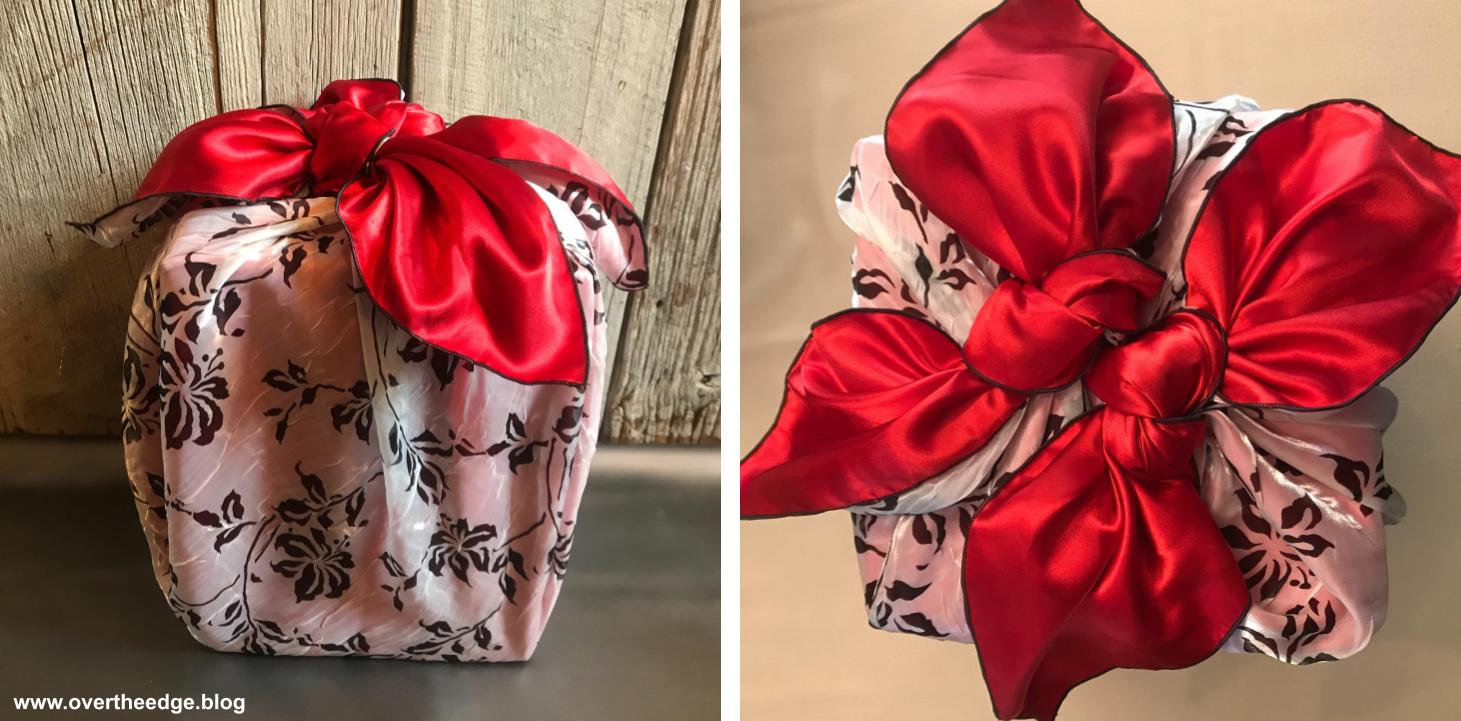
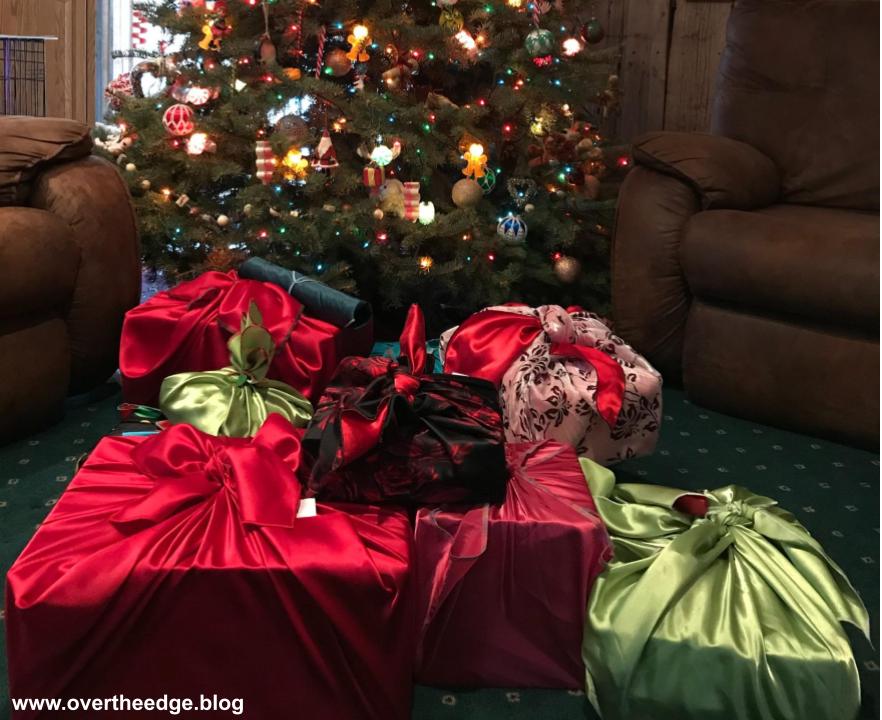
Fabric gift wrap is beautiful and can be used over and over again. I’ve been using fabric gift wrap for many years. The serger is a perfect tool for finishing the raw edges of your fabri gift wrap edges quickly and neatly. You can simply serge the edges of a piece of fabric just like you would with a cloth napkin and use it like wrapping paper. Or you can create a variety of gift bags with your serger. Check out my blog post and tutorial on serger made fabric gift wrap.
Apron

Every year at our store we make holiday aprons to display. This was my apron for 2020 and it was based on Kwik Sew pattern 4284.

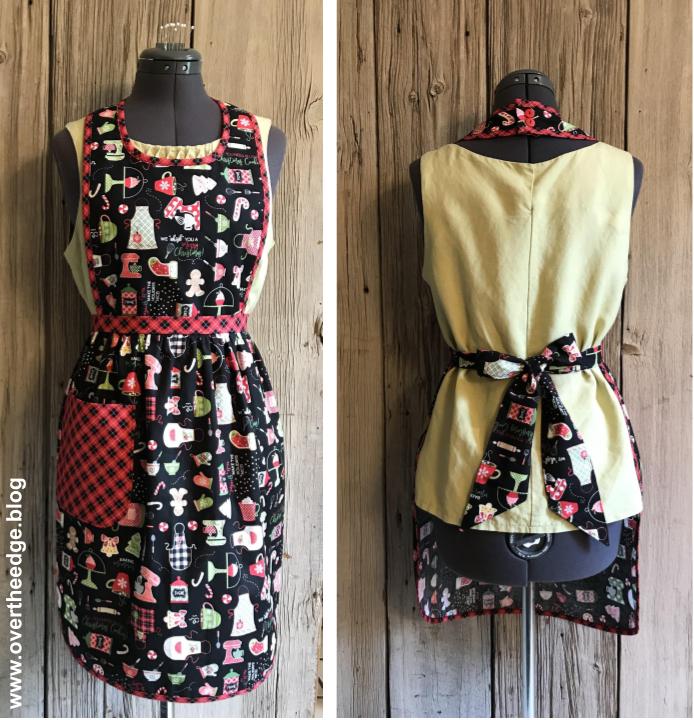
I applied all of the binding on the apron using my 36mm double fold bias binder and a serger chain stitch. I used the same set up to apply the binding to my apron as I did for my watermelon tree skirt. Here are the links in case you would like to learn more.


Pot Holders
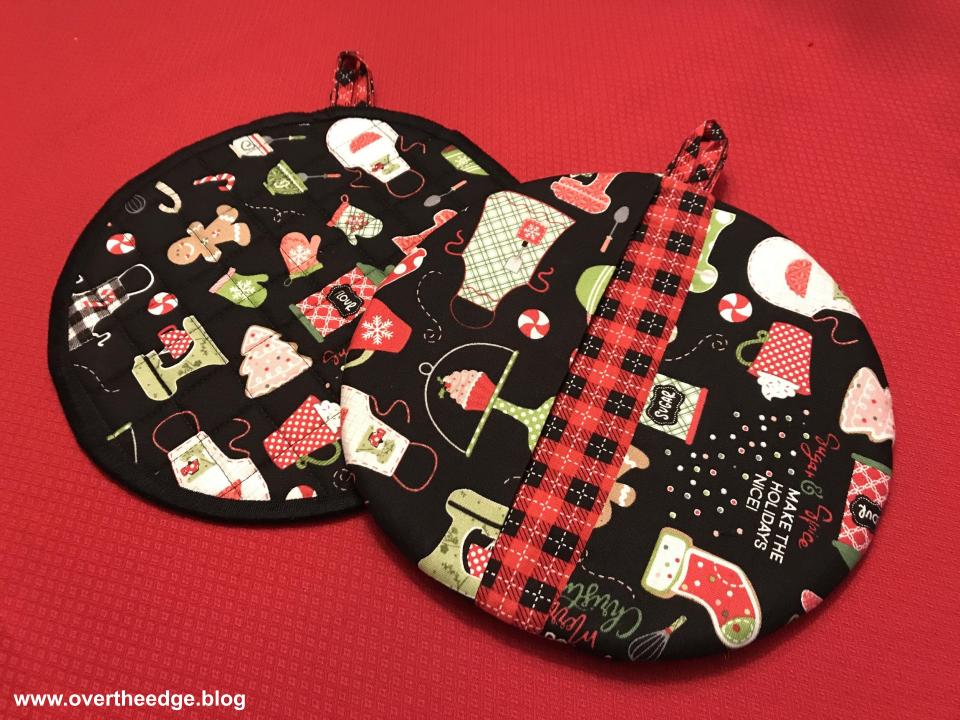
These potholders were a bonus project made with the leftover fabric from my apron. For the one on the left I made my own quilted fabric with my sewing machine. Then I used cotton thread with a three thread overlock wide and a small stitch length (can’t remember how small) and serged the edge. The one on the right was made by layering the fabrics and serging around the circle with a four thread overlock. Then I flipped the finger pockets over to conceal the serger stitches. The hanging loops were made from leftover bias fabric strips from the apron and the serger 36mm double fold bias binder.

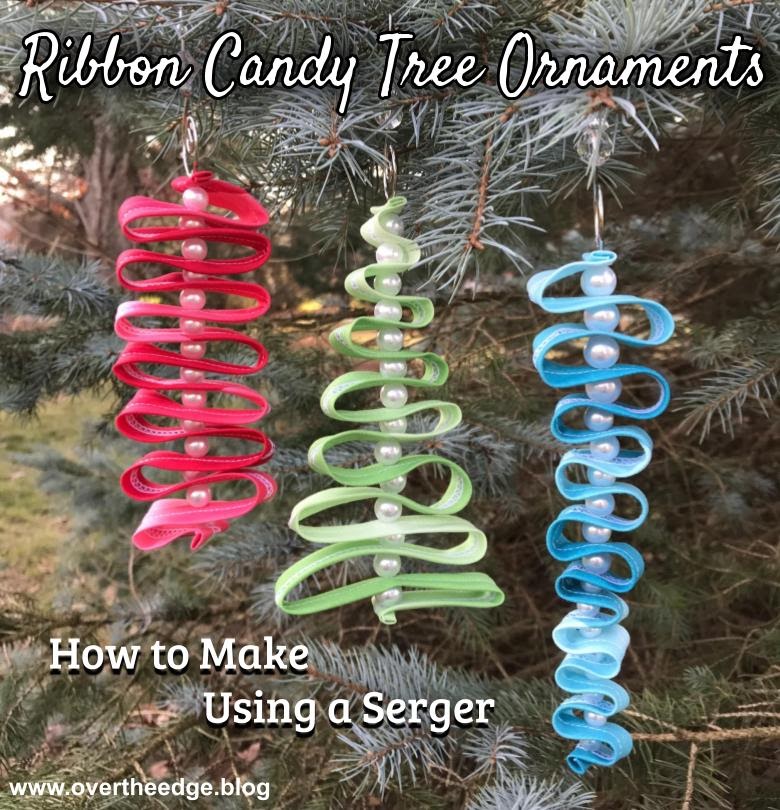
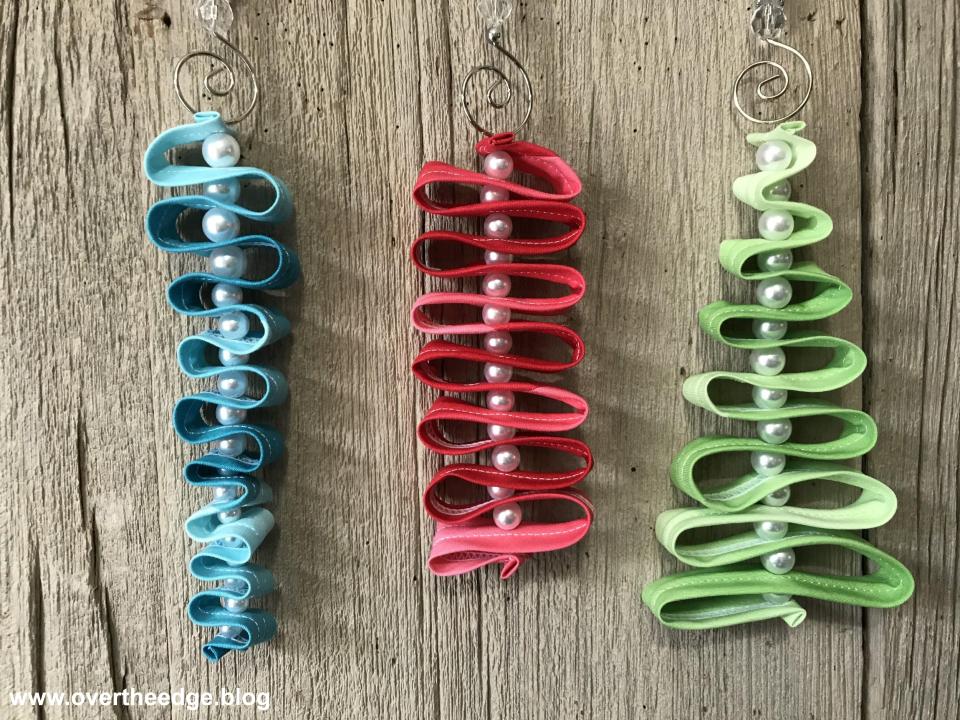
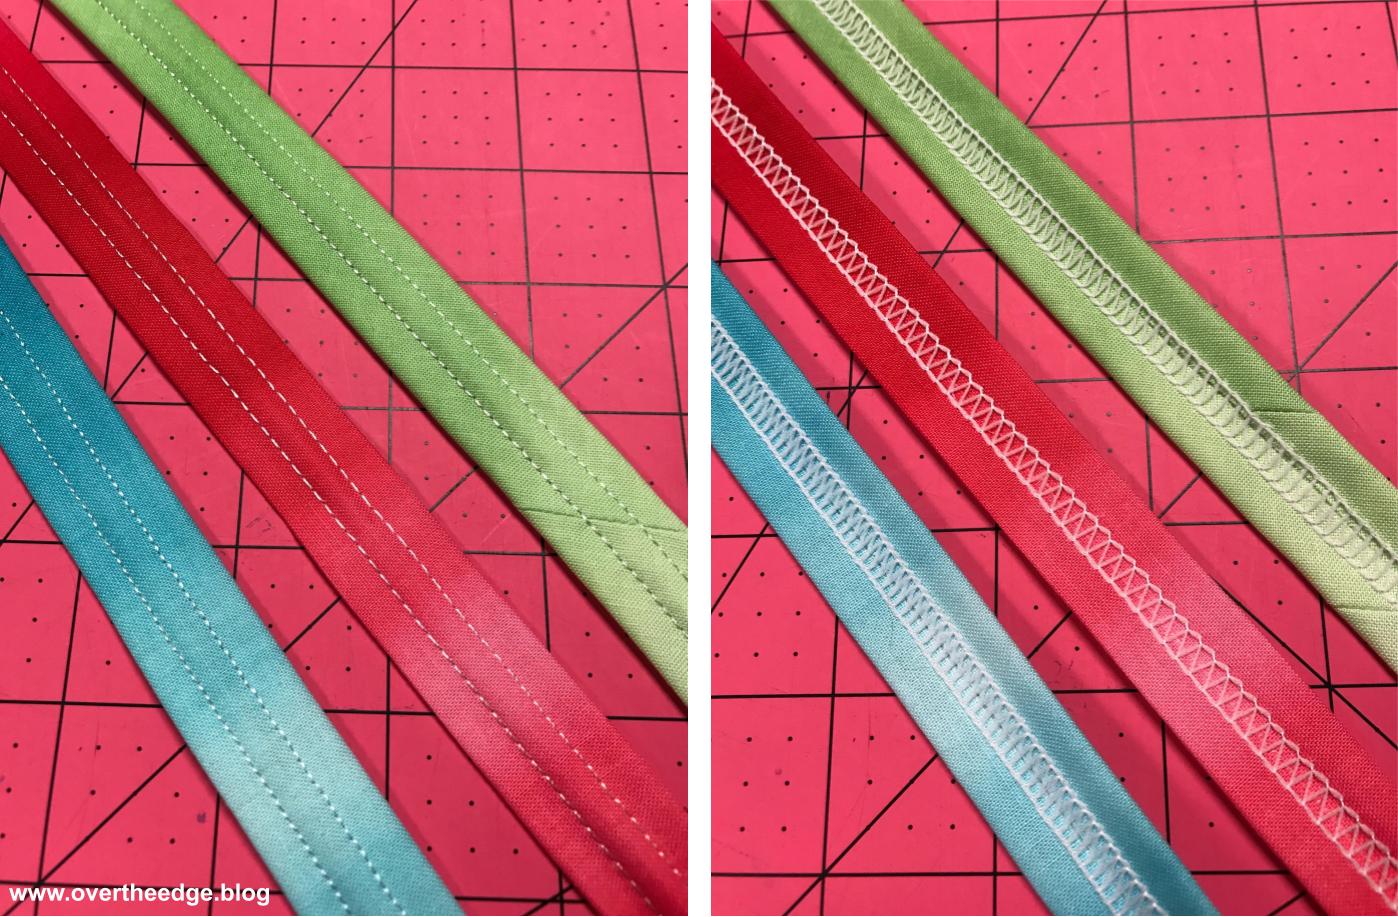
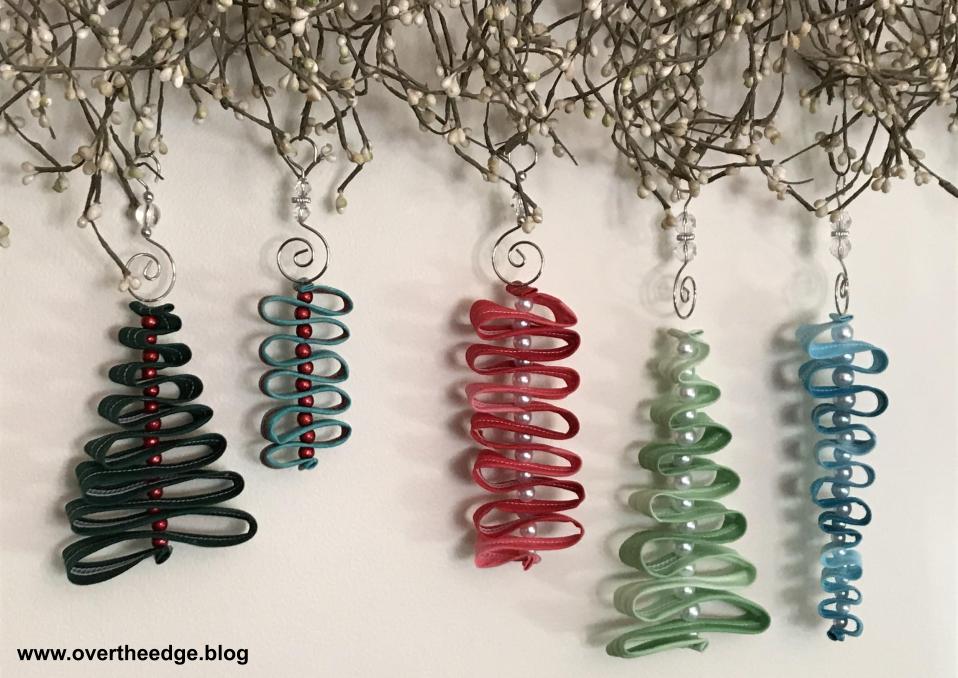
Ornaments
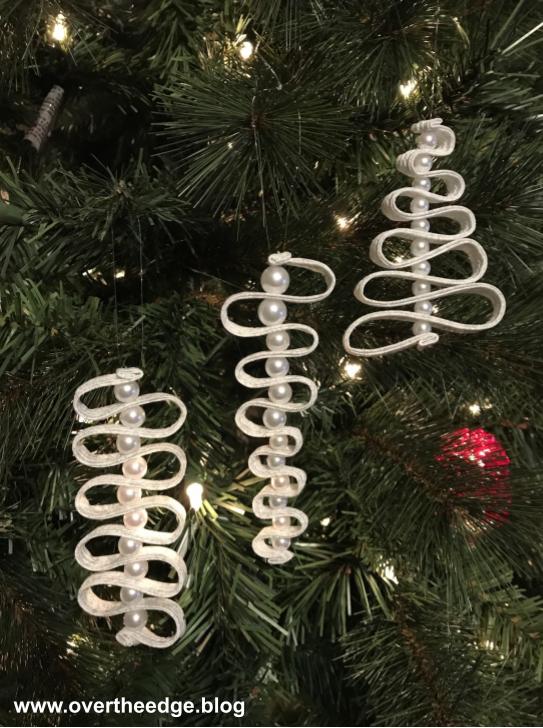
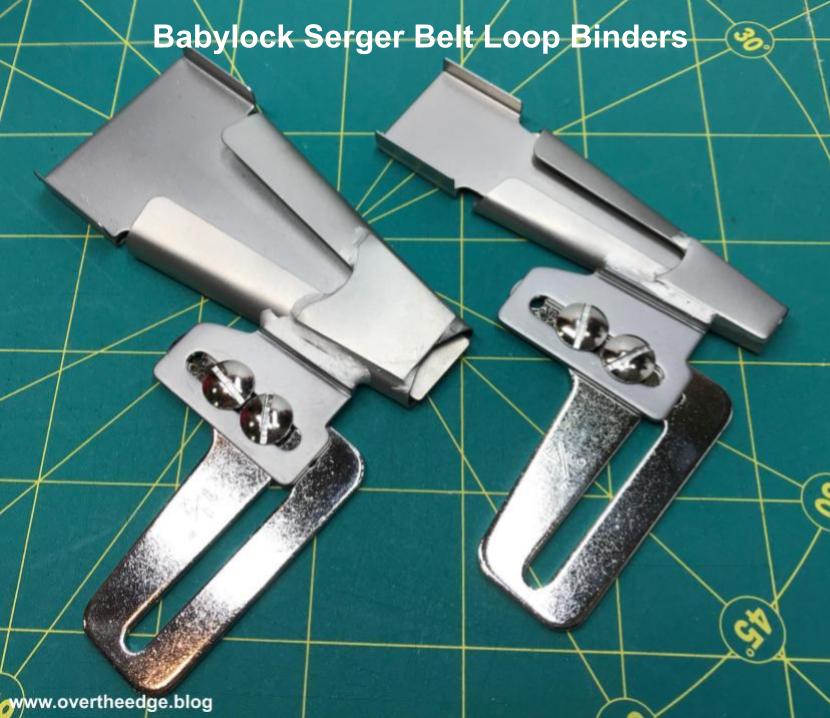
These ornaments all began with a folded piece of fabric, which I quickly and easily made with the cover stitch on my Baby Lock Evolution and the belt loop binder or double fold bias binder. Then I grabbed my hand sewing needle and combined the fabric “ribbons” with beads to make the ornaments. Your choice of fabric will determine whether your ornaments are fun and whimsical or lovely and elegant.
Check out my blog post about experimenting with your serger to make the best fabric ribbons for ornaments:
and my tutorial for more information on making your own ribbon candy ornaments using your serger
https://overtheedge.blog/tutorials/ribbon-candy-tree-ornament-tutorial-for-sergers/
Quilt

At the store this past spring most of the clerks participated in a fun activity for National Quilting Month. We created our own quilt patterns using only a layer cake for the fabric. Then we taught a class based on our designs. I called my quilt design, Forty Two Ten by Jen. Of course I had to use my serger to make my half square triangles (but you could also make it on a sewing machine.)
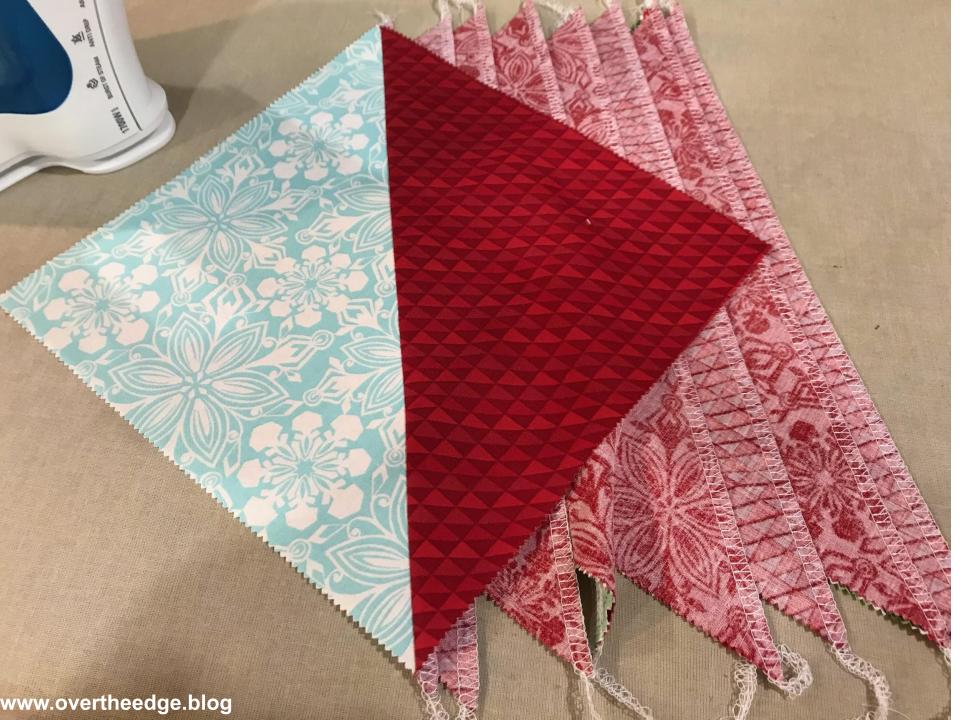
I also had a christmas layer cake, Jingle by Deb Strain of Moda, that I wanted to use. So I made a bunch of half square triangles with my serger and pieced them together to make this throw quilt for the holidays.
I considered three different layouts for the half square triangles in my holiday quilt. The winning layout was the friendship star in figure 3. But the giant flying geese in figure 2 was a close second. I finished piecing the quilt top earlier this year, but the layering and quilting will need to wait until next year…
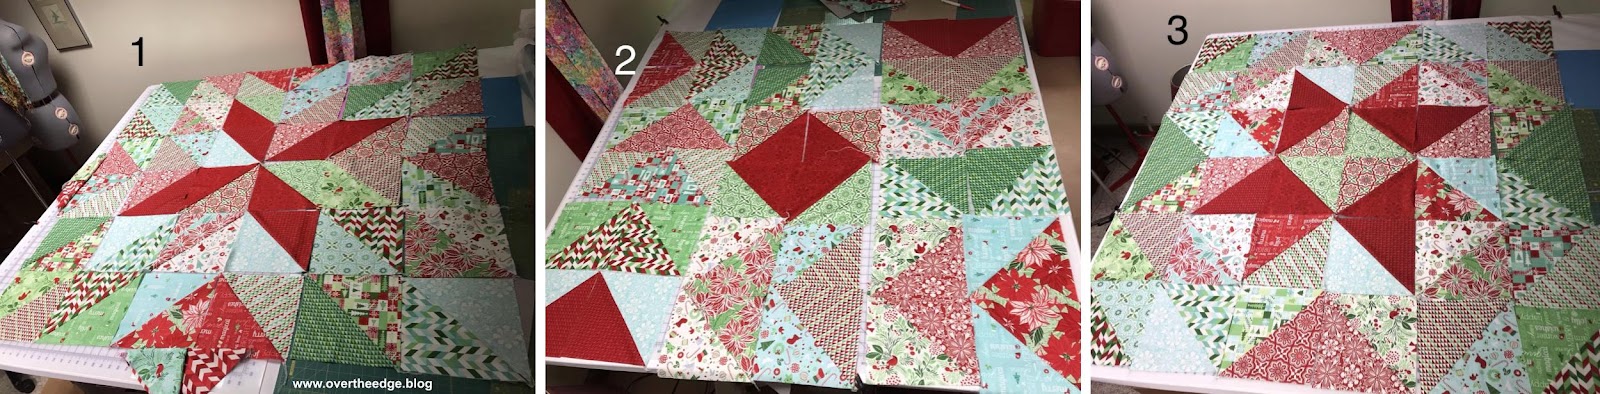
Here is the link to my quilt tutorial for Forty Two Ten by Jen and my serger half square triangle video if you would like to give it a try:
Holiday Serging with Jen
I hope you enjoyed learning about the many ways I used my serger this holiday season. Happy Holidays and Happy Serging! – Jen
Resources
Stocking pattern used by Jen: http://www.beancounterquilts.com/
Wedge ruler for Jen’s tree skirt: https://www.phillipsfiberart.com/shop/-FREE-FREE-FREE-/p/A-Ten-Degree-Free-Patternthe-one-that-used-to-be-on-the-backing-card-x12926655.htm