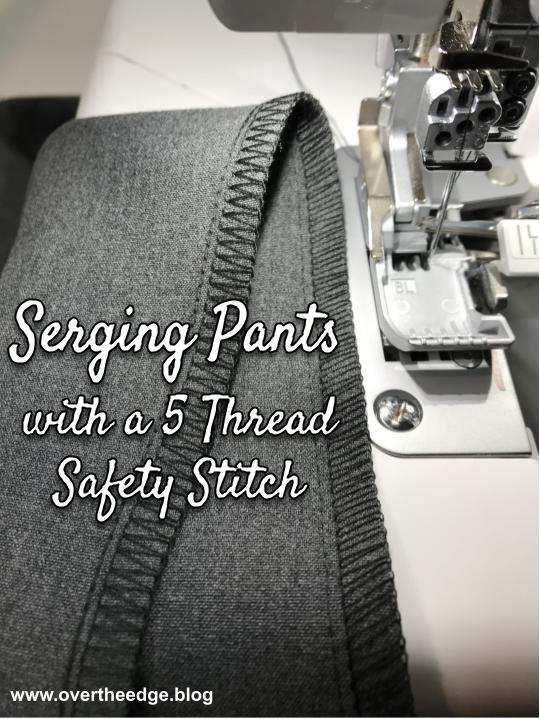
Serging Pants with a 5 Thread Safety Stitch
Serging pants with a 5 thread safety stitch might be one of my favorite new uses for my Baby Lock Evolution serger. This stitch combines a 2 thread chain stitch with a 3 thread overlock. You need to have a serger capable of both a chain stitch and an overlock stitch to create this stitch.
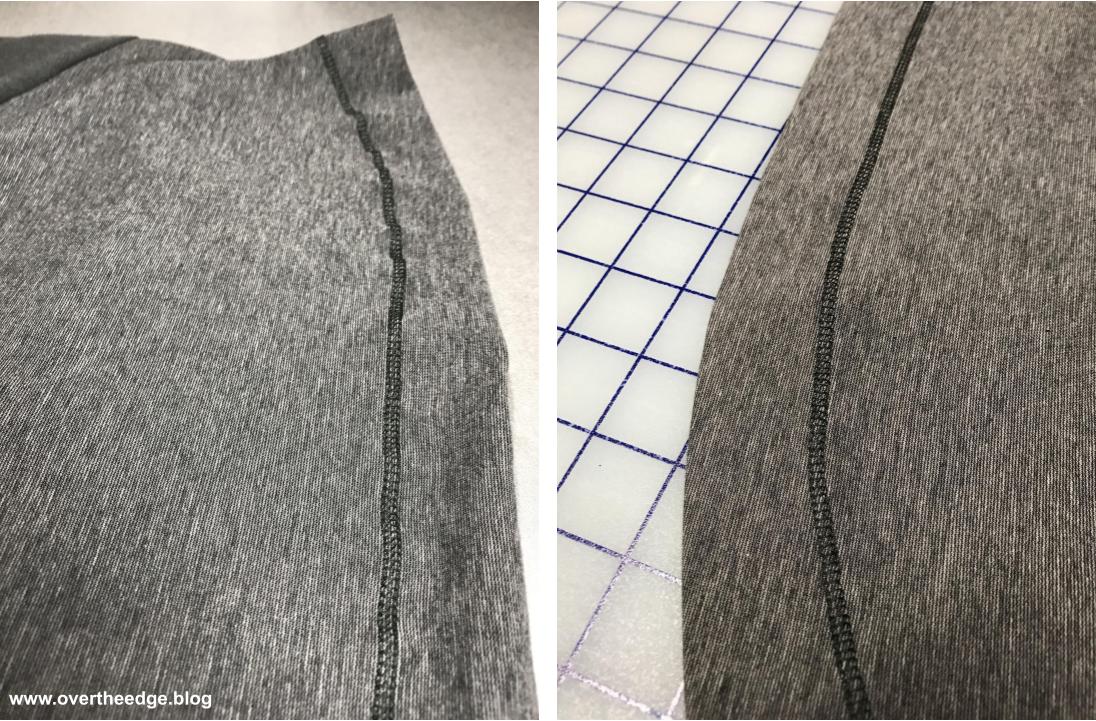
The 5 thread safety stitch makes a strong, secure seam and is commonly used in ready to wear garments like pants. Take a look at the inside seams of some of your store bought pants. The 5 thread safety stitch is probably one of the stitches you will see. The seam in the photo below is from one of my favorite pairs of stretch woven pants (I bought at Kohl’s.)

Serging Pants with a 5 Thread Safety Stitch
Since this seam method is commonly used to construct ready to wear pants, I thought it was about time I gave it a try. This was the first time I have serged a garment with the 5 thread safety stitch. Most of the garments I have serged were made from stretchy knits that I seamed with a 4 thread overlock and hemmed with a coverstitch.
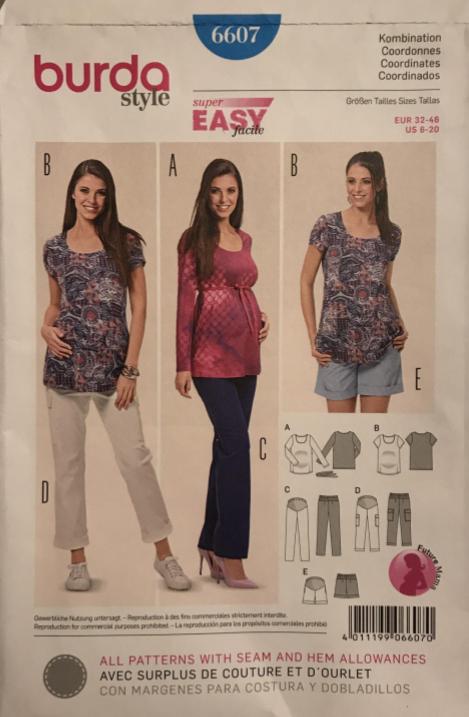
Burda 6607
My project was a pair of maternity pants for my daughter using Burda pattern 6607, View C. The pattern wasn’t specifically written with a serger in mind, but it was easy to adapt. I used a stretch woven fabric with an unknown fiber content for the pants. It was probably a poly blend, maybe with a little wool. I prewashed it in my washing machine in cool water and dried it on low heat in my dryer. It washed up really nicely. I used a rayon lycra blend for the stretch tummy panel.
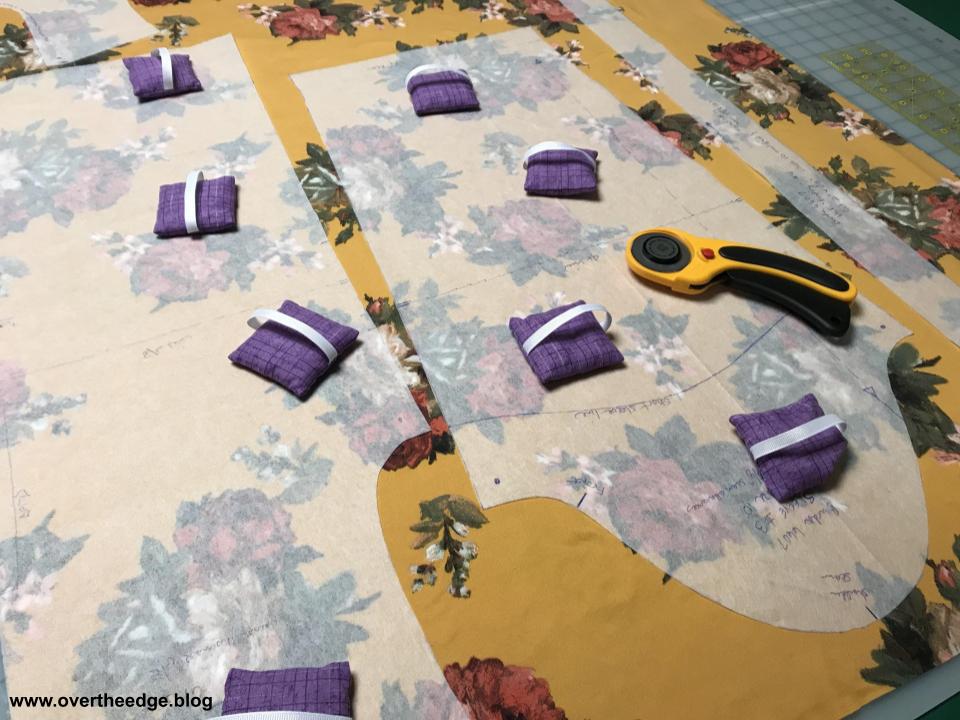
Prepare Pattern Pieces
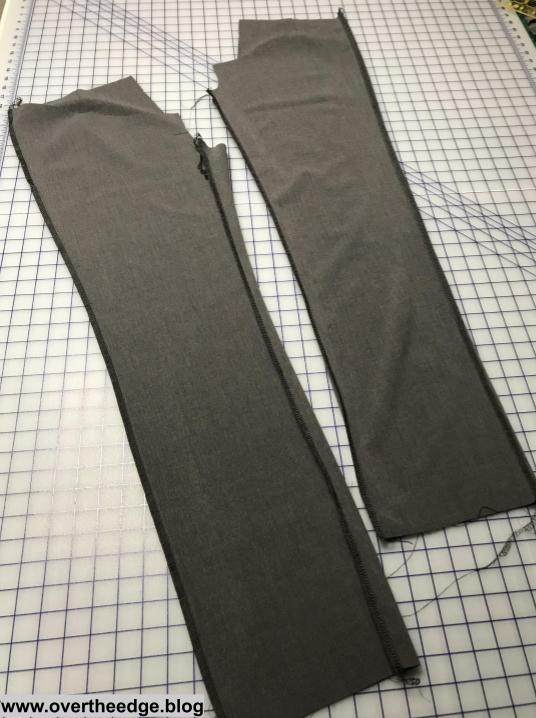
I began by altering the pattern pieces to fit my daughters 5’2” frame. Then I cut out all the pieces from my fabric.

Back Darts
I used my sewing machine to make the darts. Everything else was done with the serger.

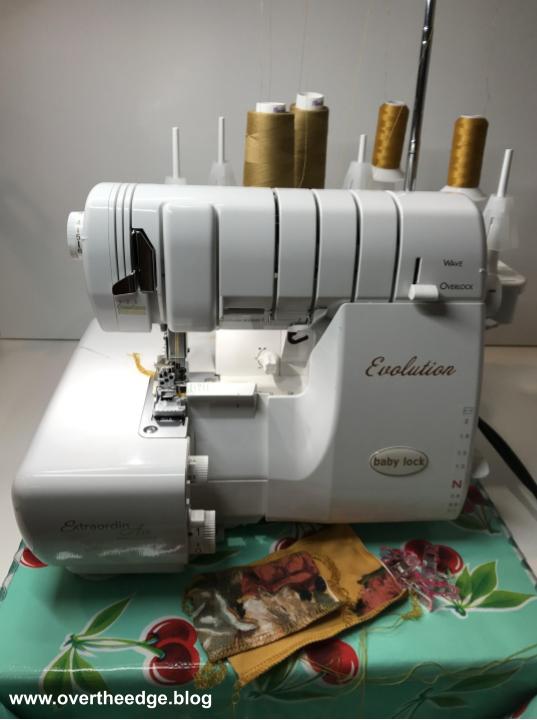
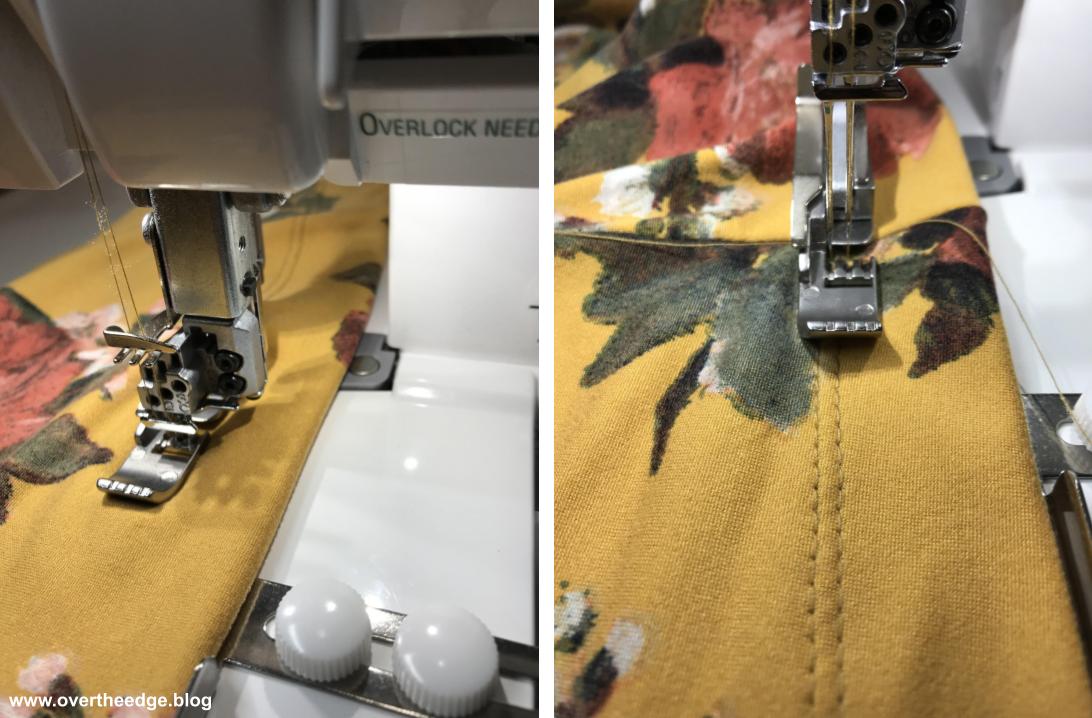
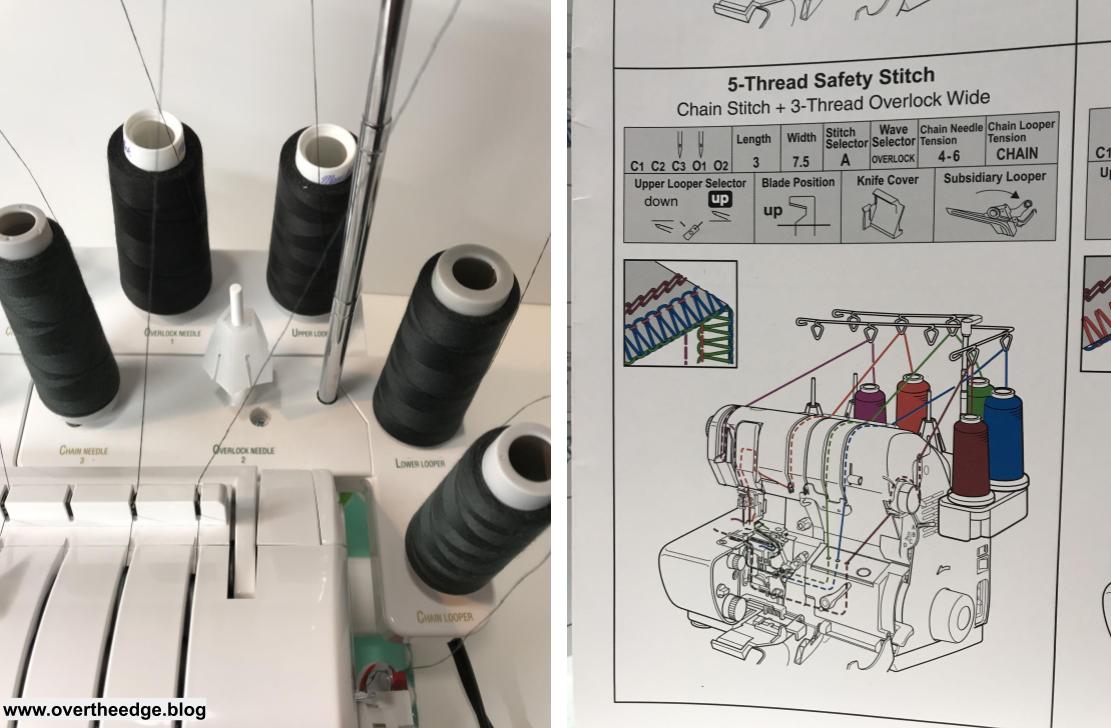
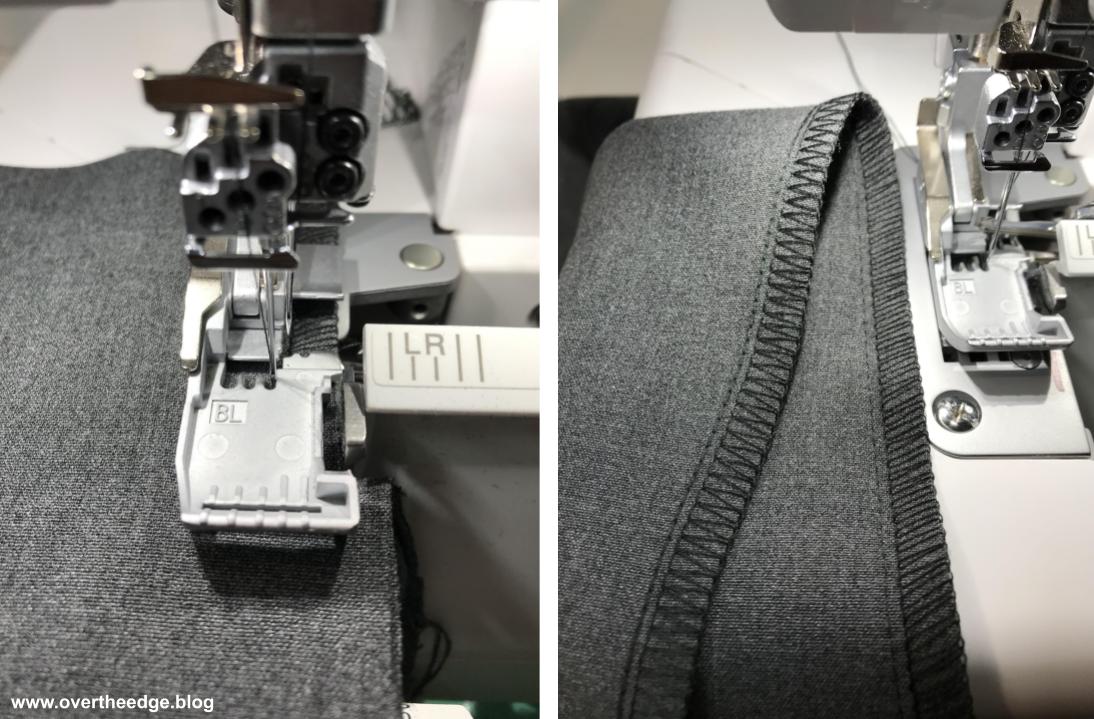
Serger Set Up
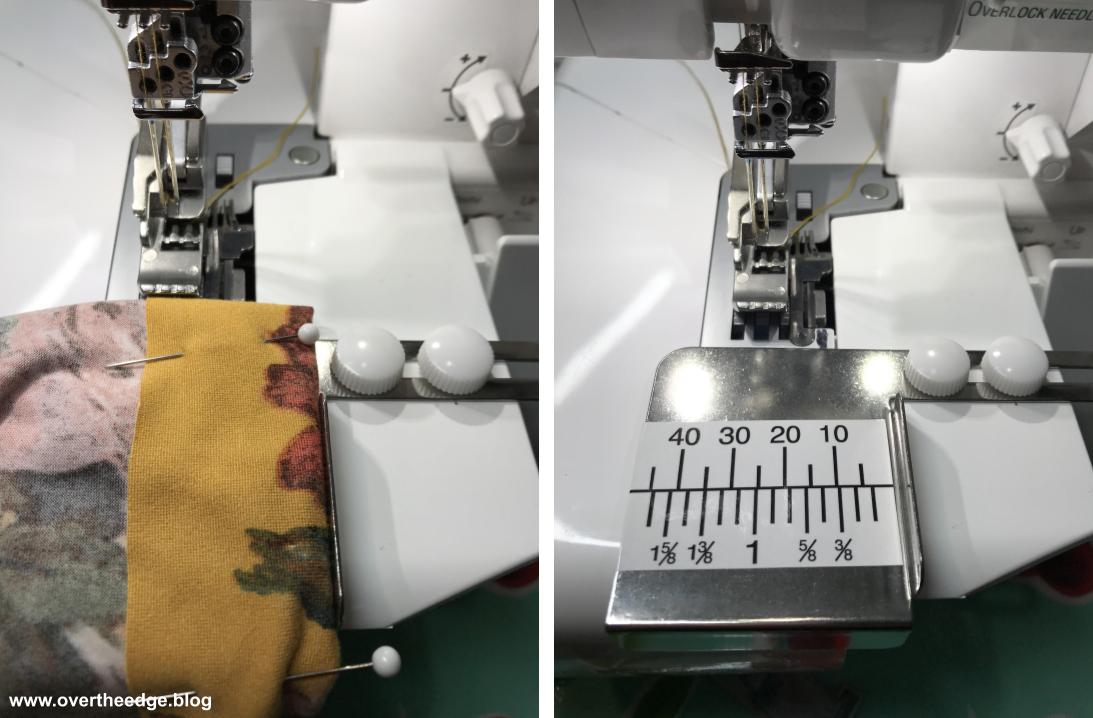
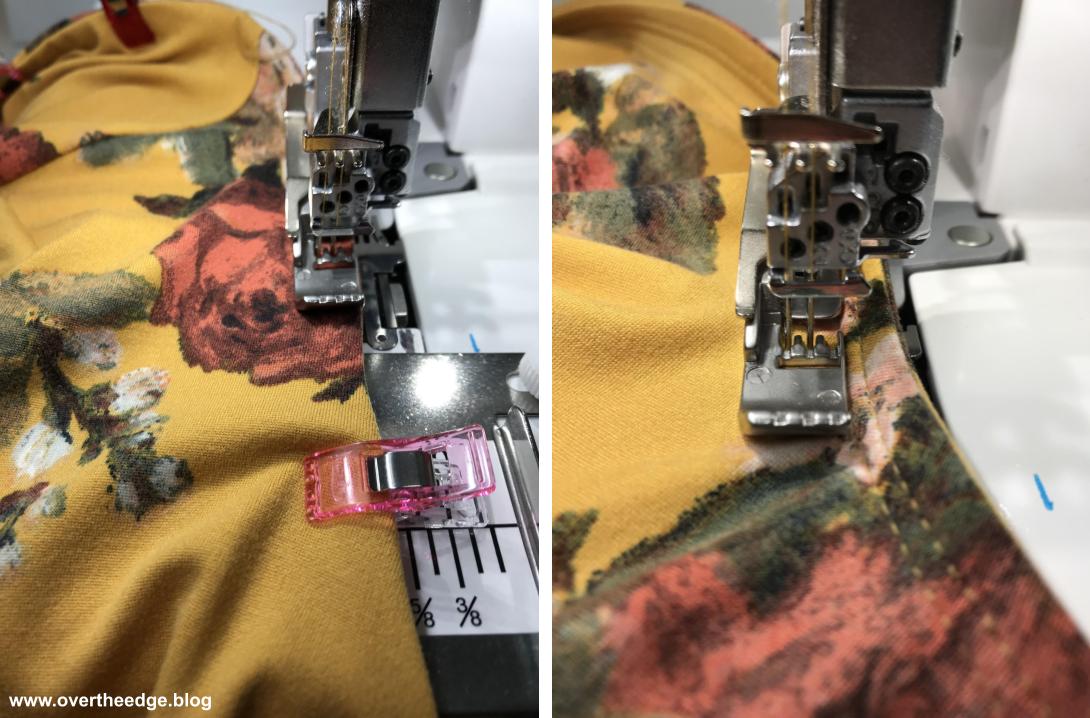
I set up my Baby Lock Evolution serger for a 5 thread safety stitch, which is a chain stitch combined with a 3 thread overlock. I used the far right needle (C3) for my chain stitch and the left needle (O1) for the 3 thread wide overlock. This seam finishes about ⅜” wide. Depending on which needle you use, you can also make this stitch ½” or ⅝” wide. I used standard serger cone thread in all positions. Using a scrap of the pant fabric, I tested my stitch. I was happy with the stitch that was produced by using the settings from my quick reference threading guide.

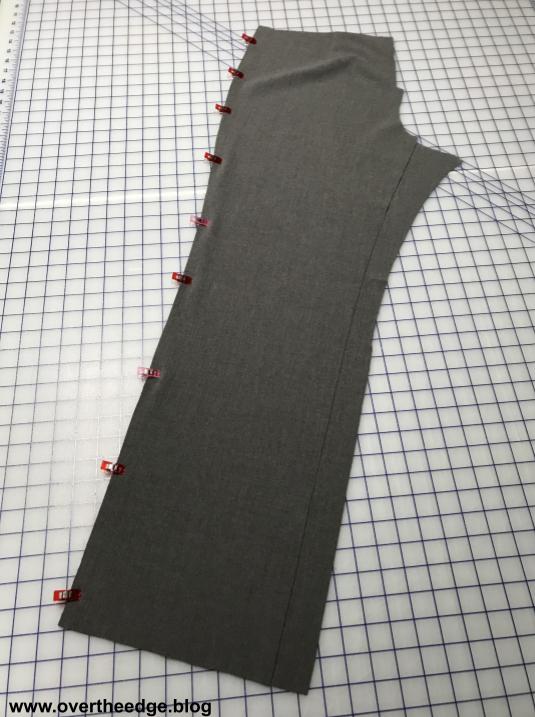
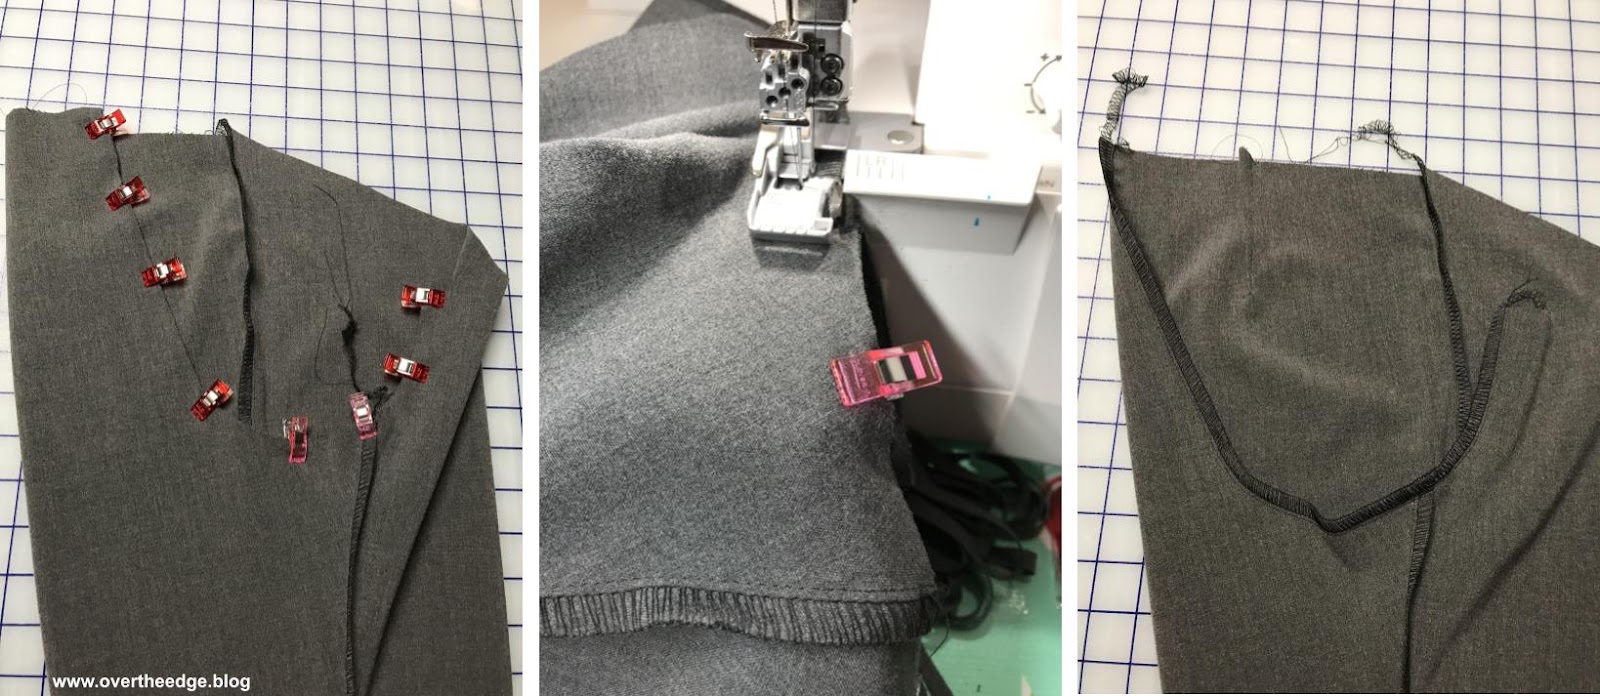
Side Seams
I pinned (with Wonder Clips), then serged each leg front to leg back at the side seams using the 5 thread safety stitch.
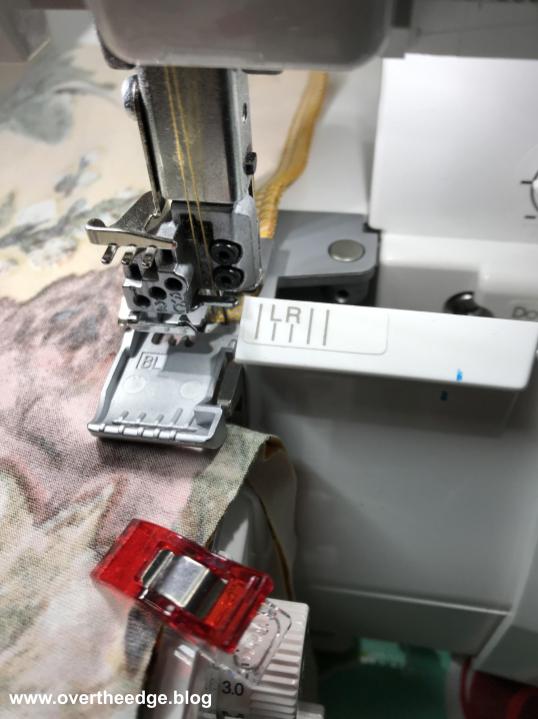
Seam Allowances
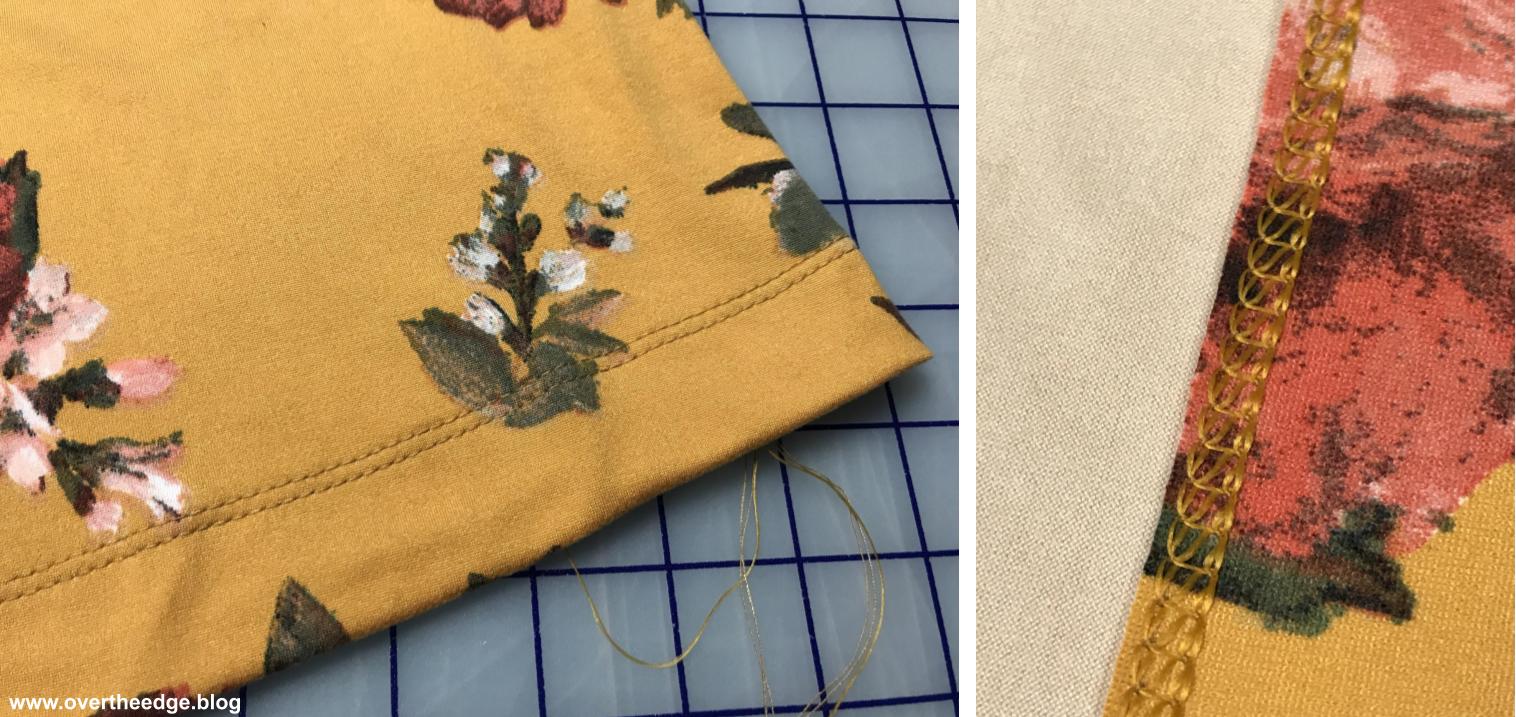
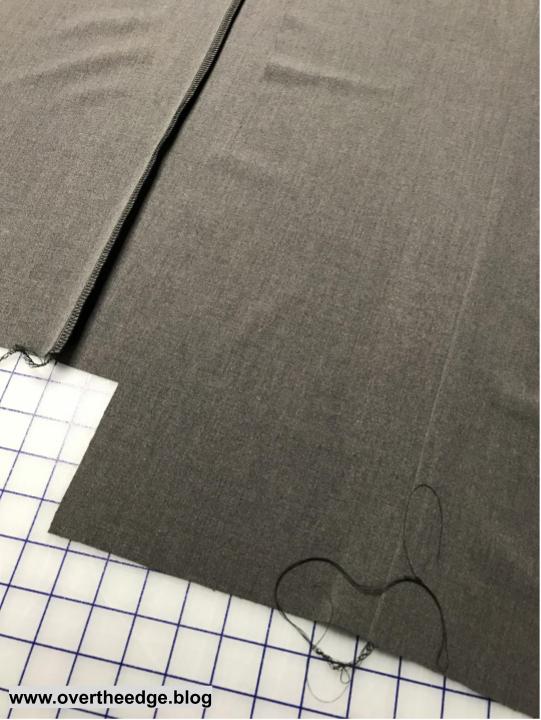
The pattern calls for a ⅝” seam allowance. The L mark on my knife cover indicates a ⅝” seam allowance from the left overlock needle (O1). But my seam for the 5 thread safety stitch is at the C3 needle position. The C3 needle is ⅛” to the left of the left overlock needle, so I guided the raw edges of my fabric along the first line to the left of the L mark on my knife cover. About a ¼” of the seam allowance was trimmed off with the blades.
Here is a photo of the serged side seams.
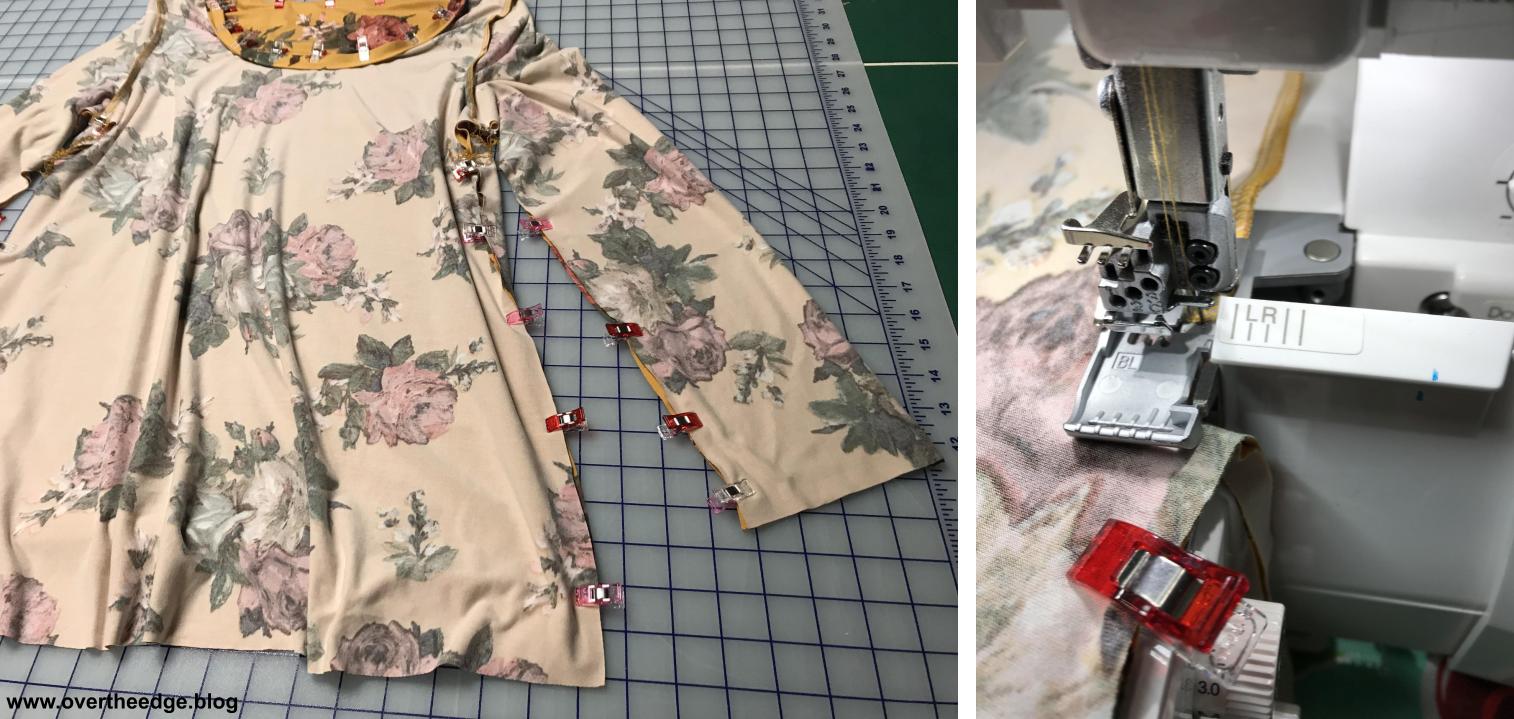
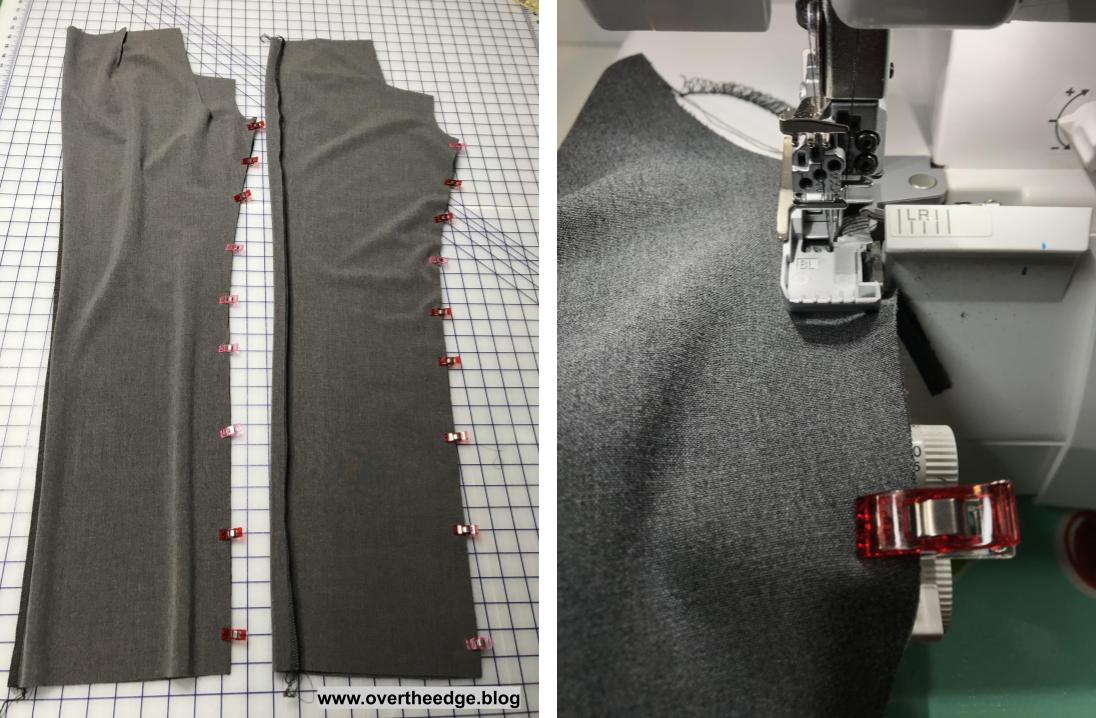
Inner Leg Seams
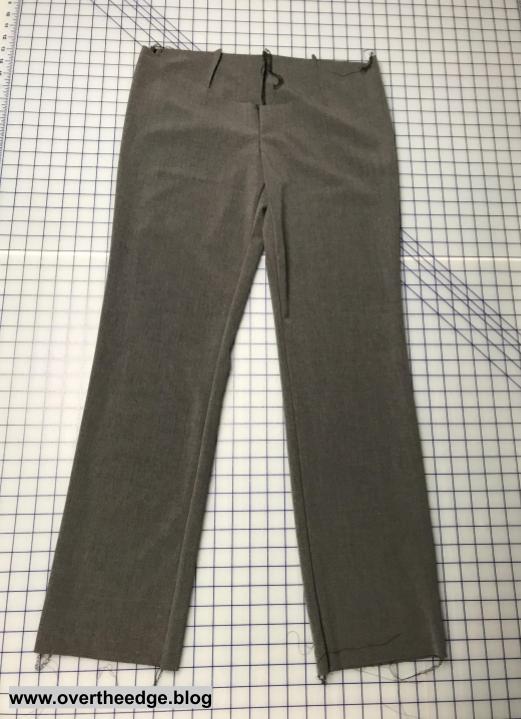
I pinned, then serged the front to the back of each leg at the inner leg seams, still using the 5 thread safety stitch.
Crotch Seam
I turned one leg right side out and inserted it inside the other. Then I pinned and serged the crotch seam with the 5 thread safety stitch.
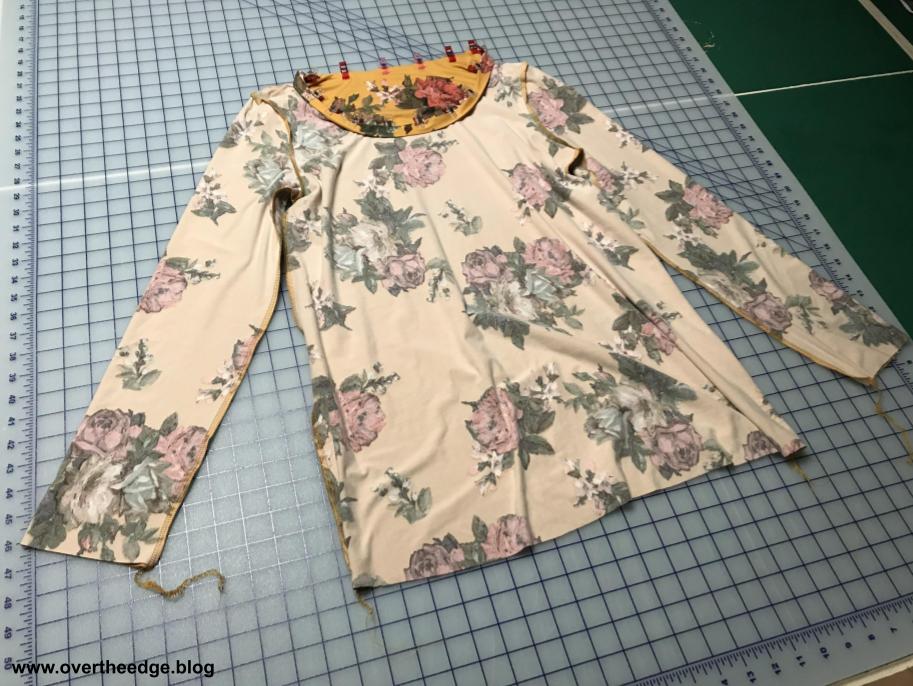
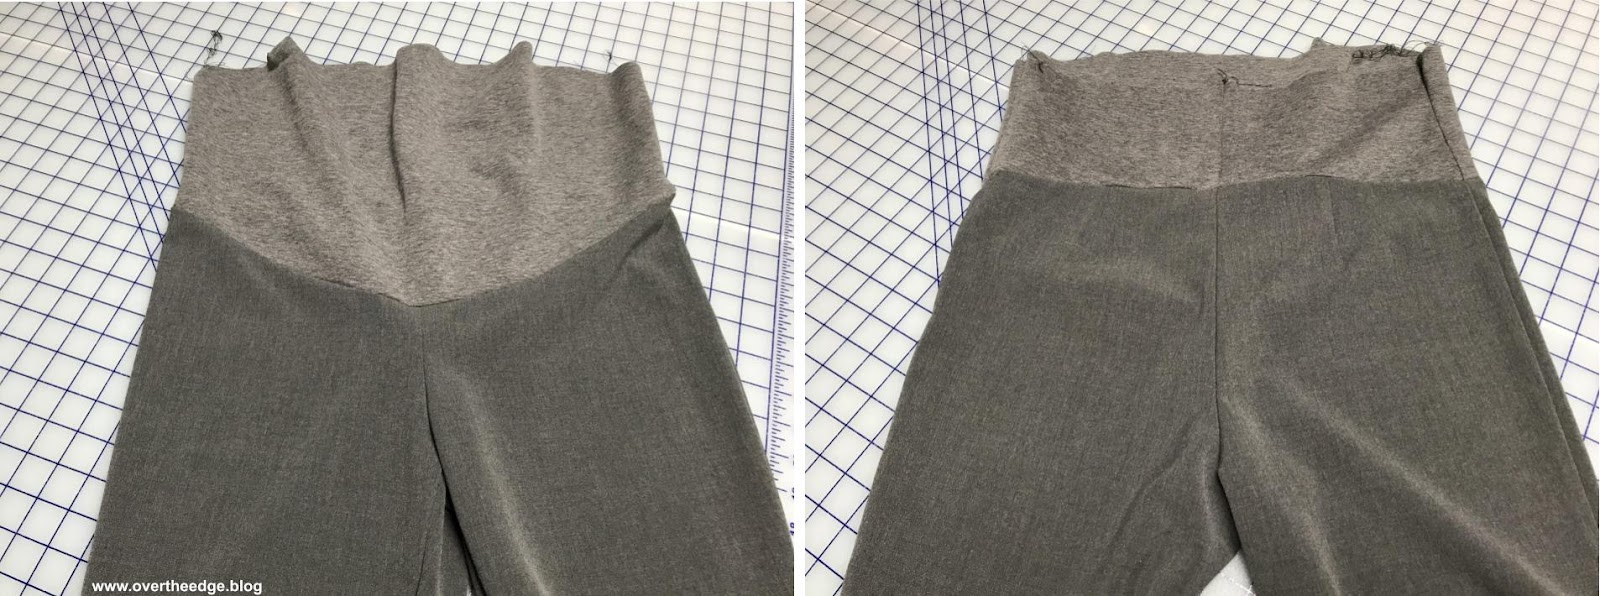
I turned the pants right side out to evaluate my progress.
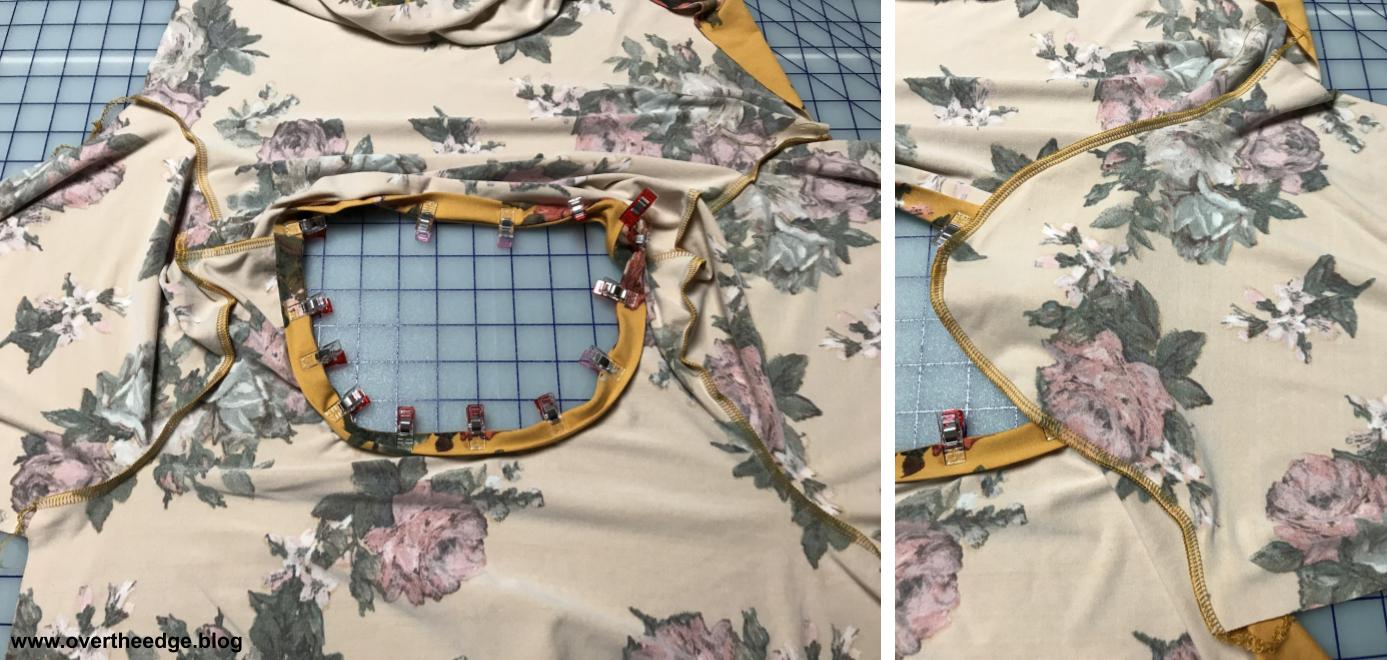
Stretch Tummy Panel
Next I made the stretch panel for the tummy. I serged the back pieces together and then attached them to the front panel piece using the 5 thread safety stitch.
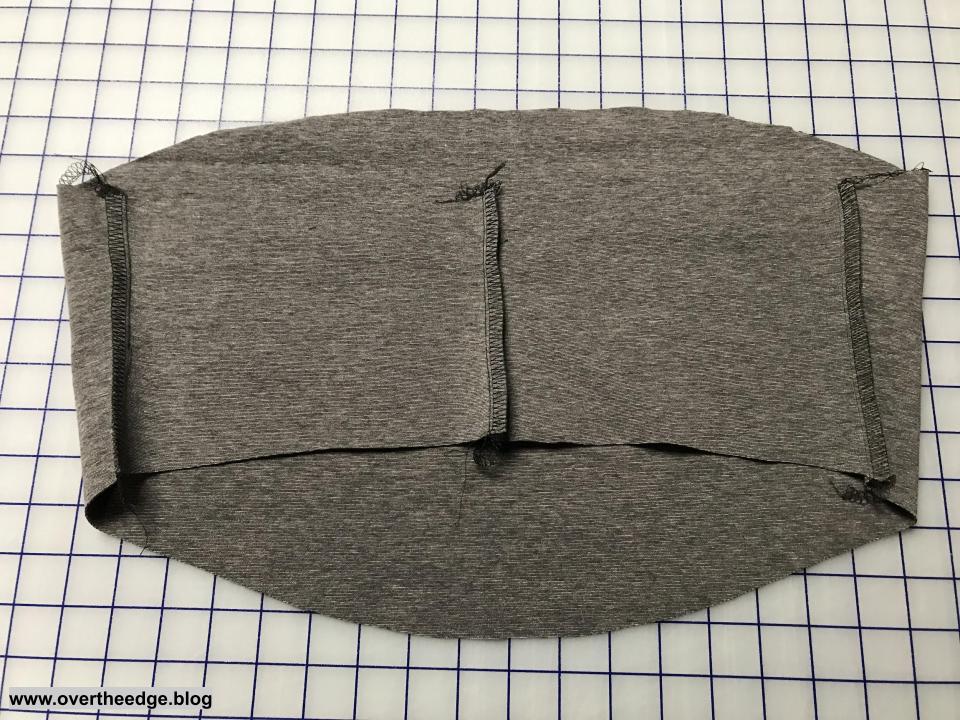
Then I pinned the stretch panel to rest of the pants and serged them together with the 5 thread safety stitch.

Fixing an Oops
At this point I realized I forgot to leave one of the side seams open at the top edge for the waist casing. So I got out the seam ripper and ripped out a few stitches. I secured the end of the seam with a few tacking stitches on my sewing machine, so the chain stitch didn’t pull out.

Waist Casing
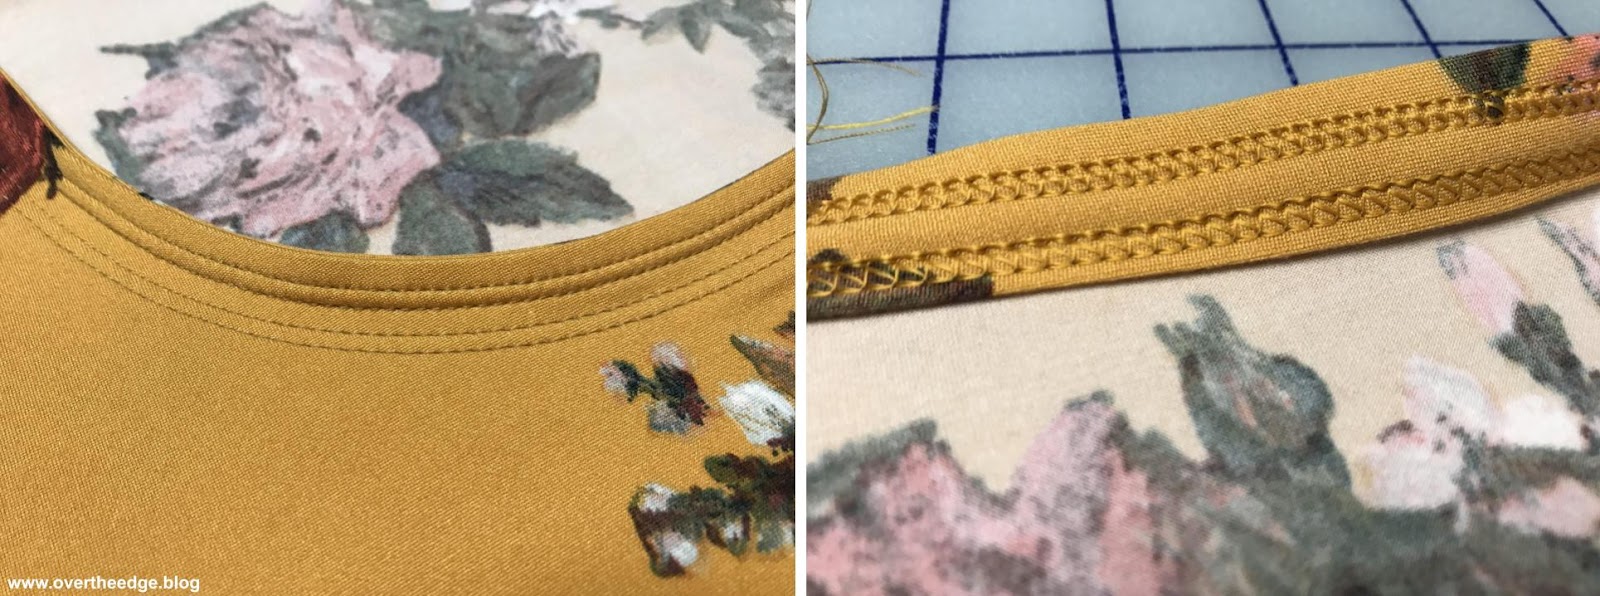
This pattern didn’t have a separate casing piece for the waist. The casing was formed by folding the top edge down, and stitching it in place. Because the edge was curved and the raw edge was wider, the fabric was wavy when I turned the edge under.
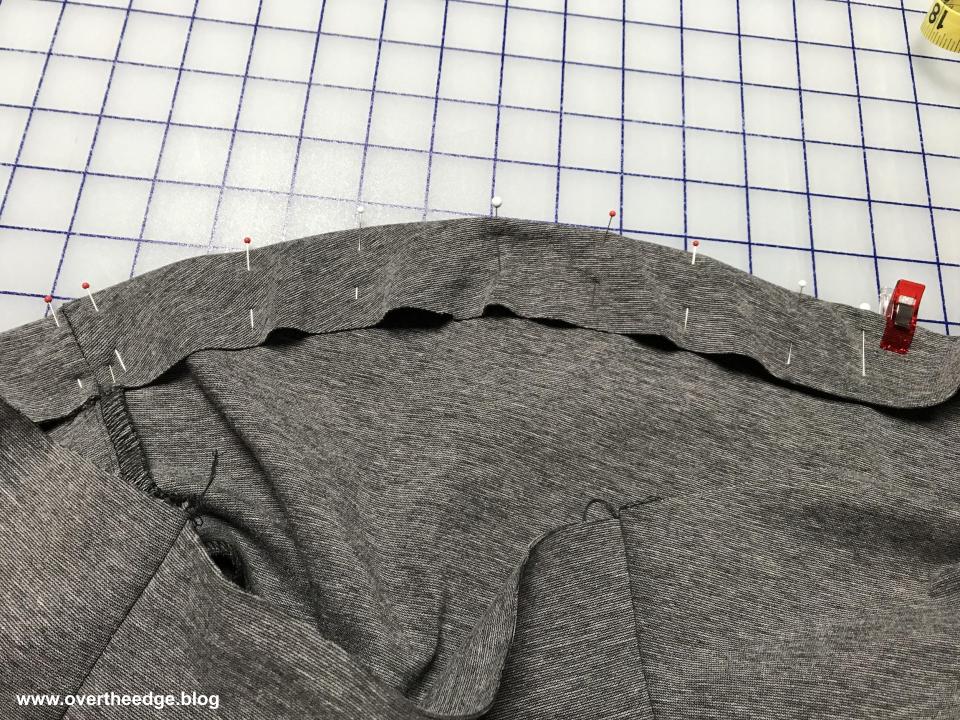
In a woven fabric garment I would have run a row of basting stitches along the raw edge and pulled on those stitches to gather the edge and ease it into the garment hem. But the tummy panel was a stretchy knit. So I didn’t ease it in first. I eased it in as I serged using my narrow cover stitch.
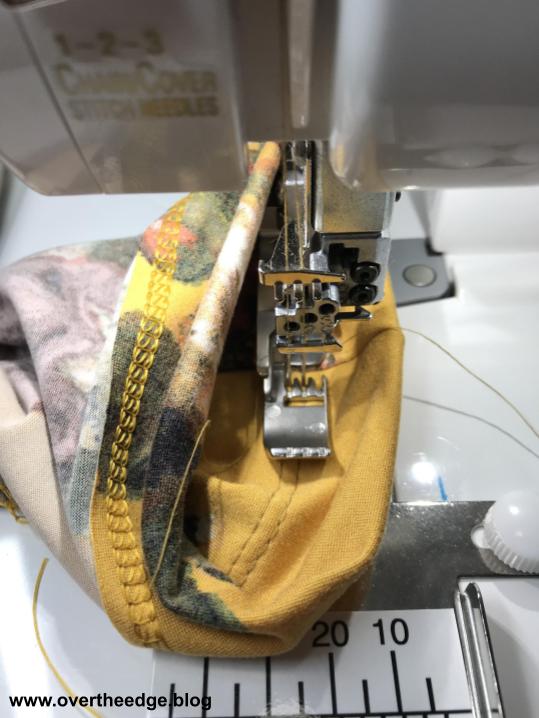
Switch Serger to Narrow Cover Stitch
I set up my serger for a narrow cover stitch using standard serger thread and the standard presser foot. Sometimes I use the cover stitch foot for this technique, but this time I chose to leave the standard presser foot on my serger.
I serged with the wrong side of the casing facing up, so I could see the raw edge of my fabric and make certain I caught the raw edges of the fabric in the stitches. The looper stitch ended up on the right side of my garment and the needle side of the stitch on the inside of the waist casing.
Easing the Curved Edge
To ease in the raw edges on the curved hem, I very gently stretched the casing as I serged. I grasped the casing on both sides of the presser foot and simply stretched it until the raw edge was flat and then serged. Basically I used the same technique to stretch the casing as I do when I apply elastic to the raw edge of a garment with a serger.
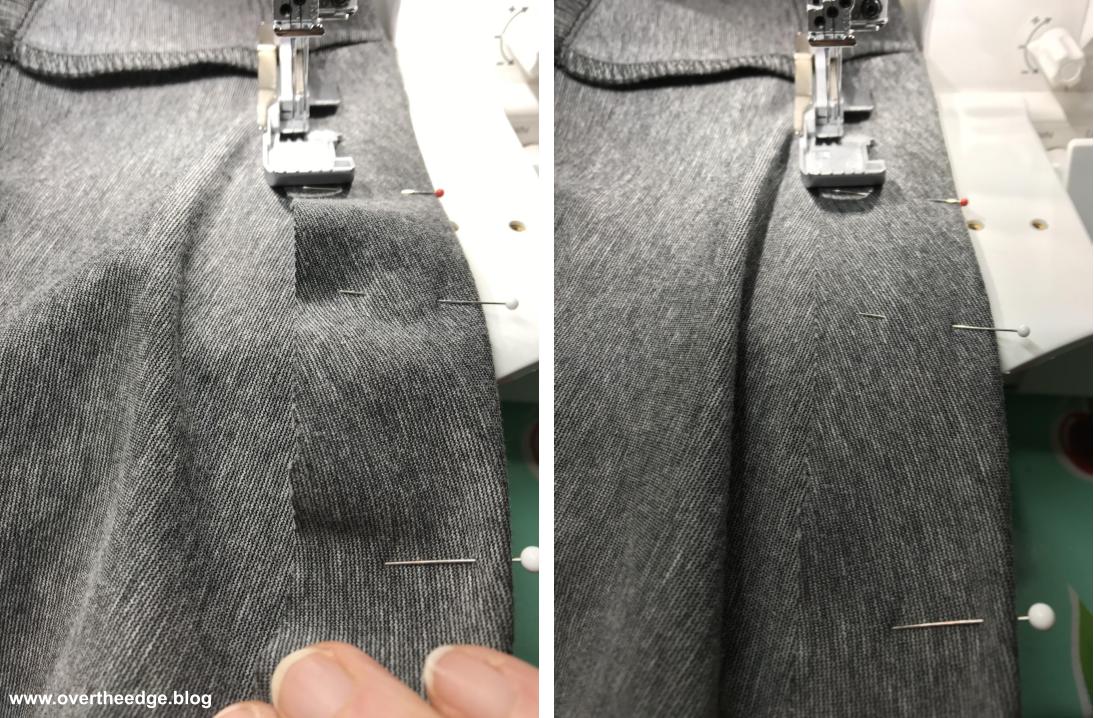
Ending the Cover Stitch in the Round
I did my cover stitching of the casing in the round. But because I serged with the wrong side of my fabric up, I couldn’t use my special technique for ending a cover stitch in the round. (see link in resources section at bottom of post.) If I did it this way I would have pulled my needle threads to the right side of my garment and then I would have had to pull them back to the wrong side again with hand sewing! So, I used the standard method to end the cover stitching.
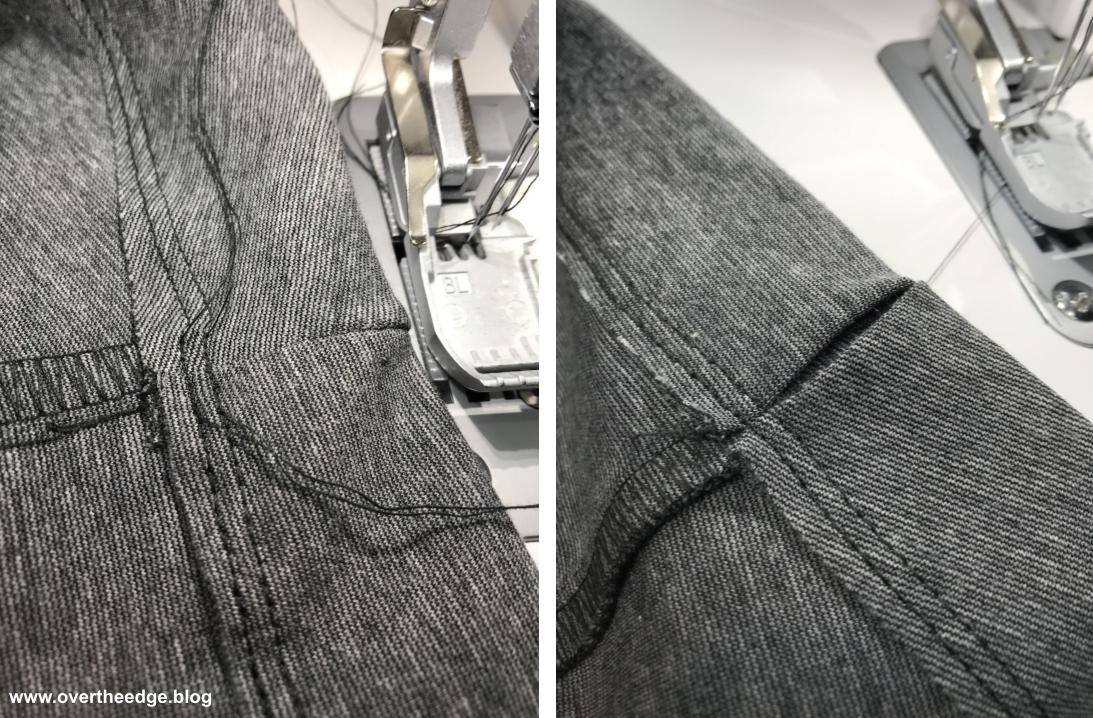
The photo below shows the cover stitch on the casing at the side seams. On the left you will see the overlap at the beginning and end of the cover stitch seam at one side seam, with the needle threads showing on the wrong side of the garment. On the right you will see the opening in the casing at the other side seam which was used to insert elastic.
Standard Method for Ending a Cover Stitch in the Round
Stop serging when you have overlapped your beginning stitches by a few. Turn the handwheel toward you until the needle is at its lowest point. Then turn it backwards until the needle is at its highest point. After doing this the threads should have released from the stitch fingers, so the fabric can be removed. Firmly grab the threads at the base of the fabric and the fabric and remove the fabric from the serger. Be sure to hold the threads firmly or you may inadvertently pull out some of your cover stitch as you pull. Always leave several inches of thread tails at the end of your cover stitch. Don’t trim them short or you may find the cover stitch unraveling easily from the end.
Press Casing and Insert Elastic
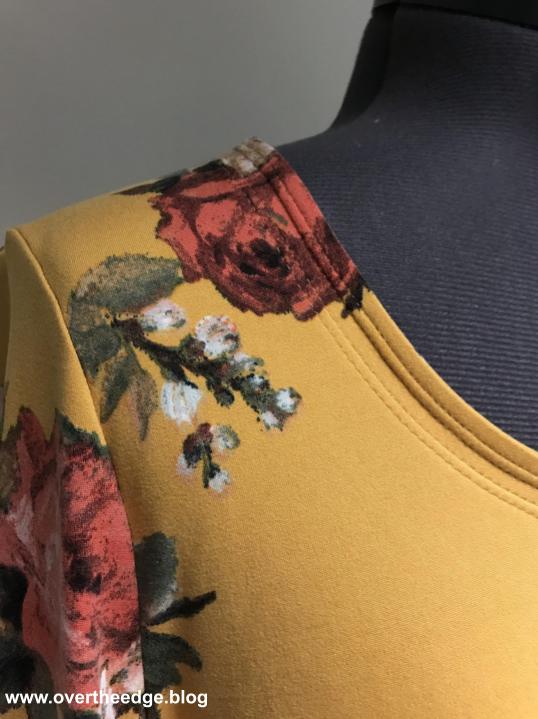
The casing hem was a little wavy after stretching and serging it. So I gave it a light press and all the ripples disappeared.
After pressing I inserted the buttonhole elastic into the waistline casing.
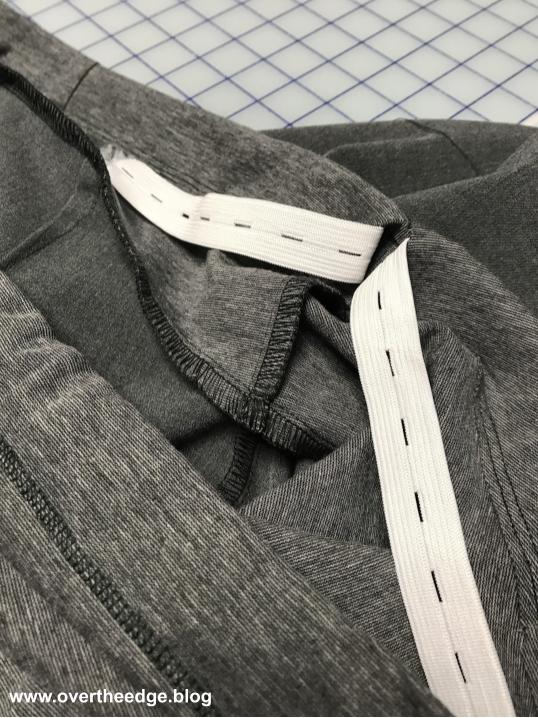
Here’s what the finished casing looked like with the elastic inserted.

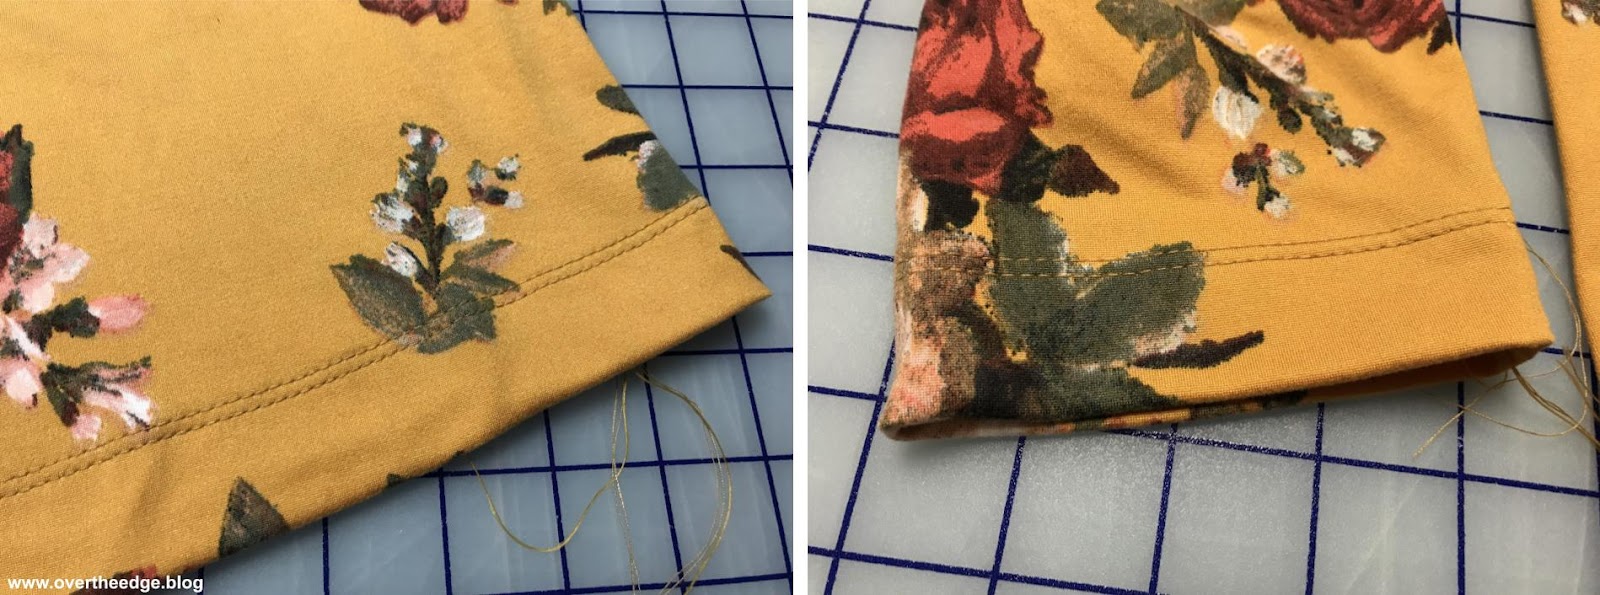
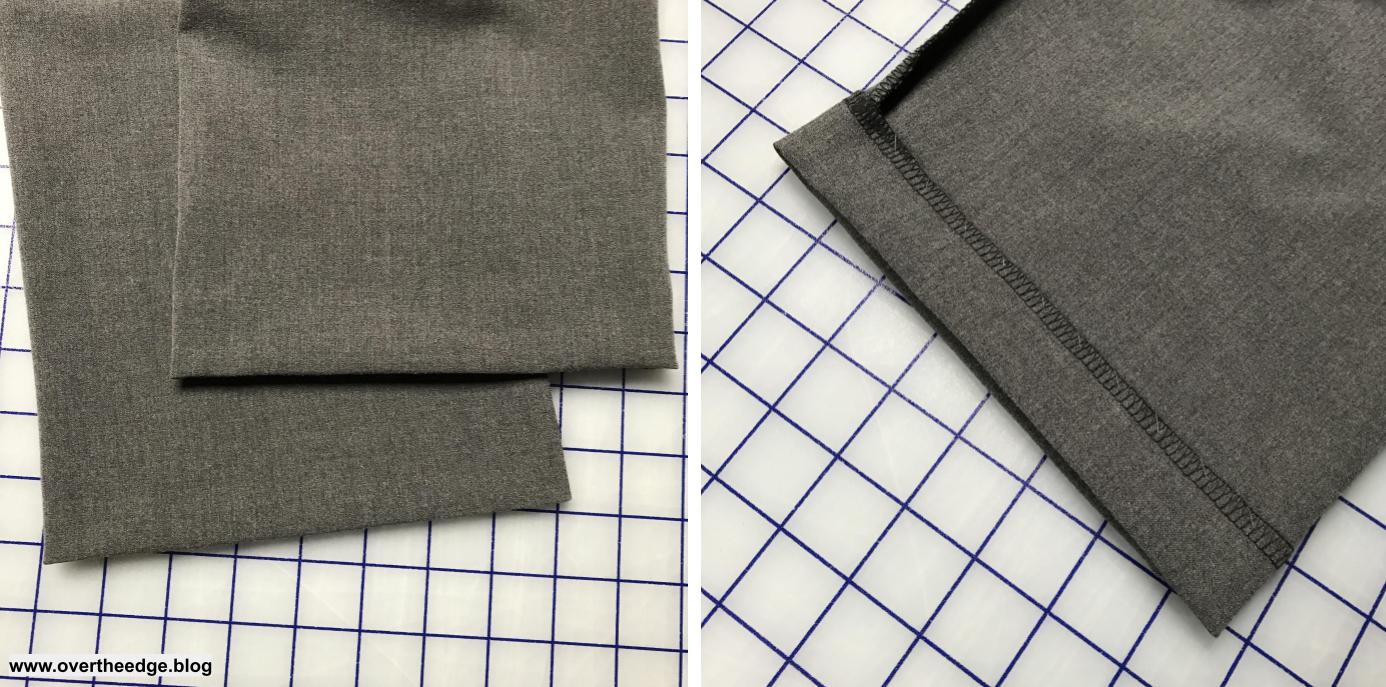
Pant Leg Hems
Last step was to finish the leg hems. Since the fabric in these pants looks “dressy” I thought the pants needed a truly “blind” hem. I switched my serger over to a 4 thread overlock stitch using standard serger thread. I serged the raw edge of the hems to keep them from unraveling. Then, I turned them up an inch and pressed. The last step was to stitch the invisible hem in place by hand.
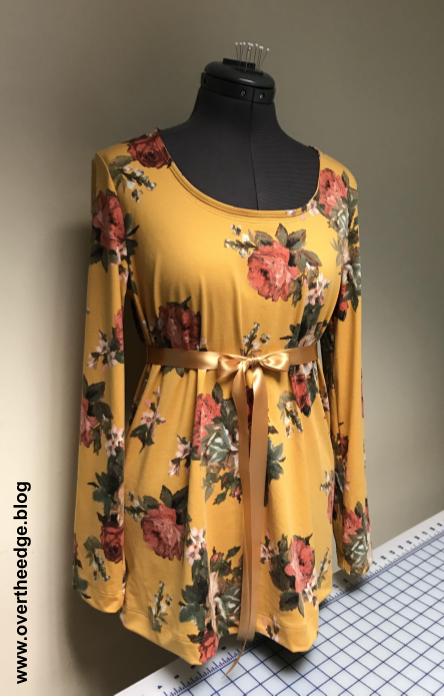
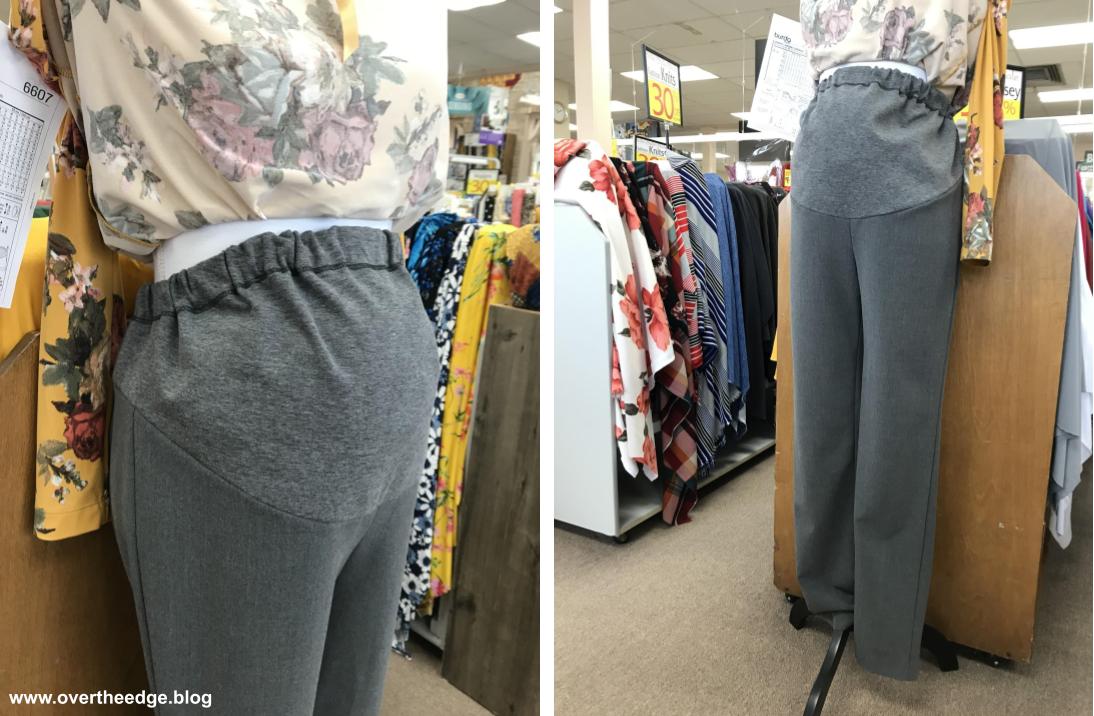
Completed Pants
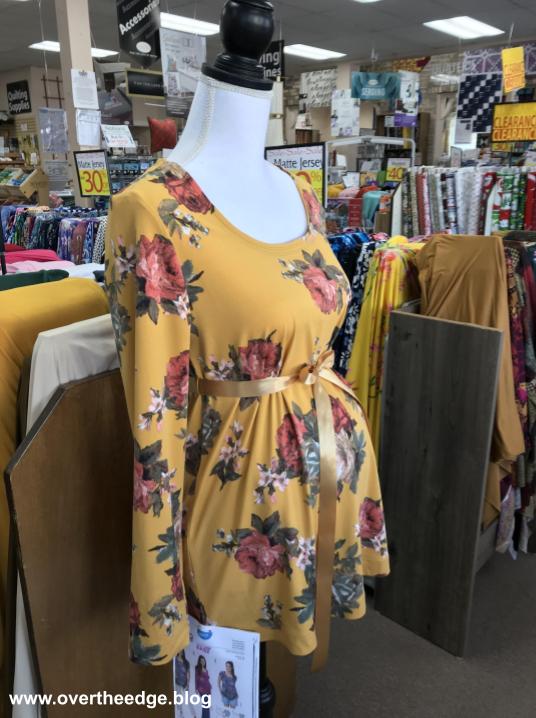
Here is a front and back view of the maternity pants. Sorry, the photo isn’t great. These pants did not photograph well without a body in them!

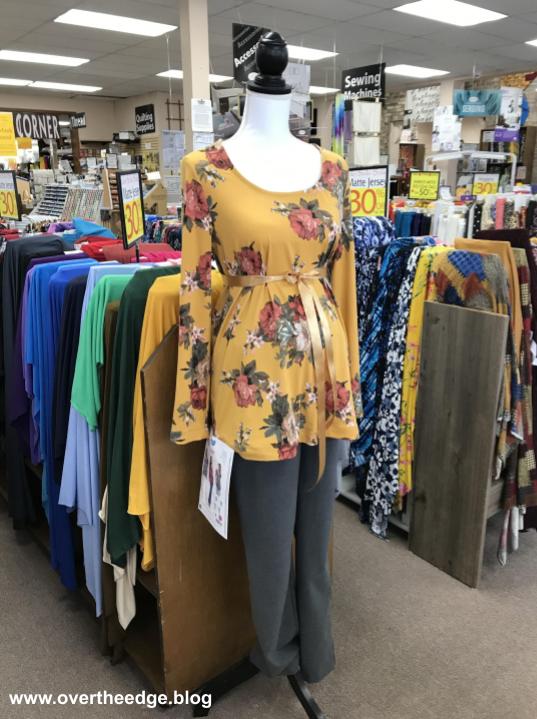
Here are a few photos of the pants on our store mannequin. I lifted the shirt so you could see the tummy panel. The pants are a little baggy on the mannequin (even with the “batting” baby bump added to the mannequin). It’s hard to believe that they will be tight on my daughters belly near the end of her pregnancy!
Serging Pants with a 5 Thread Safety Stitch
I hope you enjoyed learning about my experience serging pants with a 5 thread safety stitch.

Resources
Method for finishing off a coverstitch in the round: https://overtheedge.blog/tutorials/finishing-off-a-cover-stitch-in-the-round/
A helpful article about choosing the right serger stitch for your project: https://www.threadsmagazine.com/2011/12/01/choose-the-right-serger-stitch-for-your-project