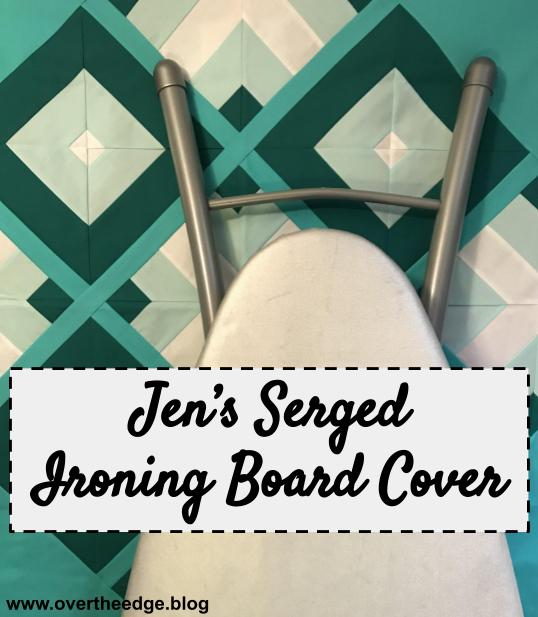
Jen’s Serged Ironing Board Cover
The next time you need a new ironing board cover you should make your own. But not with your sewing machine. Use your serger! Jen’s serged ironing board cover is a practical project that you can use in your sewing room. Read on below to learn how I serged my ironing board cover, quickly and easily.
Why I Needed a New Ironing Board Cover
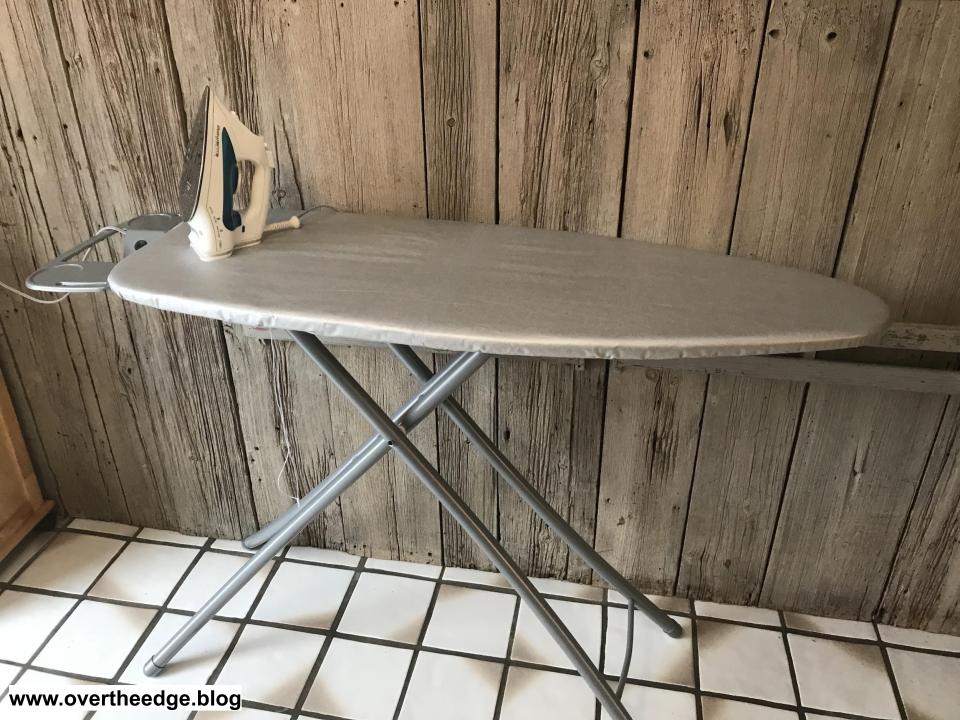
My ironing board cover had seen better days. The original cover that came with the board wasn’t high quality, but it seemed to work fine. Recently, I attempted to clean my iron with one of those iron cleaning sheets that look like dryer sheets. I set the sheet down on the ironing board and started gliding the iron back and forth across the sheet. The sheet worked well. The sole plate of the iron came clean, but my ironing board was covered in an oily, waxy residue. I was in a hurry and forgot to put a fabric scrap between my ironing board and the cleaning sheet. I thought maybe I could wash it, but the tag on the cover said do not wash. So it was time to replace it.
Why I Decided to Serge a new Cover
My ironing board is wider and sturdier than most. It is approximately 18” wide and 49” long. My local store sells the wider ironing boards but not the replacement covers. Since I couldn’t find one at the store, and I didn’t want to buy one online, I decided to make my own. I looked closely at how the existing cover was made. The cover was simply a piece of fabric that was serged around the edge with a cord inserted into the serging. When I realized this was a project for my serger, I got excited!
The Retired Cover Construction Details
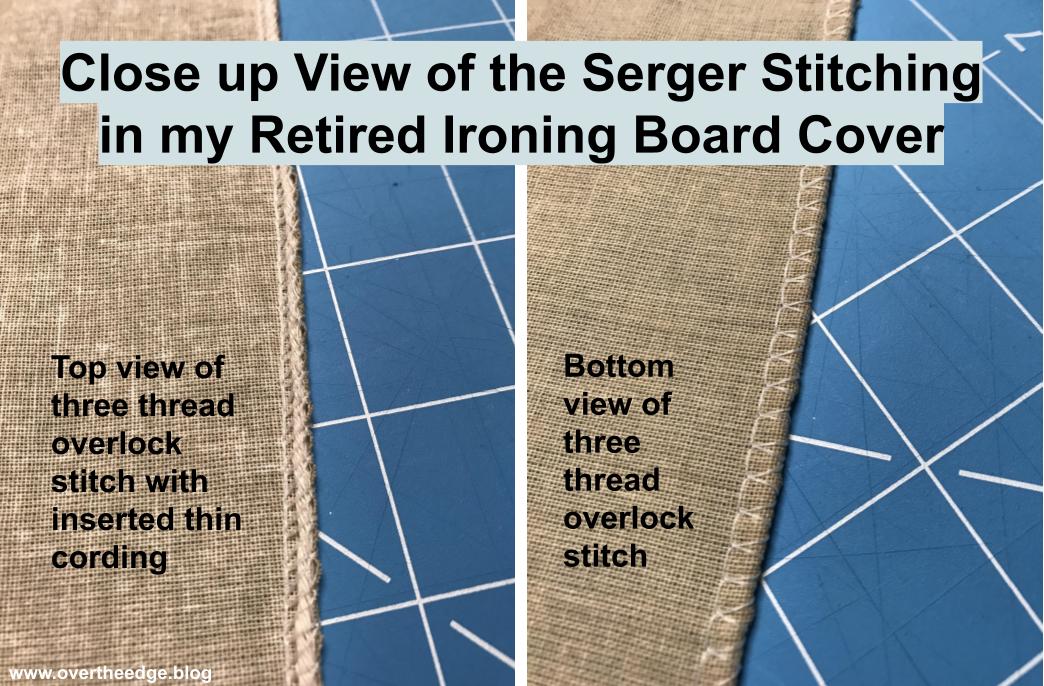
The photos below show the stitching on the ironing board cover I replaced. The serger stitches not only covered the raw edges of the fabric. They also encased the cord which was used to gather the edges of the cover and tighten it around the metal frame of the ironing board.

The Right Presser Foot is Key
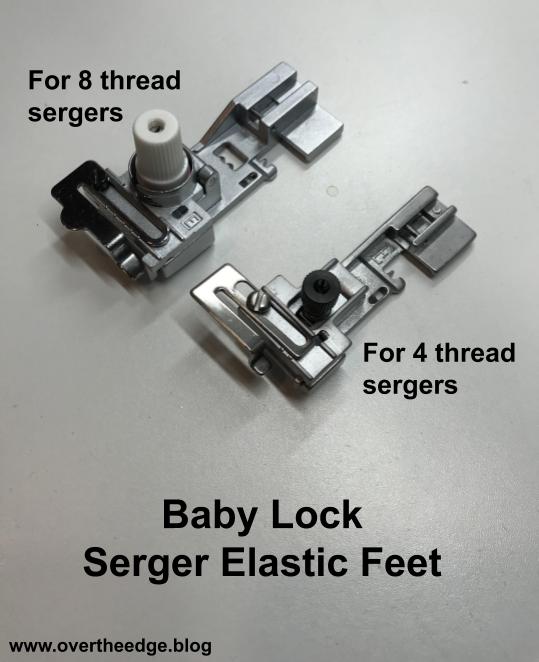
This style of ironing board cover needs to be gathered in order for it to fit securely around the ironing board. But using a ruffling foot or gathering foot wouldn’t work well for this project. What I needed to make this a quick and easy job was my serger’s elastic foot. Even though it is called an elastic foot, I didn’t use it to serge any elastic. There is another feature of this foot that makes it perfect for serging an ironing board cover. It has two guide holes on the top of the foot and a channel on the bottom of the foot sized for thin cord. The foot positions the cord so it nestles perfectly within the upper looper thread of the three thread overlock stitch. When you use this foot you don’t have to worry about accidently stitching through the cord.
In addition to inserting elastic into a seam, some other uses for this foot include making wire edged ribbon, fishing line rolled hems and gathering heavier weight fabrics.

Different brand of sergers have different types of feet. Your elastic foot might not have the same features as mine. So check to see which foot is available for your serger that can guide thin cord, wire or fishing line into the stitches.
The photo below shows ironing board fabric that has been gathered by pulling the cord that was inserted into the stitches using a serger elastic foot.

How to Serge an Ironing Board Cover with an Elastic Foot Tutorial and Video
If you’d like to make your own ironing board cover check out my tutorial and video links:
Tutorial: https://overtheedge.blog/how-to-serge-an-ironing-board-cover-tutorial/
Video: https://youtu.be/j8stKXTvEeQ

Jen’s Serged Ironing Board Cover
I hope you enjoyed this post and are inspired to make your own serged ironing board cover.
