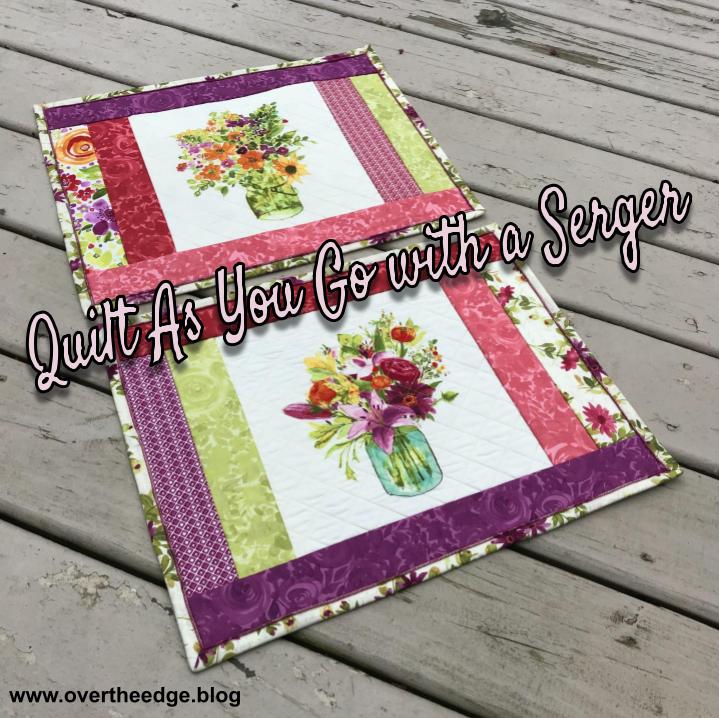
Quilt As You Go with a Serger

What is Quilt as You Go with a Serger?
Quilt as you Go (QAYG) is a term used to describe the process of piecing and quilting each block in a quilt as you assemble it. In QAYG when the quilt top is done, so is the quilting!
QAYG with a serger is similar to QAYG with a sewing machine, but the way the pieces are layered and assembled is different. The end result is a reversible project where all the layers are connected at the seam lines. And it’s fast because you save a step. The “stitch in the ditch” machine quilting is done at the same time the layers are serged together.
Typically, you assemble your quilt in strips or log cabin style, working from the middle outwards, or side to side or top to bottom. This technique is not just limited to quilts. I’ve made placemats, lap quilts, picnic quilts, table toppers, table runners and tote bags using quilt as you go with a serger.
Why would you want to try Quilt As You Go with a Serger?
It’s fast. Some people refer to this method of quilting projects as “fun and done”.
A four thread overlock seam is approximately ¼” wide, which is a typical seam width in a quilt. The serger compresses the seam so the multiple layers aren’t too bulky. And it’s secure due to the 4 threads in the seam.
It’s great for projects with simple quilt designs without complicated seams.
Project Inspiration
I’ve done a variety of different projects with QAYG on a serger. Below I’ve included photos and information about several of my own serger QAYG projects. And you can find many tutorials and YouTube videos on the internet for inspiration.
A Good Beginner Serger Quilt as You Go Project
A good beginner serger quilt as you go project would be a placemat. I created a free tutorial to make a placemat using Quilt As You Go with a serger. Follow link here: https://overtheedge.blog/tutorials/serger-quilt-as-you-go-placemat-tutorial/

If you would like to try a strip placemat without the center panel see the brothersews tutorial. You will find a link in the resources section at the bottom of the post.
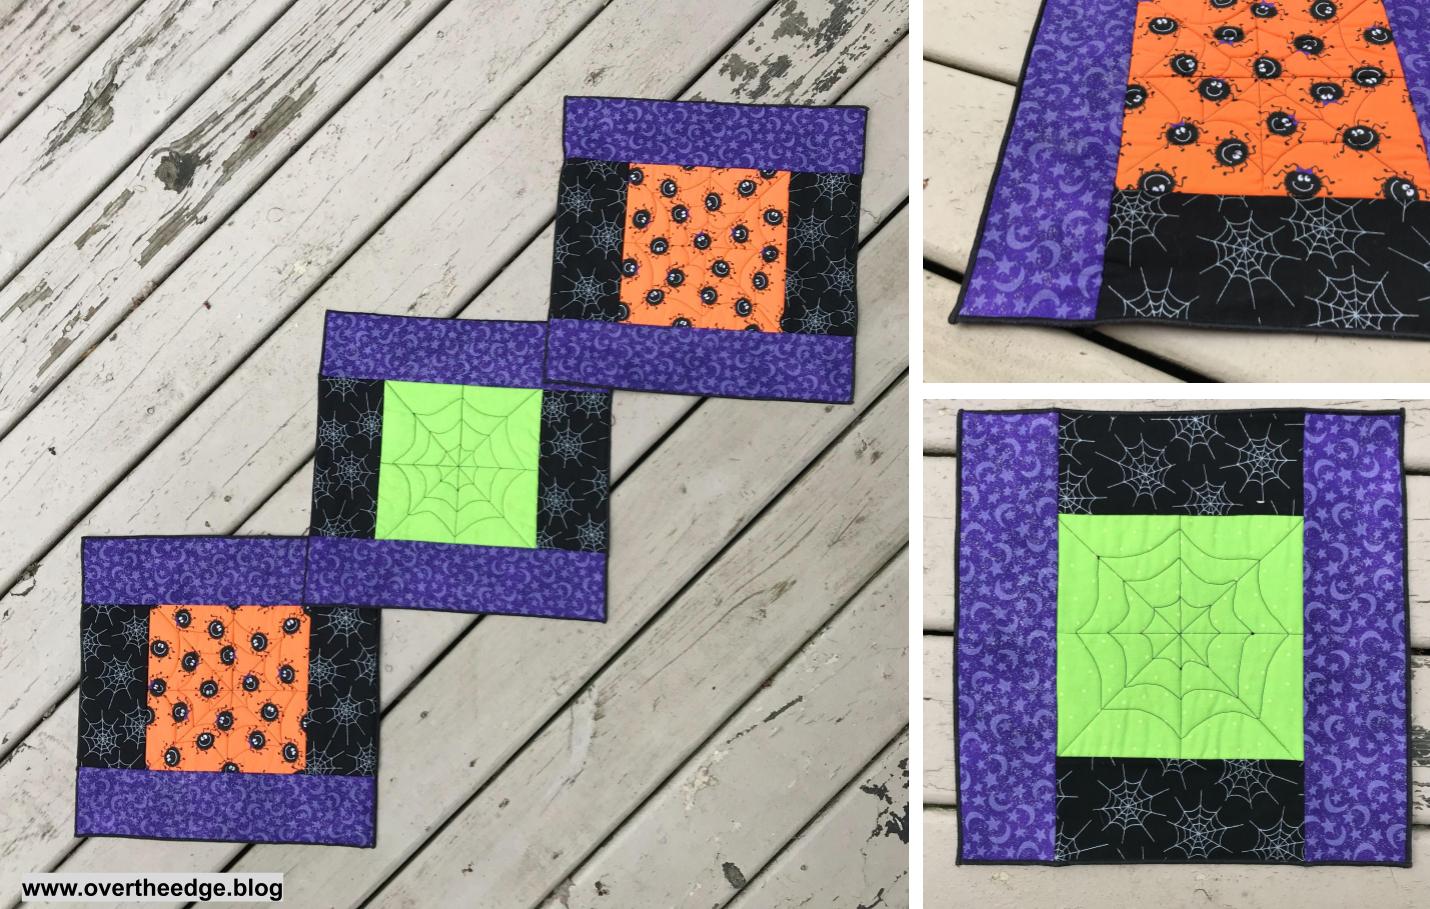
Is it a Table Runner or are they Placemats?
These three reversible Halloween placemats I designed can be used individually as placemats or overlapped and laid out as a table runner. One side is orange and one side is green. I quilted the center panels on my sewing machine with a spiderweb design. Then added the borders using the serger quilt as you go technique. Instead of traditional binding, I serged the edges with a decorative thread.
Lap or Baby Quilt
Serge this reversible lap or baby quilt together quickly and easily. It’s also a great quilt project to donate to charities. And you could serge the edge with a decorative thread like I chose to do, instead of binding it the traditional way. The width of the strips is only limited by the batting and it’s maximum quilting distance. I used a polyester batting that could be quilted up to 6” apart. So I cut my strips 6.5” wide x WOF. This project used 9 strips of fabric on the front, 9 strips of fabric on the back and 9 strips of batting. The finished size of my ladybug quilt is approximately 42” x 52”.
Heirloom Creations and Sara Gallegos of the Decorative Stitch have some helpful youtube videos on making lap or baby quilts with this method. For more of a log cabin style quilt check out Kay Wood’s video on youtube. See my resources section for links.

Picnic Quilt
I decided to scale up the serger quilt as you go technique to make a bigger picnic quilt. At first glance the quilt below looks like a traditional quilt. It is actually assembled in strips just like my lady bug lap quilt. This project was a bit more involved, but worthy of trying. I used cotton batiks for the top, a super thin batting, and a water resistance nylon for the back and binding. It was a gift for my daughter who uses it frequently for the beach and just hanging out in the yard. When I have some extra time, I plan on writing up a pattern for this design.


Table Topper
I made this patriotic reversible table topper using the serger QAYG method. The pattern came from the book, Simple Serger Sewing. I applied the binding to the front with a sewing machine and then turned it to the back and hand stitched it in place. This method begins in the middle with a pre-quilted center square and then works its way outward using triangles and border strips. See resources section for more information.

Tote Bag
I designed this tote bag by experimenting with an extra panel from my serger QAYG placemats and a bunch of extra jelly roll strips. It was a fun experiment! Some day when I have time I may write up a pattern for this serger QAYG tote.

Quilt As You Go with a Serger
I hope you enjoyed the show and tell of my QAYG with a serger projects. If you are inspired to try it yourself, check out my placemat tutorial: https://overtheedge.blog/tutorials/serger-quilt-as-you-go-placemat-tutorial/

Resources
Sara Gallegos and Serger Saturday for quilters for more ideas to serge and quilt: https://youtu.be/Osuh5E4KyMw
Simple Serger Sewing Book: https://www.e-patternscentral.com/detail.html?code=154027E&source=ENSHOPG&gclid=Cj0KCQjw4ImEBhDFARIsAGOTMj80Gkt47UoVEgEZlTeVtZrPasxgBnHp_HYLH4ActGWCWVDWlpf0OJMaAnPiEALw_wcB
Tutorial for an QAYG strip placemat: http://blog.brothersews.com/sewing/serger-style-quilt-go-placemat/#:~:text=This%20quilt%2Das%2Dyou%2D,each%20set%20of%20strips%20sewn.
Kay Woods 6 hour Quilt YouTube Video: https://youtu.be/IiLWm5jkAJ0
YouTube video from Heirloom creations 1 hour serger quilt: