Tag: 3 thread rolled hem

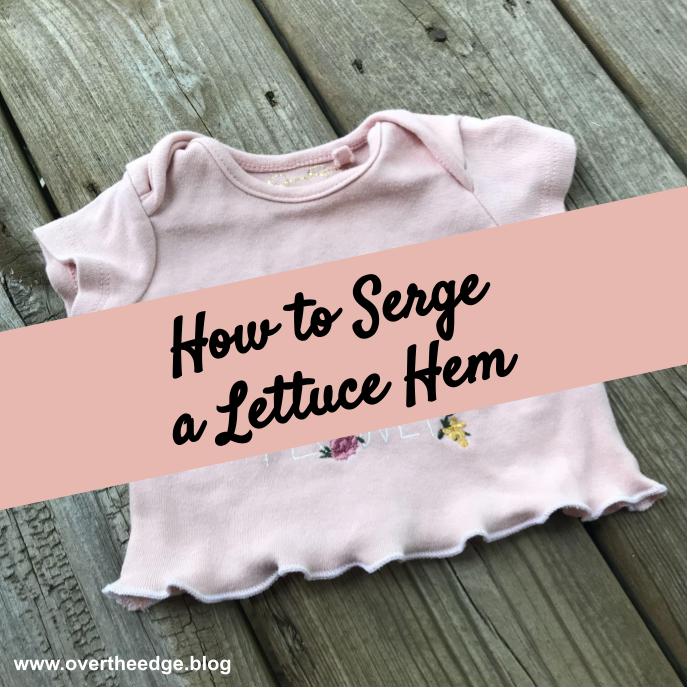
How to Serge a Lettuce Hem

serge a lettuce hem

Serge a lettuce hem quickly and easily using a three thread rolled or narrow hem stitch. You only need a few things to create this lovely hem: a serger with a rolled hem stitch, some thread and a piece of knit fabric.

Lettuce Hems Using a Serger

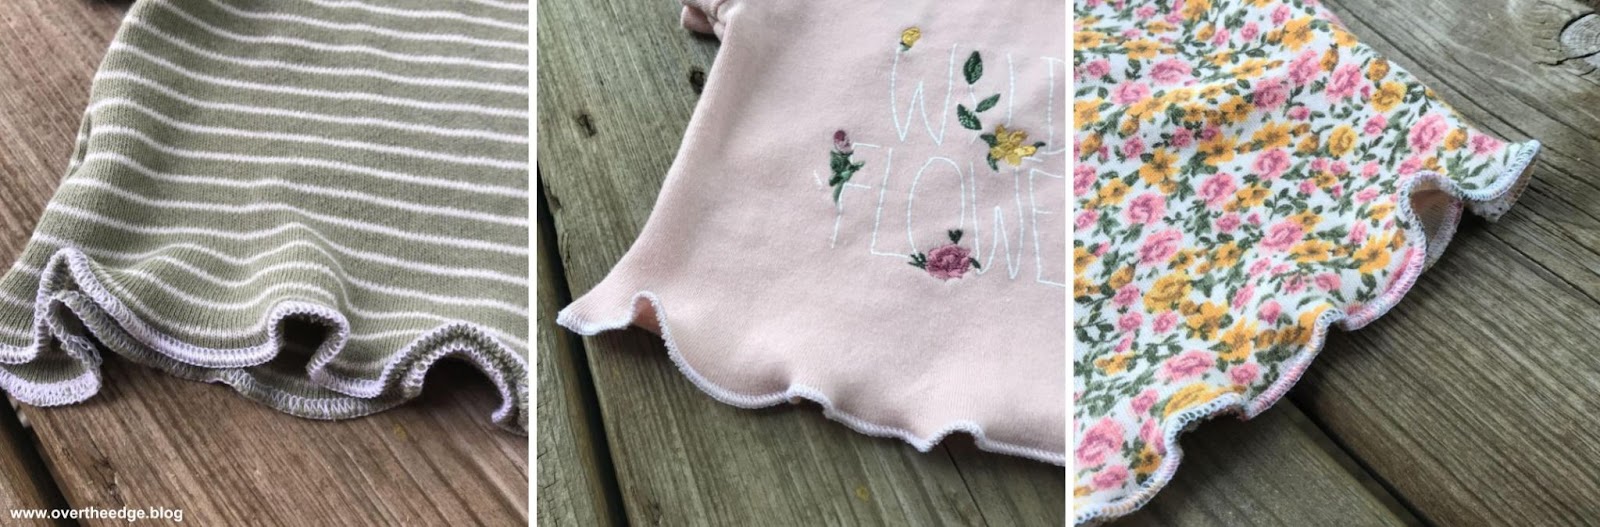
Can you guess why this ruffled hem is called a lettuce hem? Maybe because the edge of the fabric waves and curls like the edges of a lettuce leaf?!

The lettuce hem is created by stretching the fabric as you serge the edge. It can be used on the edges of light to medium weight knit fabrics. The greater the stretch of the fabric, the more the hem waves and curls. I use this technique to transform the hems on t-shirts, scarves and more. 

serge a lettuce hem

Which Serger Stitch to Use for a Lettuce Hem?

I’ve used two similar (but different) stitches to serge a lettuce hem. Both the 3 thread rolled hem and the 3 thread narrow hem will work. Both are tiny hems. The serger is threaded the same way for both stitches, but the tension settings are different. Consult your manual for how to set up your serger for these stitches. On my serger the stitch selector is set on “D” for a rolled hem and “C” for a narrow hem. Click on the link to my napkin tutorial below for more details about the difference between the rolled hem and narrow hem. https://overtheedge.blog/tutorials/quick-easy-serger-napkins/

How to Stretch the Fabric as you Serge

Some people use the differential feed on their serger to create some extra stretch in their hems. Adjusting your differential feed to a setting less than 1 will create some stretch in your fabric as it feeds through the serger. 

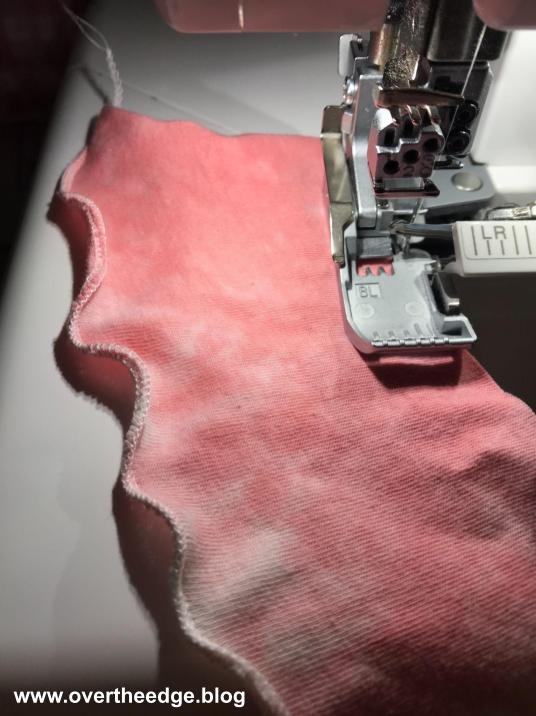
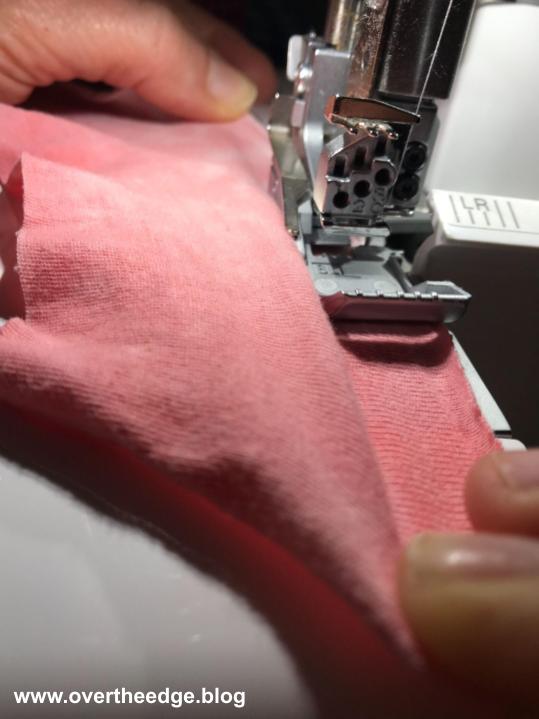
Others prefer to stretch the fabric manually. Keep your differential setting at normal (N or 1). Gently and equally stretch the fabric in front of and behind the needles as you serge, but let the feed dogs move the fabric. You will need to stop and reposition your hands as you serge around your fabric. If you try to pull the fabric through as you serge you may cause the needles to bend or break.

For my lettuce hem baby tees I had better results when I stretched the fabric manually. 

serge a lettuce hem

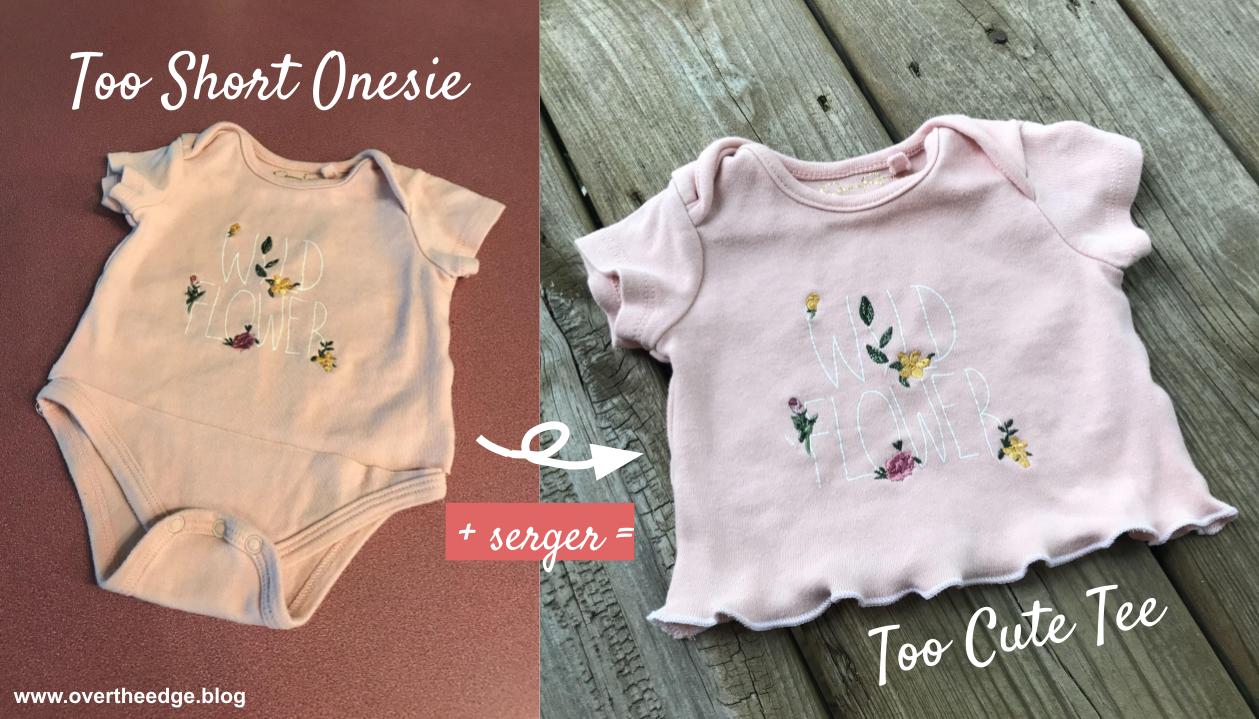
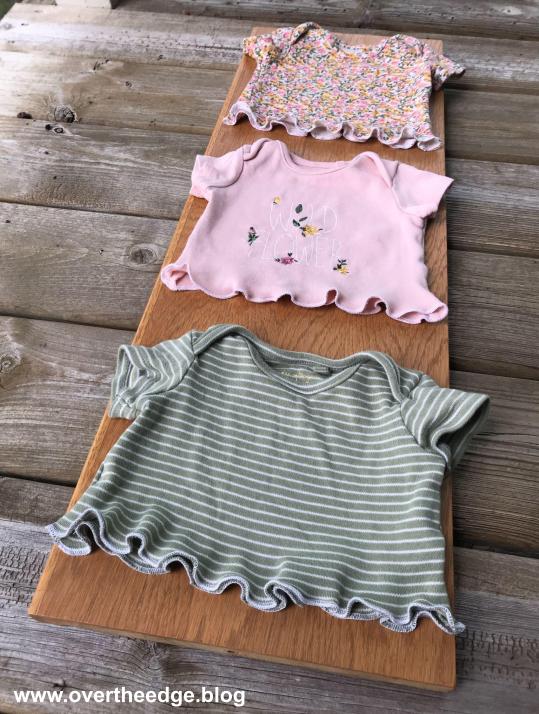
Serge a Too Cute Tee from a Too Short Onesie

My granddaughter was gifted a bunch of really cute newborn onesies when she was born. But she grew out of them very quickly. The onesies were too cute to put away, so I turned the too short onesies into too cute tees! I guess you could call this a quick and easy “onesie refashion” project.

serge a lettuce hem

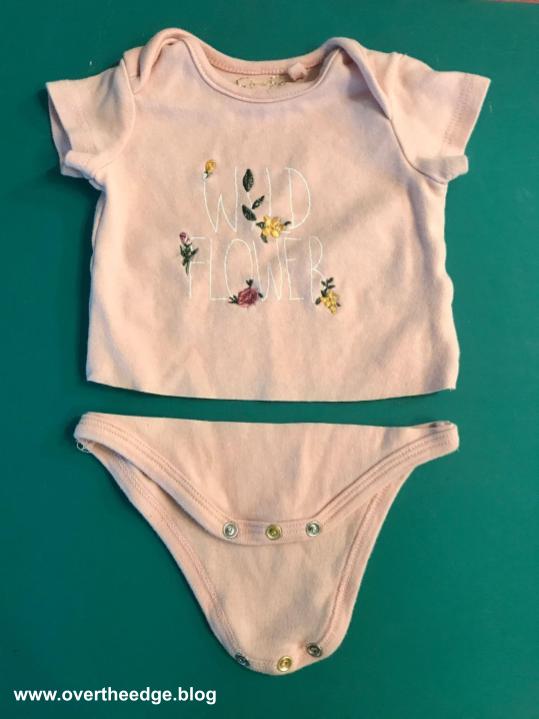
I started by cutting the onesie off at the leg openings.

onesie refashion

Next I set up my Baby Lock Evolution serger for a 3 thread narrow hem (stitch setting C) and a stitch length of 1.5. I used Maxi Lock thread, but you could choose more decorative thread for your loopers if you desire.

I serged the bottom hem of the t-shirt in the round, trimming off just a slight amount of fabric and stretching the fabric in front of and behind the needle.

After serging, I gave the hem a good stretch to help it “lettuce” even more. Then I buried the thread tails in the hem and trimmed off the extra thread tails.

serge a lettuce hem
serge a lettuce hem

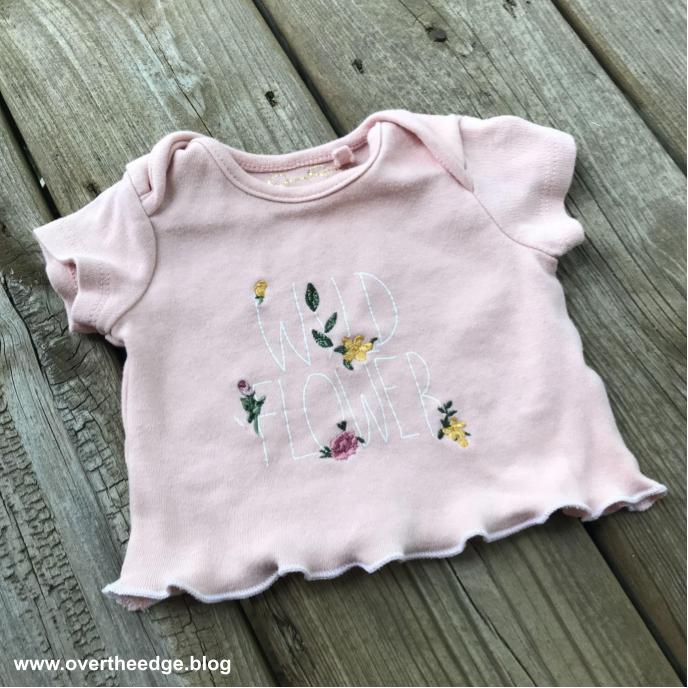
Isn’t she a cute little wildflower in her new t-shirt?!

serge a lettuce hem
onesie refashion

Now my granddaughter can get a little more use out of those too short onesies as too cute tees!

serge a lettuce hem
serging with jen

Resources

https://babylock.com/learn-and-create/projects/frilly-fancy-scarf A lettuce hem project from Baby Lock

https://youtu.be/MtKHzCM0Uhk Serge a lettuce hem on Baby Lock Vibrant

Serger Roses

I love making fabric flowers, especially when I can use my serger! Serger roses are just gorgeous when you begin with a beautiful satin fabric and some fun decorative thread. A typical way to finish the raw edges of the satin with a serger would be to use the 3 thread rolled hem or the 3 or 4 thread overlock stitch, which would work well. However, for these roses I chose to use the 8 thread stitch on my Babylock Evolution to really emphasize the edges of my rose petals.

How to Make a Serger Rose

Here is what you need to make a serger rose like mine:

  • 3″ wide by 58″ long strip of satin fabric
  • 8 spools of machine embroidery thread (or as needed for your desired stitch)
  • 3″ square of felt for the backing
  • heavy duty hand sewing thread for finishing the rose
  • hand sewing needle
  • 2″x44″ long strip of poster board to use a folding template
  • iron and ironing board
  • serger, set up for an 8 thread stitch (or your desired stitch)
  • a few wonder clips
  • hot glue gun and glue sticks

Step 1: Serge

Begin by serging both raw edges of the fabric strip from the right side. Trim off just a little of the raw edge with your blade so you have a nice neat edge to your rose.

Step 2: Fold Strip Around Template

Draw a 45 degree line near both ends of your poster board strip, and one near the center. These lines serve as guidelines to help you fold your strip at the proper angle to create your rose “petals”. With right side showing, begin at one end and wrap your fabric strip around the template until you have wrapped it all. You can use a wonder clip to hold the ends and keep the strip from slipping off the template. See photo below.

Step 3: Press Folded Strip and Remove from Template

Press one or both long sides of your folded strip while still on your poster board template. If you would like a crisp edged rose, press both sides. If you would like a softer edged rose, press only one long side. After strip has cooled, carefully slide out the poster board template, and orient the folds of the strip just like they looked with the template inside. See photo below.

Step 4: Gather Strip and Form Rose

Thread a hand sewing needle with heavy duty thread. Sew a running stitch along one long edge and up one short edge at the end of the strip. Gather up your rose as desired. I gathered my fabric strips to about 12” long and then formed the rose by wrapping the gathered strip around itself. After each turn I took a stitch to tack the layers together. I made a base for my rose from a piece of felt and I used hot glue to secure it. Cut the base large enough to cover your tacking stitches, but small enough not to be seen from the front of the rose.

Step 5: Add to a Project and Enjoy!

A serger rose would look equally beautiful on a garment, bag or home decor item.  I choose to create a gorgeous pillow from this textured silk fabric to showcase my roses. And yes, in case you are wondering, I used my serger to make the both the pillow cover and the tassel.

Resources

I was inspired to make serger roses by the book, Fun-to-Wear Fabric Flowers, by Elizabeth Helene Searle. My method is very similar to the one used in her book on page 57 to create the “grey folded rose”. Instead of using a piece of fabric with the raw edges folded in, I used my serger to embellish the edges with thread. And instead of free-hand folding the strip into 45 degree folds, I created my own folding template to make this task much easier.

Theme: Overlay by Kaira Extra Text
Cape Town, South Africa