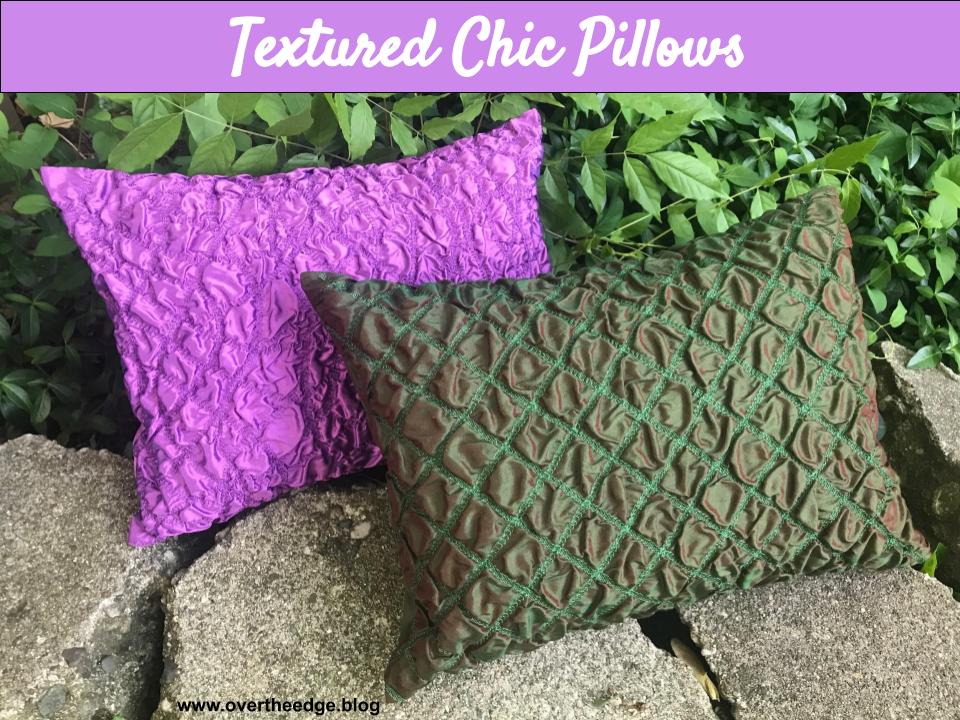
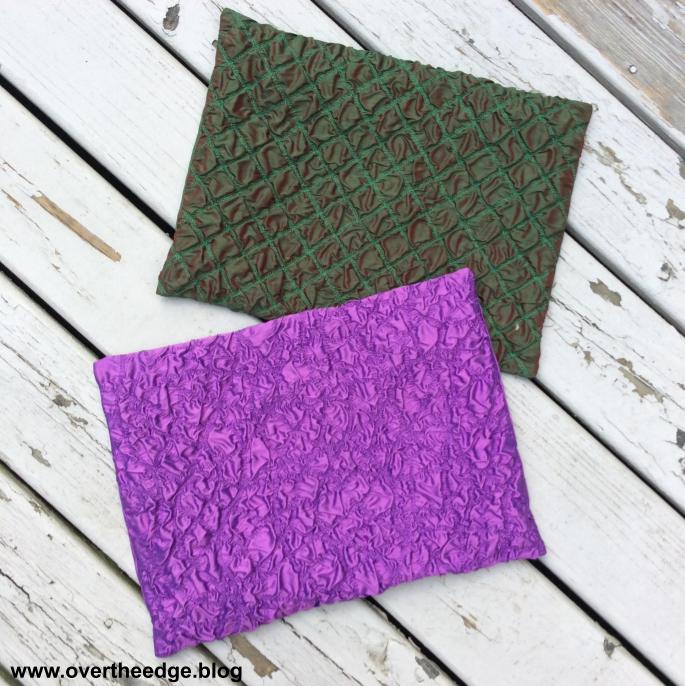
Textured Chic Pillows
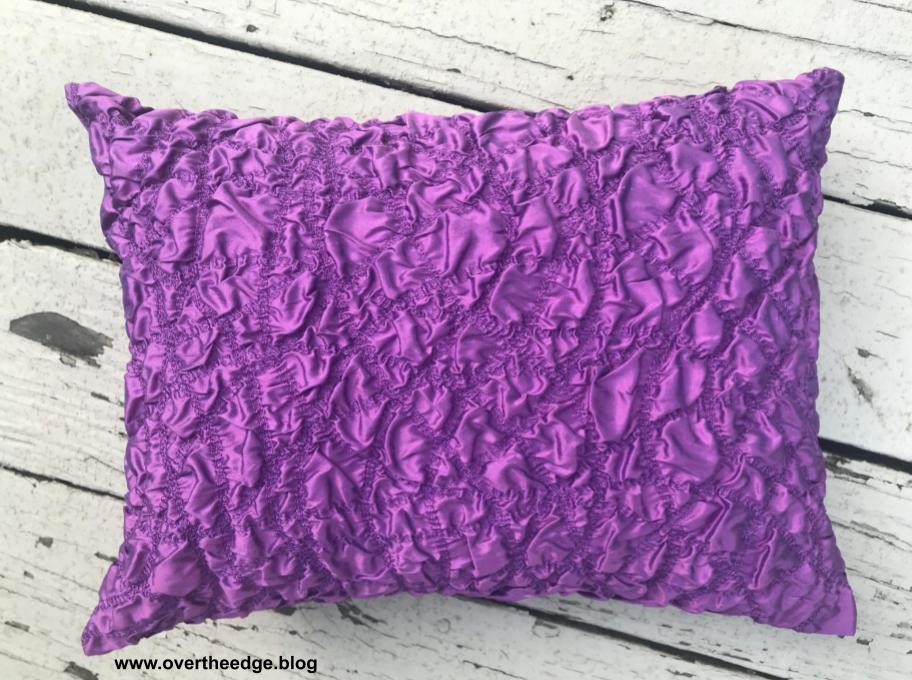
I always get excited when I get an opportunity to use the coverstitch on my serger for more than just hems on knits. Although these textured chic pillows may appear advanced, they were actually very easy to make on the serger using a narrow coverstitch and silk dupioni fabric. The secret to the texture is in the special shrinking fabric. I just love how the textured surface of the dupioni silk changes color with the light!
The Book – Serger Boutique
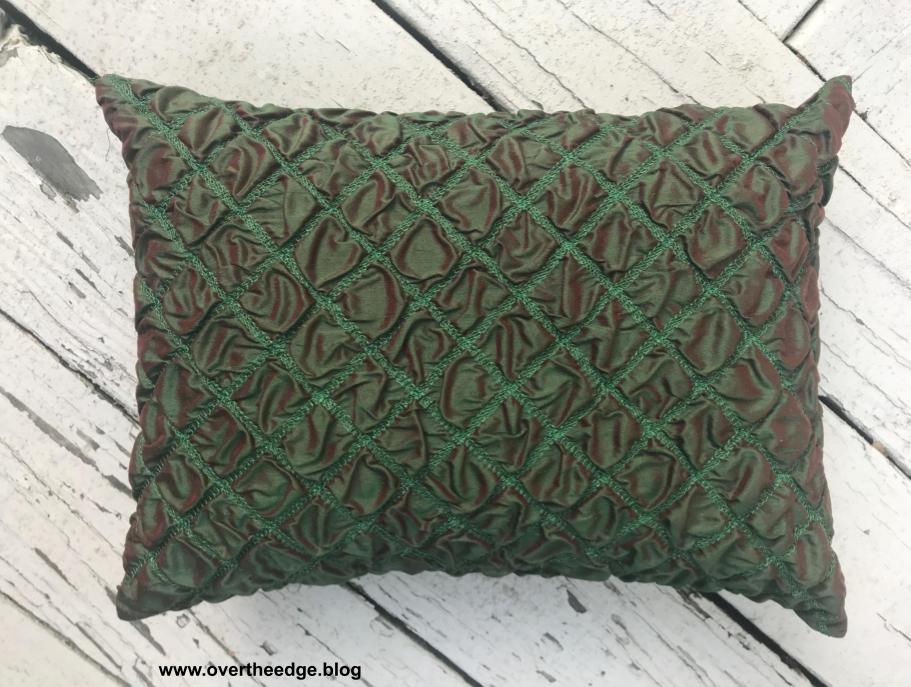
Both of these pillows were based on projects in the book, Serger Boutique by Nancy Zieman and Barbara Goldkorn. I used the instructions from the Textured Chic Pillow project to construct my green pillow. I constructed my purple pillow using the instructions from the project, Randomly Stitched Texture Pillow.

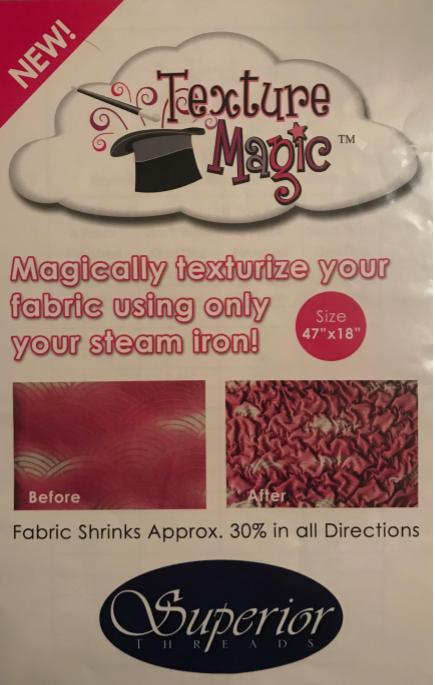
Texture Magic
The special shrinking fabric is a synthetic fabric that shrinks when it is steamed. There are two brands that I am familiar with – Texture Magic by Superior Threads and Fabric Magic by Pellon. Sew or serge it to the back of the fabric you want to texturize, apply steam and watch it magically transform. The package says it can shrink up to 30%. I think the amount of shrinkage is dependent on the fabric to which it is stitched.
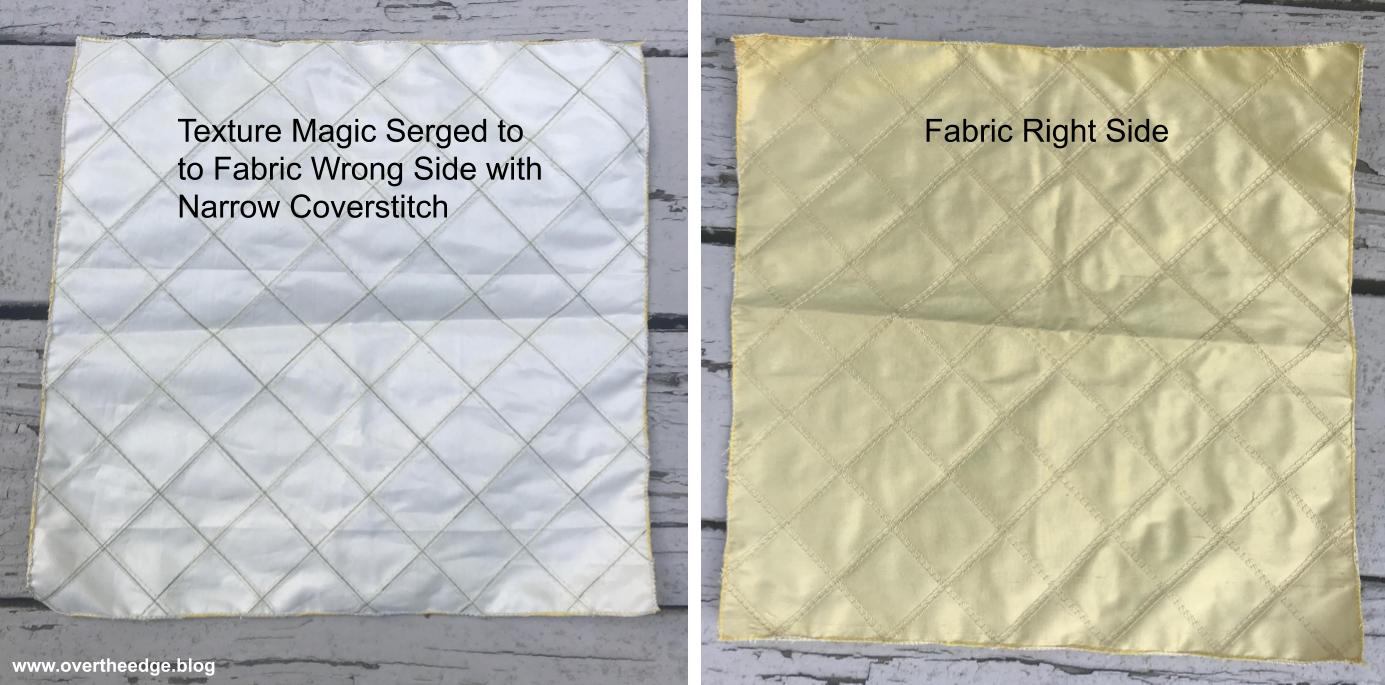
Shrinkage Test
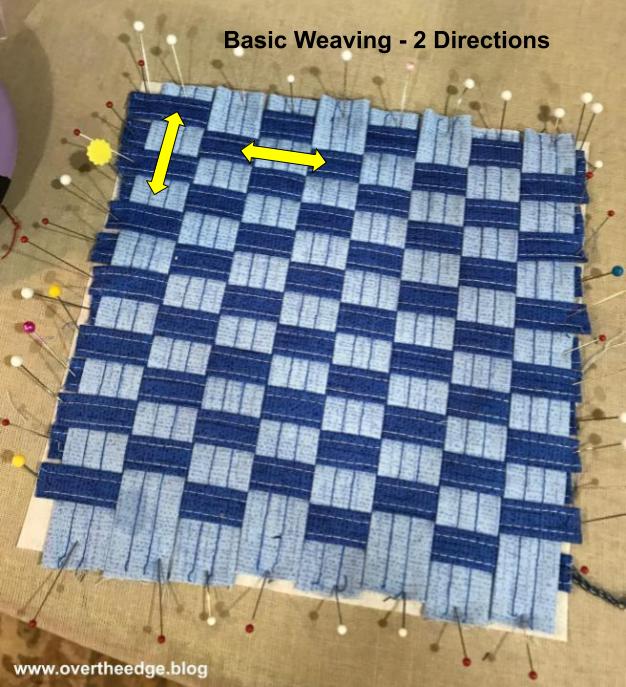
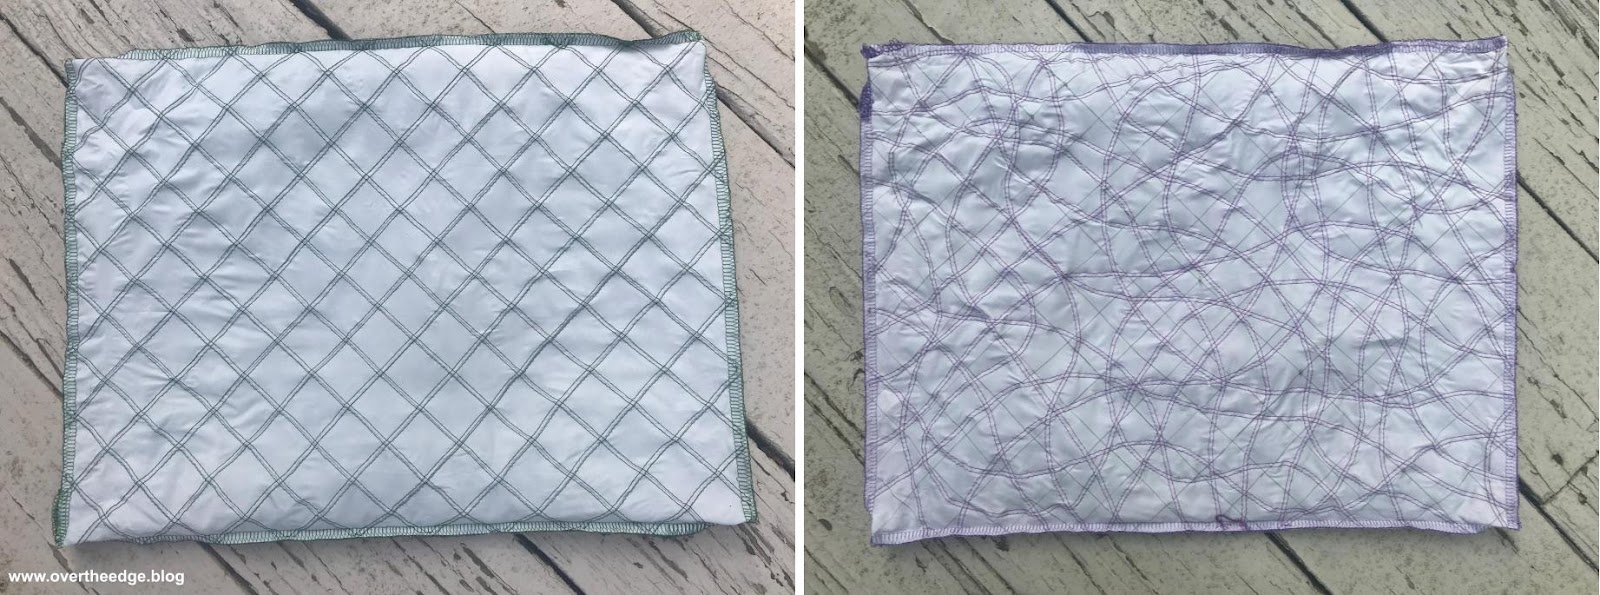
I wanted to see how much my silk dupioni would shrink, so I would know how much fabric I needed to make my pillows. For my test I started with a square of Texture Magic and of silk dupioni. I drew lines on the piece of Texture Magic and pinned it to my silk. I then stitched on the lines with a narrow coverstitch.
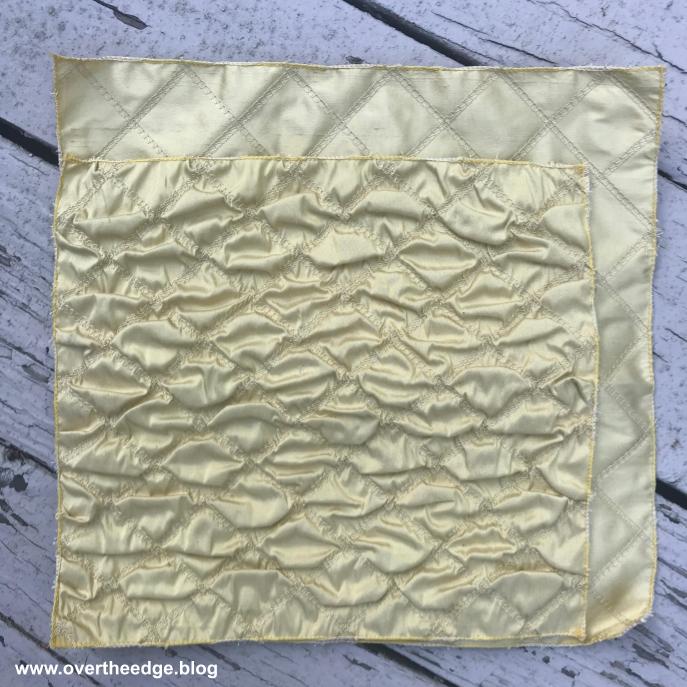
Then came the fun part – the steam! I hovered over the sample with my iron at full steam and watched the fabric shrink. The result of my test is shown in the photos below. My square started at 12.5” x 12.5” and it ended up at 10” x 11”. So my fabric shrank 12% in one direction and 20% in the other direction. My fabric didn’t shrink quite as much as the “up to 30%”, but the texture was still amazing.

Embellish the Pillow Fabric
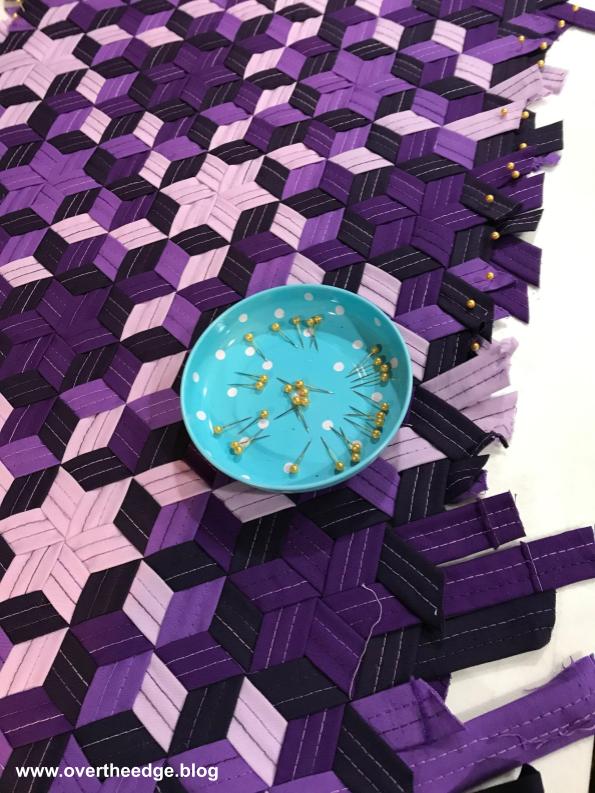
I began by drawing lines on the texture magic for where I wanted to stitch on the green pillow. For the purple pillow I didn’t need to draw the lines because I was stitching randomly. After finishing my lines, I pinned a piece of texture magic to the back side of each piece of dupioni.
I set up my serger for a narrow coverstitch with thread to coordinate with my fabric. I wanted the puffy texture to stand out and not the thread. Maxilock thread was used in the needles and Mettler embroidery thread was used in the chain looper.
So I could see the lines more easily, I used a clear foot, but a standard presser foot would also work. With the Texture Magic side up, I serged on the lines (or randomly) to stitch the Texture Magic to the silk.
I have a Babylock Evolution serger, and there is not very much room to the right of the needle. Because I was serging into the center of the fabric, I had to shift and maneuver the bulk of the fabric around the right side of the presser foot. If you have a coverstitch capable serger without a lot of “throat space” you will need to roll and fold your fabric to get it to fit through the machine. Those of you that have sergers like the Babylock Ovation or Babylock Triumph, you will have no problem serging into the center of large pieces of fabric.
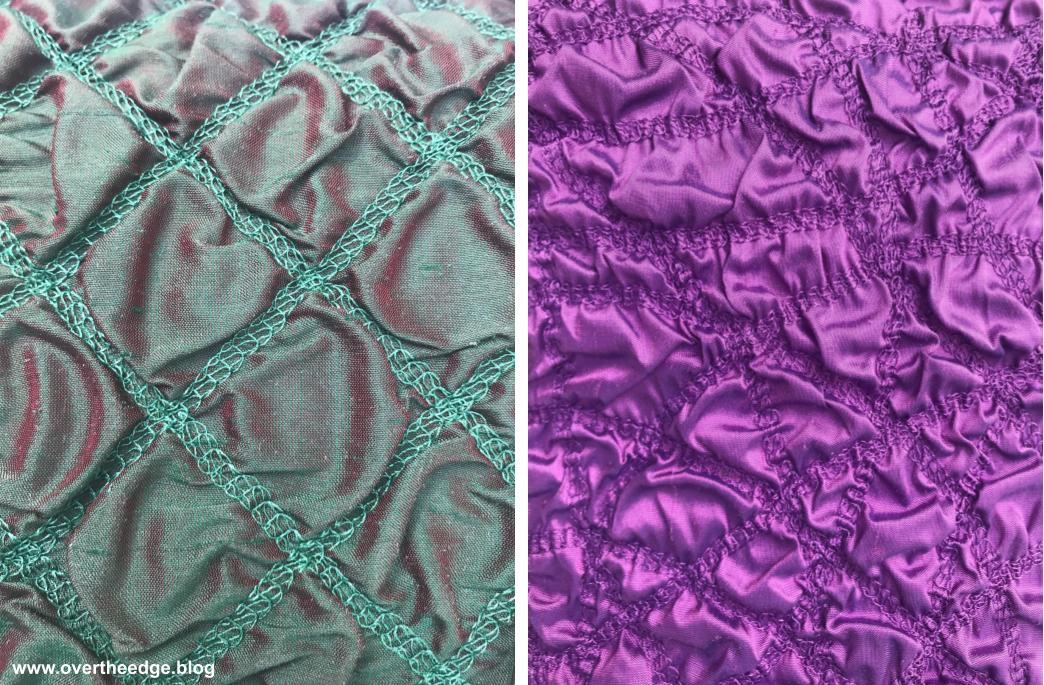
Following the instructions for the texture magic, I steamed the fabric to shrink it and here are close up photos of the resulting texture.
Turn the Embellished Fabric into a Textured Chic Pillow
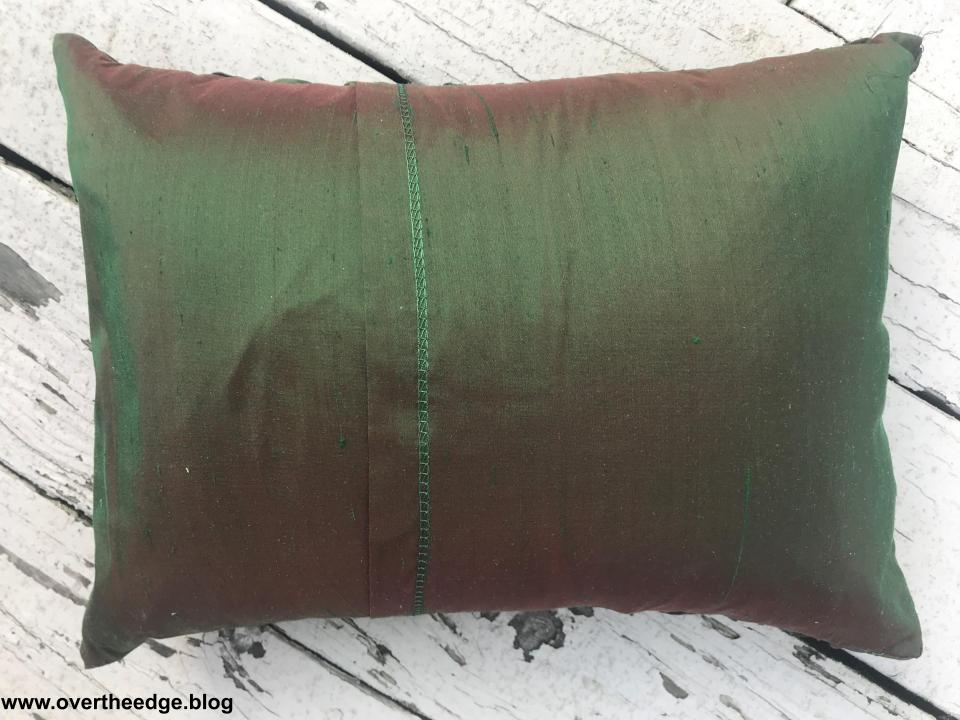
My finished pillows are 12” x 16” and completely made on the serger. I did not make the same size pillows as in the book, but I did follow the basic instructions. Because I wanted to remove my pillow forms for cleaning, I chose to make an overlap back for my pillows. I used a narrow coverstitch to make a 1” double fold hem on each side of the back opening.
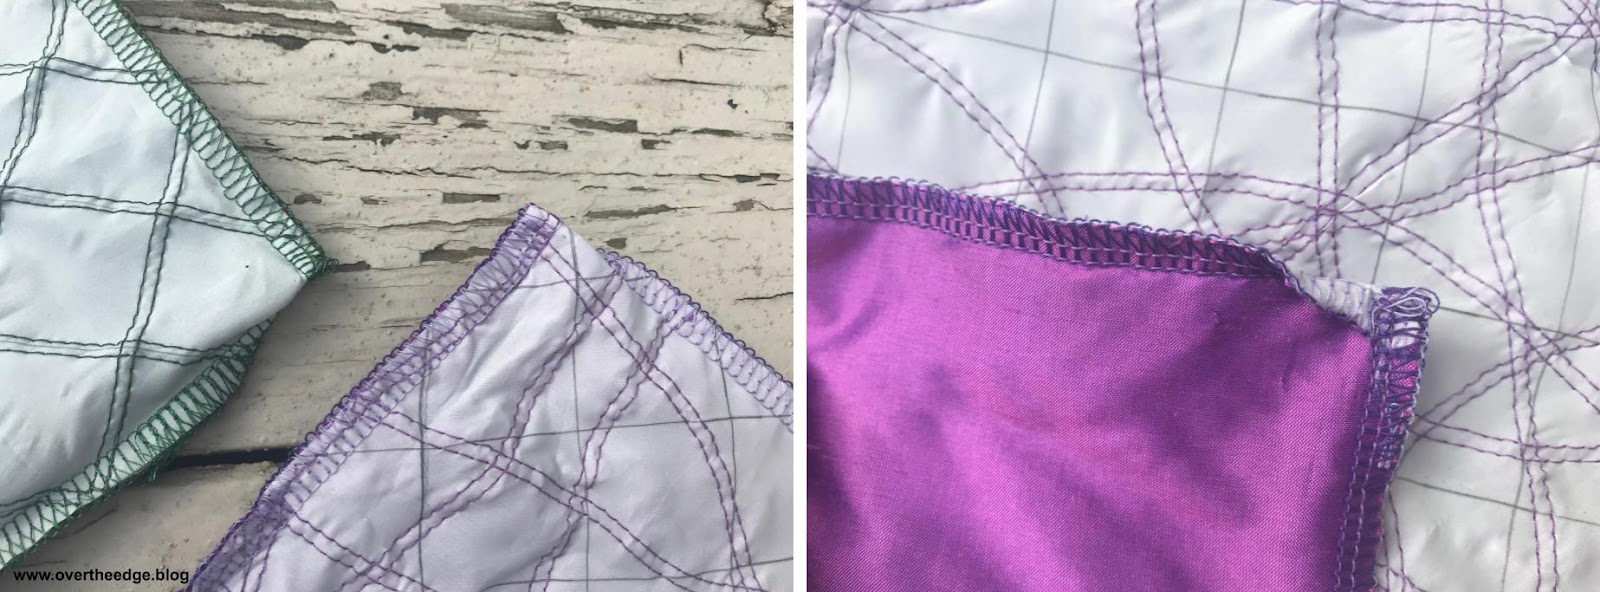
After embellishing my fabric and doing the hems, I switched my serger to a 4 thread overlock to construct the pillow. While serging the pillow seams, I wrapped the corners to make perfect points on the right side of my pillow. There is no need to trim the extra fabric from the corners with this technique. For more information on how to wrap corners with a serger, check out my His & Hers Serger Pillowcases Tutorial. https://overtheedge.blog/tutorials/his-hers-serger-pillowcases-tutorial/
Textured Chic Pillows by Serger
I hope I inspired you to serge your own Textured Chic Pillows!


Resources
Serger Boutique – Book was published in 2012. Check your local sewing store, or check the internet, sites like ebay or amazon to get a copy.
Nancy Zieman’s blog about the book, Serger Boutique. http://www.nancyzieman.com/blog/sewing-with-nancy/how-to-use-a-serger/