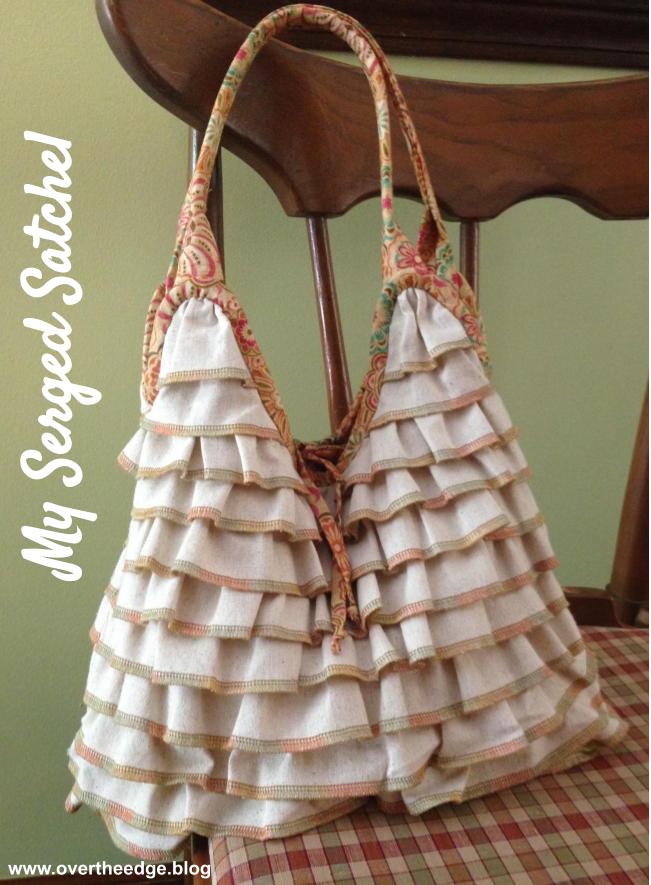
Tag: Serger

My Serged Satchel

I received many compliments while out and about carrying my serged satchel. Everyone always asked me where I bought my bag. With a smile, I said thank you and told them that I made it. I kept using the bag until it was very, very worn. What a sad day it was when I finally retired my serged satchel!

The Pattern

I made the purse using a pattern from Indygo Junction, called the Serged Satchel. The bag is flirty and feminine and is loaded with ruffles that highlight exposed serged edges.
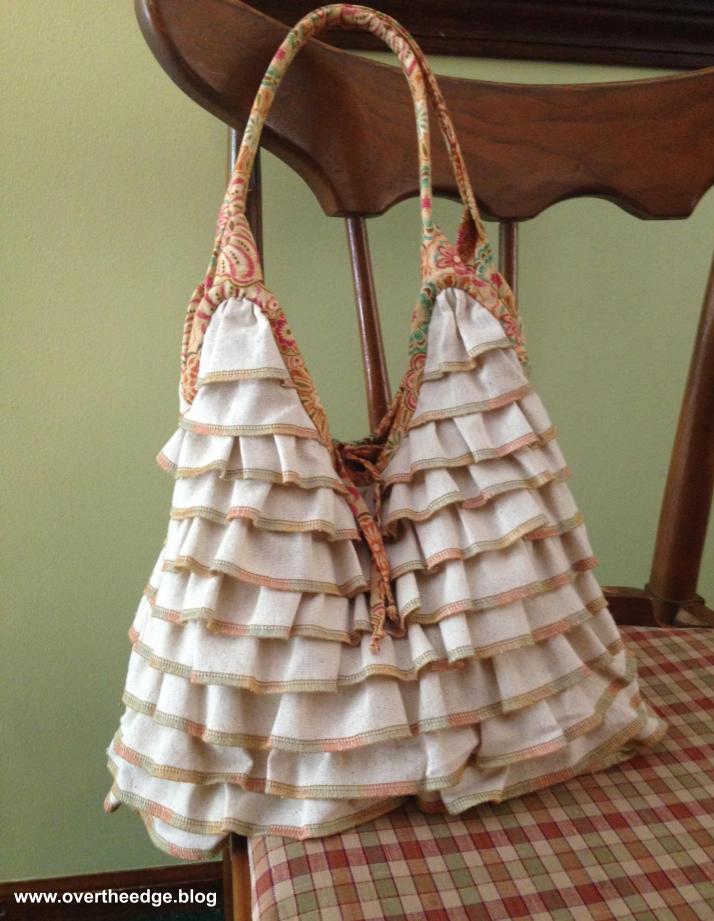
My Serged Satchel

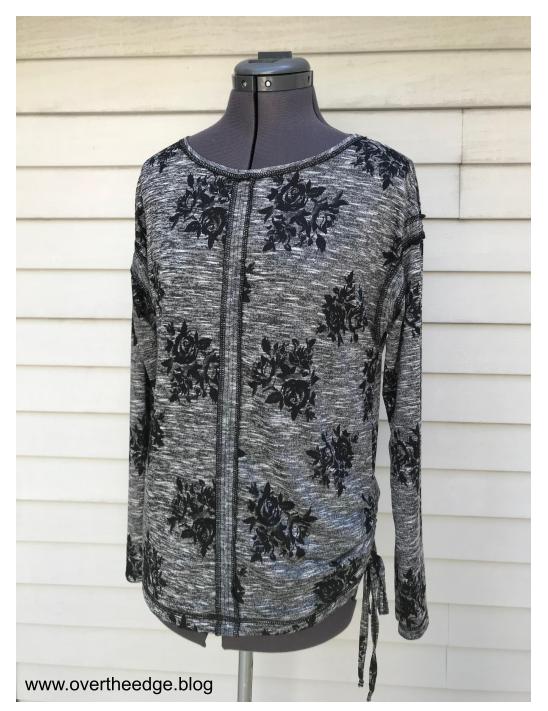
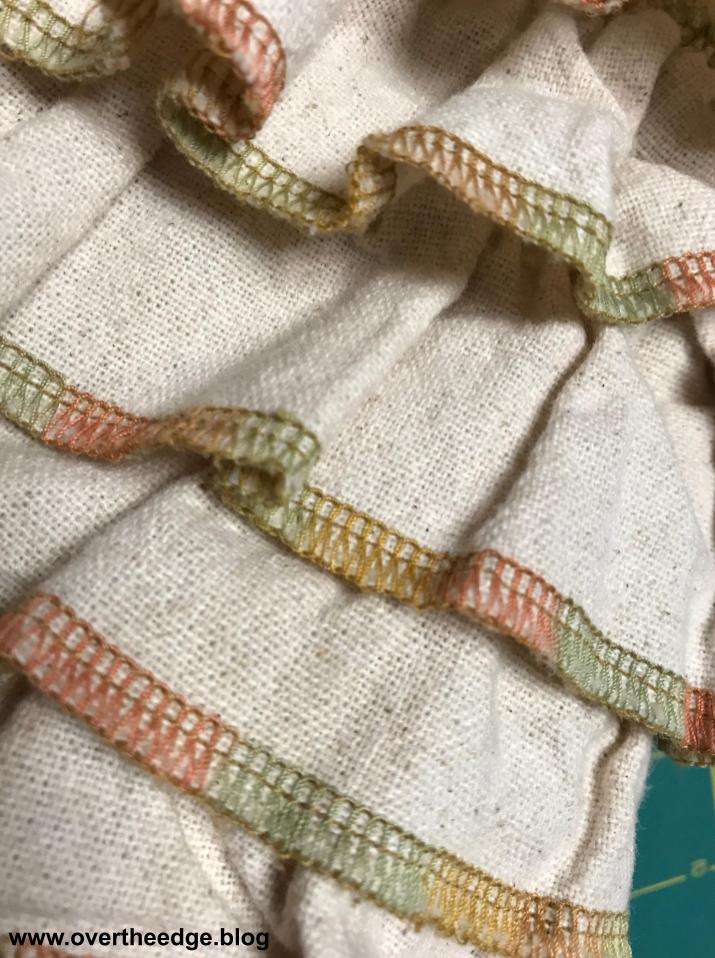
The bag I made looked very similar to the light colored purse on the pattern envelope. I used osnaburg fabric for the outside of my bag and a cotton print for the inside. Osnaburg is a rustic looking fabric like muslin, only more coarse. I edged the ruffles with a variegated YLI machine quilting thread. Thin fusible fleece gave the bag some soft stability.

my serged satchel

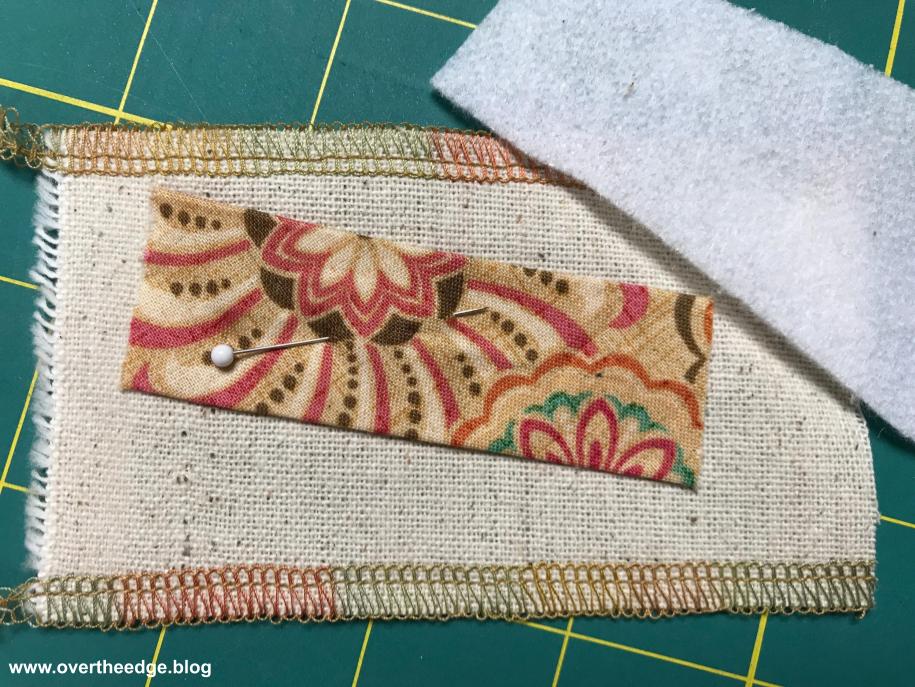
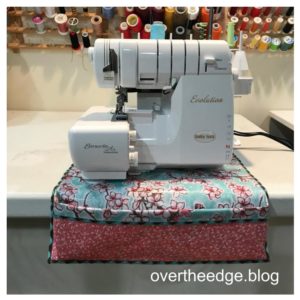
I serged the edges of the ruffle strips using a basic 4 thread serger with a standard 4 thread overlock stitch. I also used my serger to gather the strips. The rest of the bag was constructed using a sewing machine per Amy Barickman’s instructions.

my serged satchel

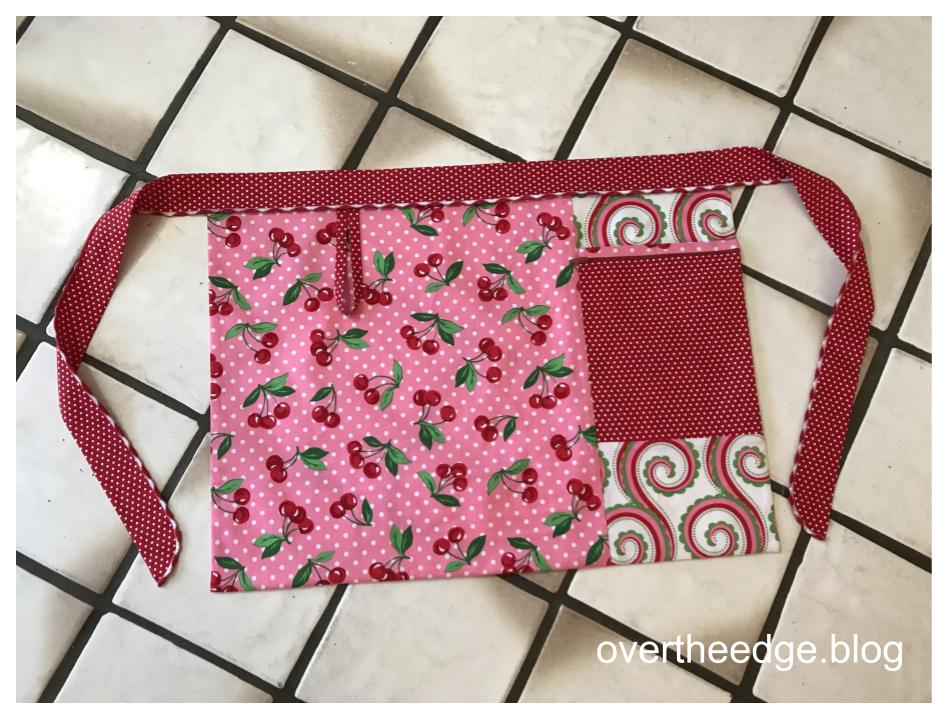
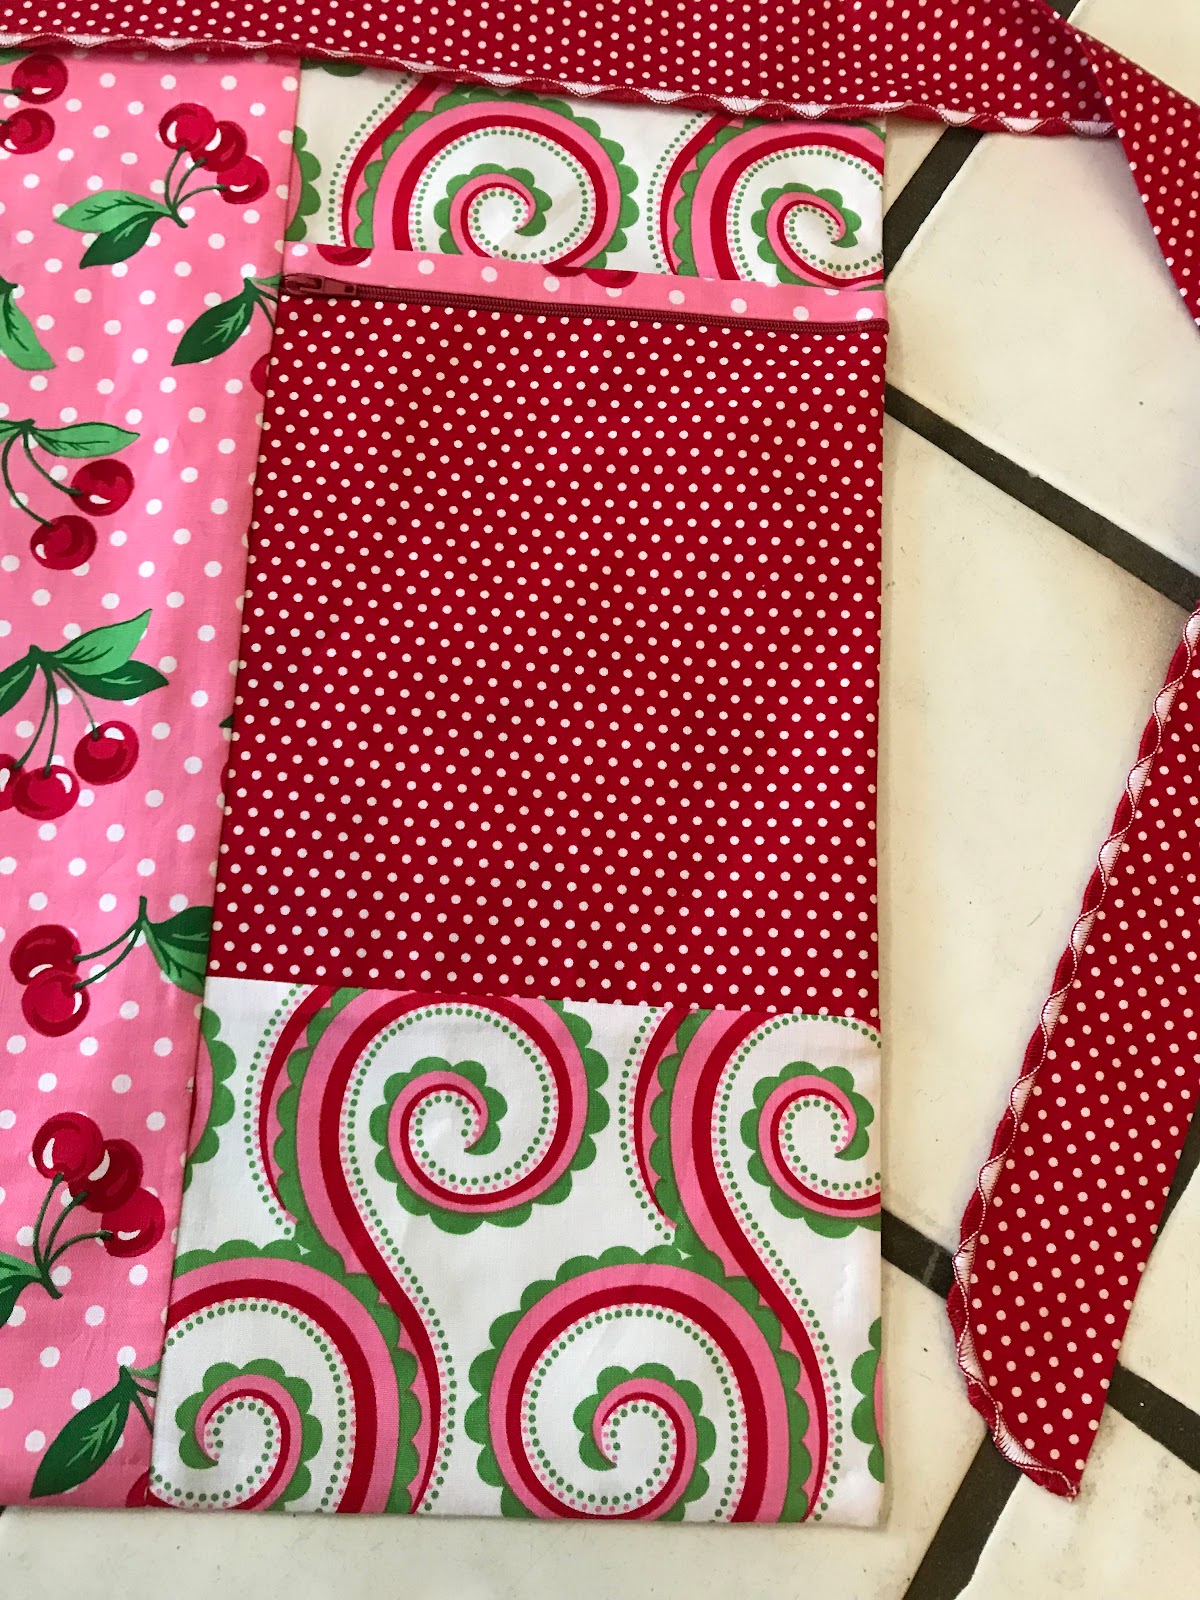
I used the leftover ruffle strips to make 2 pockets for the inside of the bag.

my serged satchel

Thoughts on the Serged Satchel

If you’ve ever sewn a purse, you know that they are more effort to put together than you may think. And this purse was no exception, but it was worth it. I could always count on my serged satchel and its fun ruffles to brighten my day!  

my serged satchel
serging with jen

Resources

If you would like more information about the pattern, click on this link to go to the Indygo Junction website at: https://indygojunction.com

If you would like more information about gathering and adjusting ruffles using a serger, please see my tutorial: https://overtheedge.blog/tutorials/his-hers-serger-pillowcases-tutorial/

Cozy Sweater Shirt – 100% Serger Made

I introduce to you, the cozy sweater shirt – 100% serger made – no sewing machine required. 

Because I love my serger, I am always looking for more ways to use it.  I wanted to make a top that could be completely constructed on my serger without the use of a sewing machine. When I saw Simplicity 8988, I knew that this pattern would be a great starting point for my cozy sweater shirt. The exposed seams down the center front and back were perfect for showcasing serger stitching with decorative thread.

How I Changed the Pattern to Serge my Cozy Sweater Shirt:

Simplicity 8988 was written for a sewing machine, but I easily adapted it for serger construction and embellishment utilizing both overlock and cover stitches. If your serger is not capable of chain stitch or cover stitch you could still make this cozy sweater shirt. You would just need to substitute your sewing machine for the steps that include chain stitch or cover stitch.

To adapt a pattern for serging, all you need to do is to group similar stitch types as much as possible. Most sewing patterns are not optimized for serger construction. If you follow the pattern as written, you will find yourself converting back and forth between serger stitches. For some sergers, this conversion can be a time consuming process. I feel very fortunate to own a Babylock Evolution serger because converting between stitch types is easy!

Four Thread Overlock:

I began by grouping all of the 4 thread overlock operations together. I serge finished the raw edges of the exposed seams and neck edges with decorative Madeira Lana thread.  The shoulder seams and the raw edges of the interior seams were serged with Maxilock Stretch thread. 

Chain Stitch:

Next I converted my serger to the chain stitch to sew the center front and back seams and the upper sleeve seams.

Wide Cover Stitch:

Then I switched to a wide cover stitch and stitched down the center of the exposed front and back seams and the upper sleeve seams.  The cover stitch helps to keep the seams partially open during wearing so the cool serger stitching always shows.

The wide cover stitch was also used for the bottom hem and the sleeve hems. I turned the hems to the inside and serged so that the looper thread showed on the right side of the top. These hems were finished before closing the side seams. It is much easier to cover stitch flat than in the round.

The belt loop binder attachment along with the wide cover stitch was used to make the ties.

Chain Stitch:

The last serger conversion was back to the chain stitch to sew up the side seams, finish the neck hem, and make the channels for the ties.  After inserting the ties, my cozy sweater shirt was ready to wear!

I hope this post inspired you to serge!

My “Cookin in Color Serger” Apron

I had been eyeing this cute cherry print fabric for some time. One day at work I noticed the fabric was almost gone. Thinking to myself, “it’s now or never,” I bought the small piece of fabric that was left on the bolt. There it sat in my stash, patiently waiting for the perfect project to come along. And along it did. The pink cherry print fabric graduated from stash to apron. :)

The Pattern

Sue O’Very’s pattern, Cookin in Color Serger Apron, is designed for serger construction. Throughout the pattern, you learn to serge with different techniques, feet and attachments, and the end result is a fun color-blocked apron. For me this pattern was definitely worth making. Now that I have serged my apron, I can say that cooking in my kitchen has never been so colorful!

Highlights of Serging with this Pattern

  • Applying the pocket zipper using a serger cording foot. What a great way to install a zipper!
  • Creating the hanging loop using the belt loop binder attachment. I love the belt loop binder, and I will definitely share more with you in future posts.
  • Embellishing the waistband and ties with Babylock’s exclusive wave stitch. With the right thread, this stitch is gorgeous!

Time to Inspire You

I love to learn new things, don’t you? Would you like to learn to better use your serger? Do you already own the feet and attachments needed for this project? Are you willing to invest in a few feet or attachments to better broaden your serging horizons? If you answered yes to any of these questions, this pattern may be for you. The more you do with your serger, the more skilled you will become.

“Success is a journey, not a destination. The doing is often more important than the outcome. ” – Arthur Ashe

Where to Get More Information About the Pattern

Did my apron inspire you to learn more? Check out the apron tutorial at sueoverydesigns:

https://sueoverydesigns.com/make-serger-apron-zipper-pocket/

Get your own copy of Sue O’Very Designs “Cookin in Color Serger Apron” pattern:

https://sueoverydesigns.com/product/cookin-in-color-serger-apron/
www.overtheedge.blog

Why you Need a Serger

I believe that a sewing room really isn’t complete without a serger.  A serger allows you to create professional looking seams that are difficult to replicate with a sewing machine. It sews your seam, trims your seam and overcasts the edge of your fabric all in one step – talk about a time saver! The stitches are formed from a bunch of interlocking loops, which give serger seams their signature “stretchiness” and make them perfect for knit fabrics. You will find serger stitches in almost every textile item in your home – take a close look at your clothes, your curtains, your tablecloths, etc.  Did you find any serger stitches? I bet you did! The serger doesn’t replace your sewing machine, but it makes a perfect companion. A sewing machine and serger are like an oven and microwave. What would a kitchen be like without both? Sure, most sewing machines do overcast stitches and some have attachments that can cut, but the seams they create are just not the same (in my opinion). If you sew and don’t already own a serger, now would be a good time to do your research and decide if a serger is right for you. Stop by your local sewing store and talk with someone who knows sergers. If you do decide to get a serger, come back and visit me.  If you already own a serger, whether you are a serger newbie or a sergist extraordinaire, you are in the right place. 

This blog is for all of you out there who have invested in a serger and want to do more with it. Get it out of the box or the closet. Set it up. Start using it. Whether your goal is to neatly finish the edges of your fabric or to push your serger to its limits, I am here to help you learn to use your serger and to inspire you to create beautiful things. I look forward to serging with you!

Theme: Overlay by Kaira Extra Text
Cape Town, South Africa