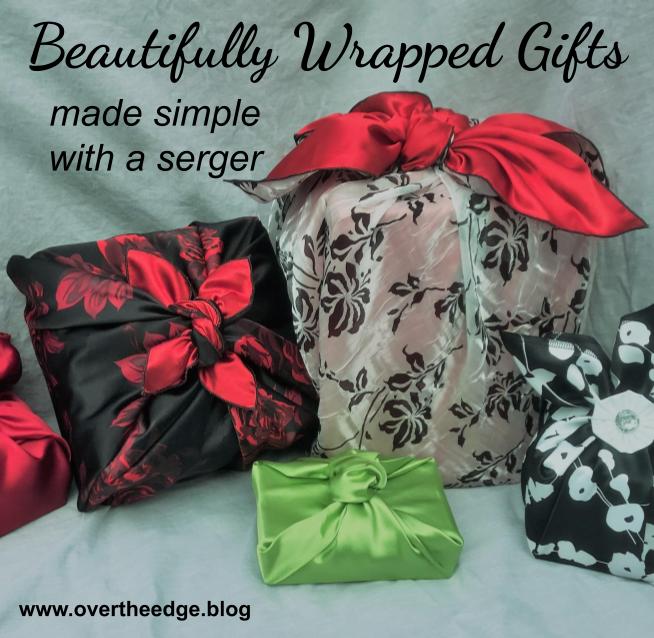
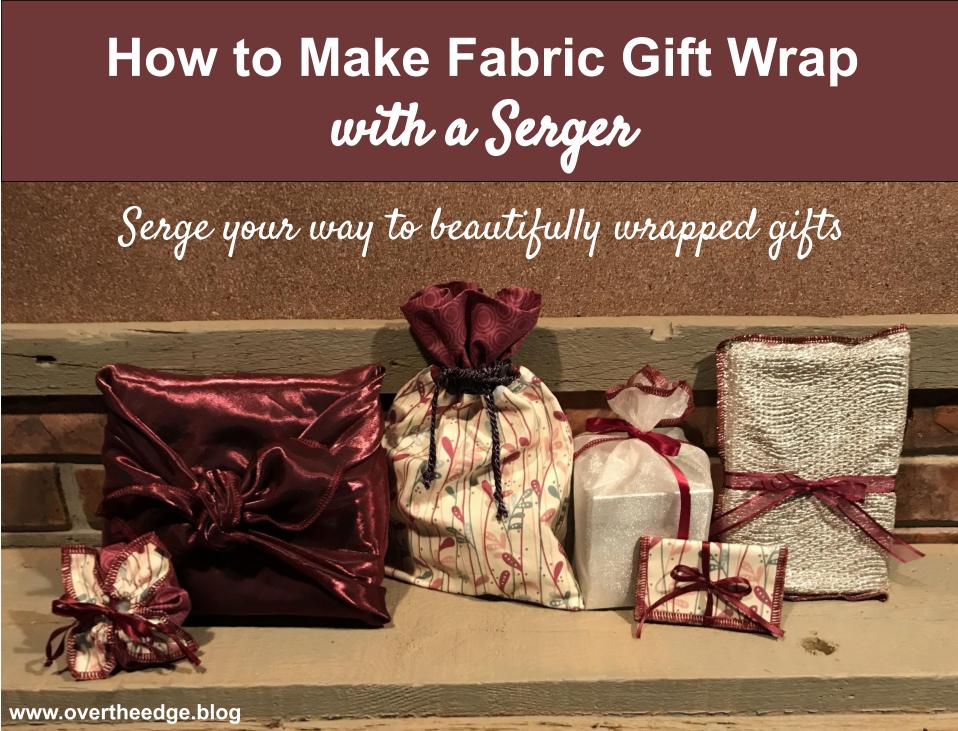
Beautifully Wrapped Gifts Made Simple with a Serger
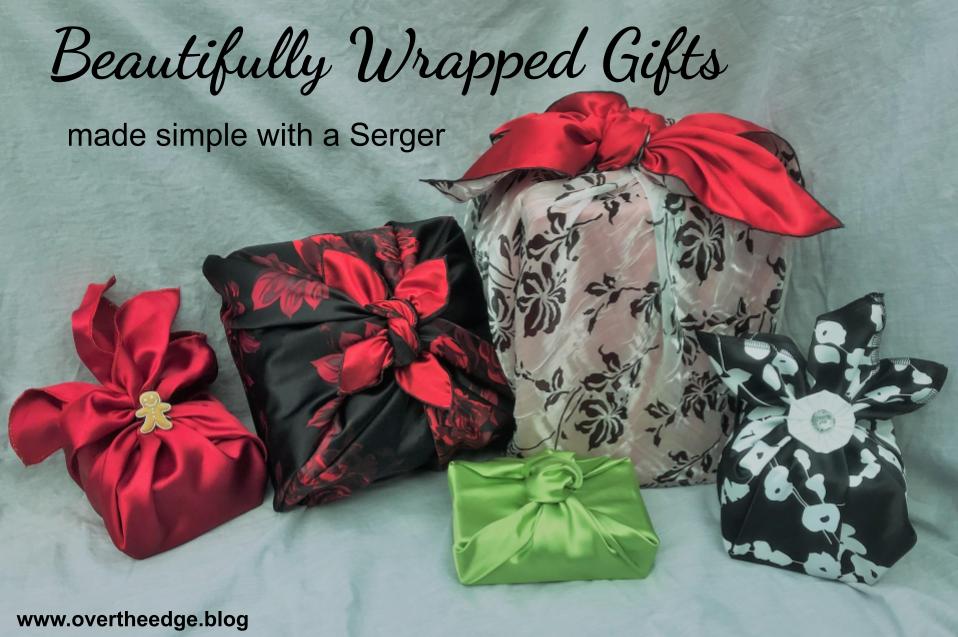
Beautifully Wrapped Gifts Made Simple with a Serger
I’ve been using fabric gift wrap for many, many years. Fabric gift wrap is beautiful, and it can be used over and over again. I use it for all occasions – birthdays, showers, holidays, etc. Fabric gift wrap is quick and easy to make using your serger. Read on below to learn all about beautifully wrapped gifts made simple with a serger.
Benefits to using Fabric to Wrap your Gifts
Benefits to using fabric to wrap your gifts:
- Save some trees – fabric gift wrap is reusable
- Make it from almost any fabric
- Great scrap buster – think of all those leftover odd sized pieces you can turn into gift wrap
- Make it in any size
- Make the fabric gift wrap part of the gift
- Perfect reason to use your serger!

Simple Serger Made Fabric Gift Wrap
Let me introduce you to six quick and easy fabric gift wrap projects I have created using a serger. Click on the link near the end of the post to get the instructions to serge your own fabric gift wrap.
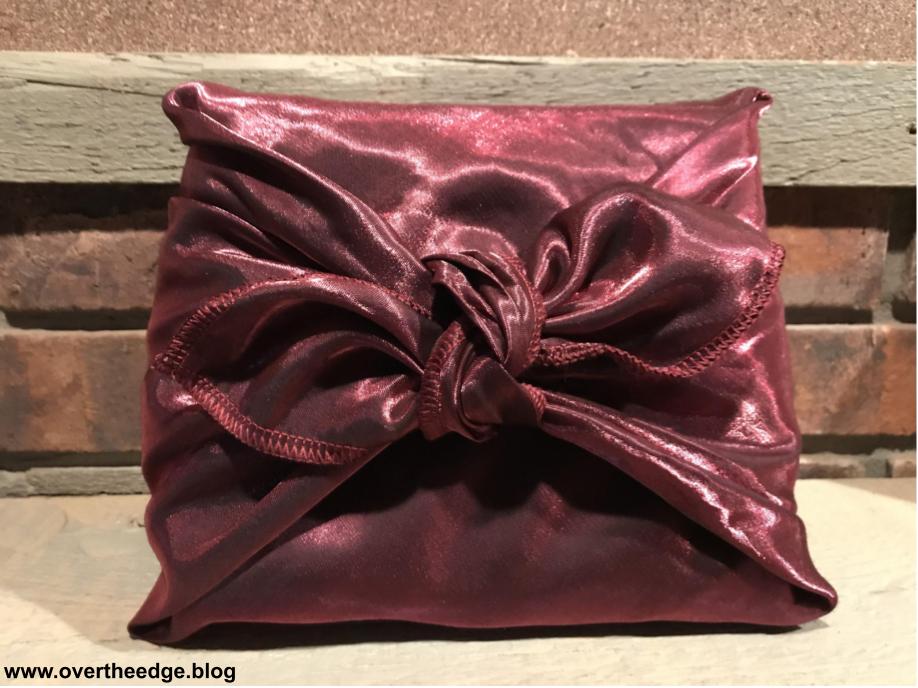
1. Wrapping Scarf
The wrapping scarf has been around for a long time. It was my first experiment with fabric gift wrap. Inspired by a book I saw at the store, I bought the book and started making fabric wrapping scarves from my leftover costume satins. Making fabric gift wrap was a double benefit for me. The first benefit was that I was able to make use of leftover fabrics from other projects taking up room in my stash. The second benefit was that the gift wrap was reusable and I no longer filled my trash with piles of paper gift wrap.
With it’s exposed serger stitching, the the wrapping scarf is the perfect project for highlighting decorative threads. You can make it from one reversible fabric which is more economical, or two fabrics, which is more colorful. My favorite wrapping scarves are made from flowy satins and shimmery organzas and chiffons. To secure a wrapping scarf around the gift, tie the ends of the fabric in loose knots, or get creative with added accessories like ribbons, buttons, and more.
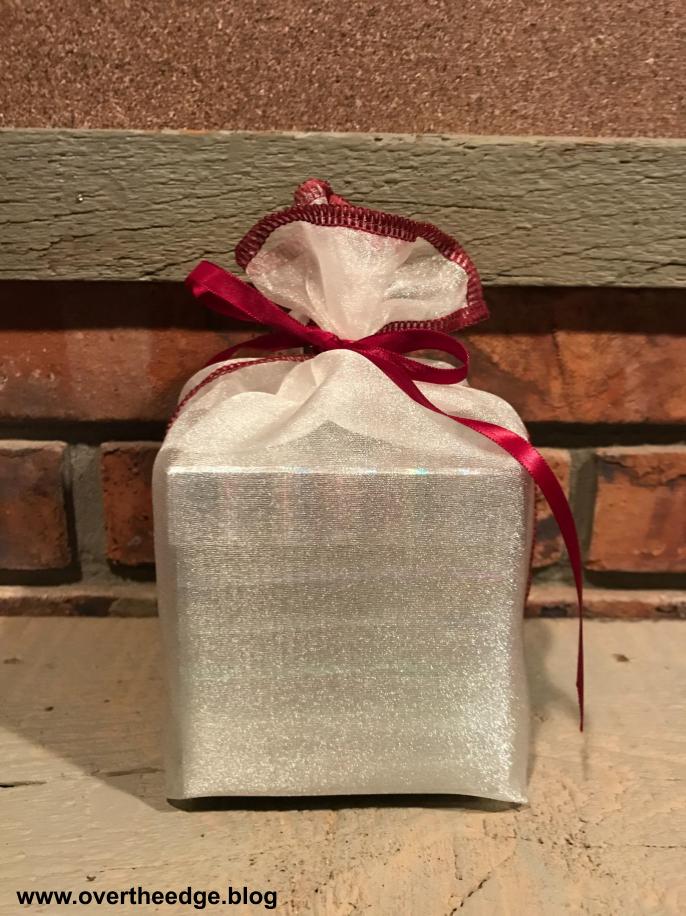
2. Simple Serged Gift Bag
A simple gift bag serged from a beautiful fabric will make a gift more special. I made the gift bag in the photo below from sparkle organza, which I thought looked great with the metallic silver box I put inside. This gift bag features exposed serger stitches and ribbon ties that are serged right into the seams so they can’t be misplaced. Although this gift bag is flat, it would be easy to give it more shape by boxing out the corners.
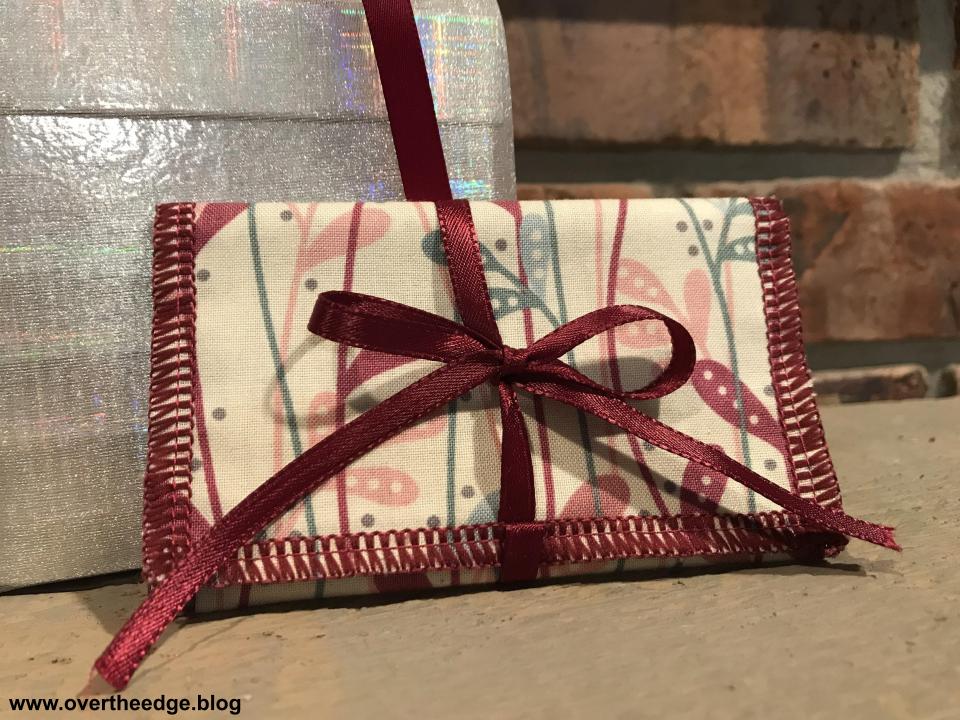
3. Gift Card Envelope
Gift cards have become pretty popular as gifts. Wrap them up in a fabric envelope to make the gift card more special. You could even decorate your tree with these cute little presents. Expose your serger seams and have fun with decorative threads with this gift wrap. And serge the ribbon tie right into the seam to make wrapping the gift card quick and easy.
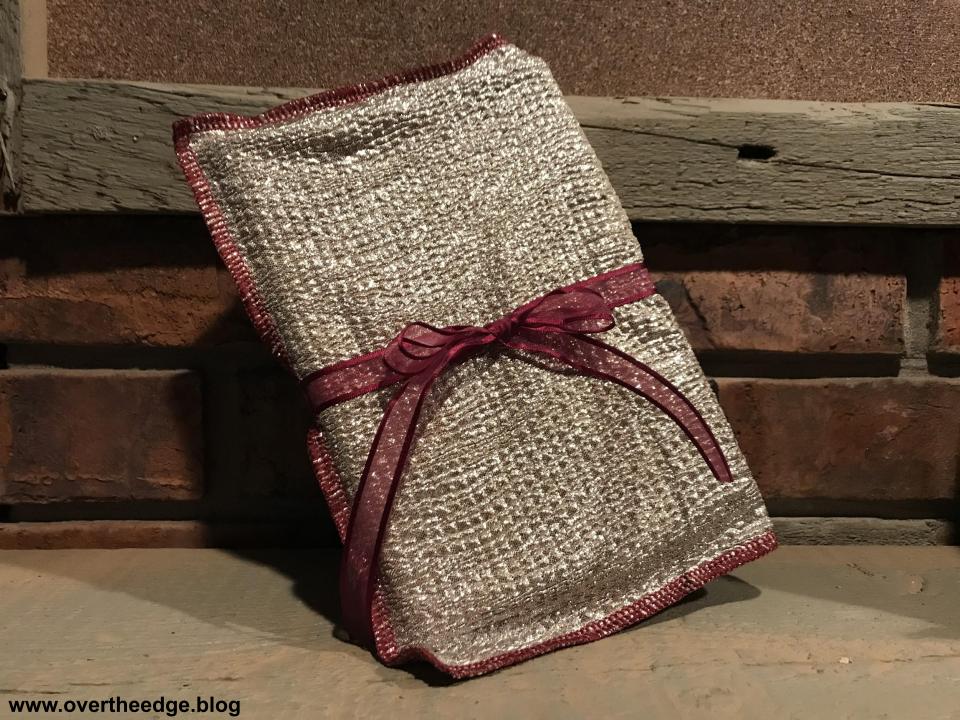
4. DVD/Book Gift Bag
This flat fabric bag works great for wrapping a book or DVD. This project is quick and easy and features exposed seams and an attached ribbon tie.
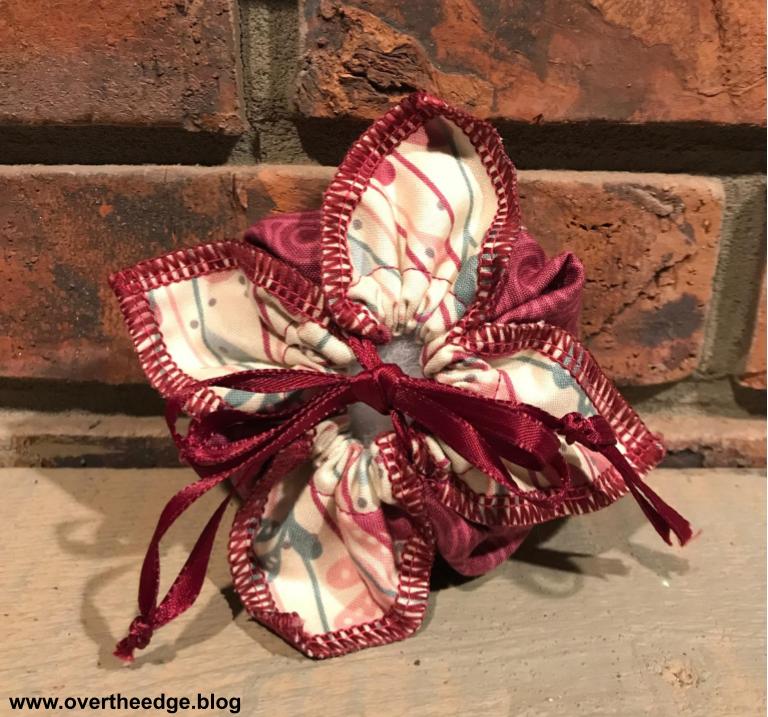
5. Petal Pouch
This cute little fabric pouch is great for wrapping small gifts or jewelry. Show off a pretty decorative thread in the exposed serger stitches on the edges of the petals. Sew the casings for the ribbon closure with a sewing machine or chain stitch on a serger.
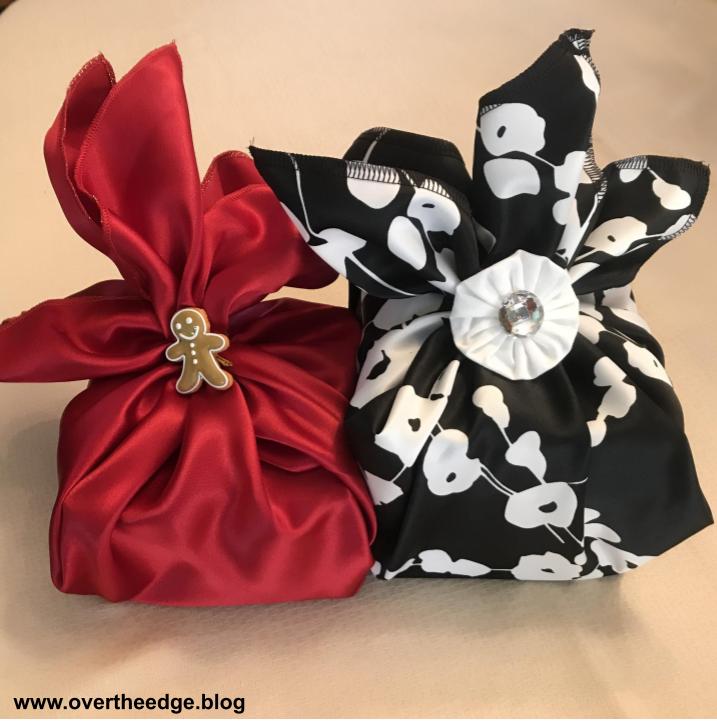
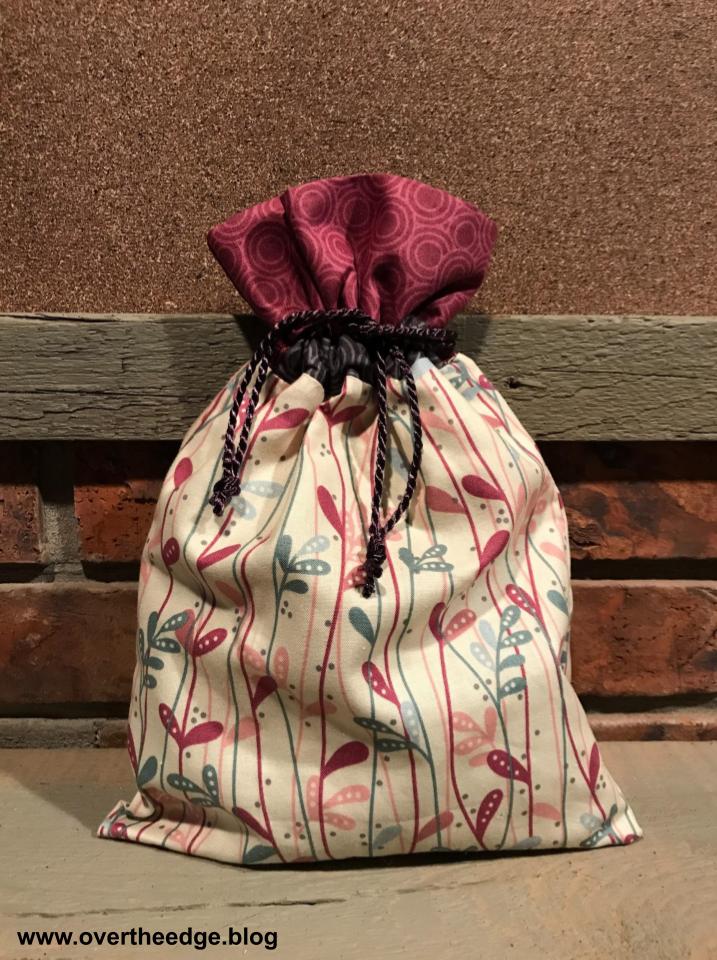
6. Drawstring Bag with Ruffle
This is a dressed up version of the standard fabric gift bag. It showcases three different fabrics and has a drawstring closure with a ruffle. The serged seams are on the inside of the bag and not exposed.
How to Make Fabric Gift Wrap with a Serger
Are you ready to try serging your own fabric gift wrap? If the answer is yes, then be sure to click on the link below to visit my tutorial, How to Make Fabric Gift Wrap with a Serger.
https://overtheedge.blog/tutorials/make-fabric-gift-wrap-with-a-serger/
I hope you were inspired by my post, Beautifully wrapped gifts made simple with a serger.

Resources
Wrapping Scarves book – The Wrapping Scarf Revolution by Patricia Lee. https://www.amazon.com/Wrapping-Scarf-Revolution-Earth-Friendly-Change/dp/1574861069 Here’s one site where you can buy the book. It was published in 2009, so if you can’t find a new one, you should be able to find a used copy on the internet.