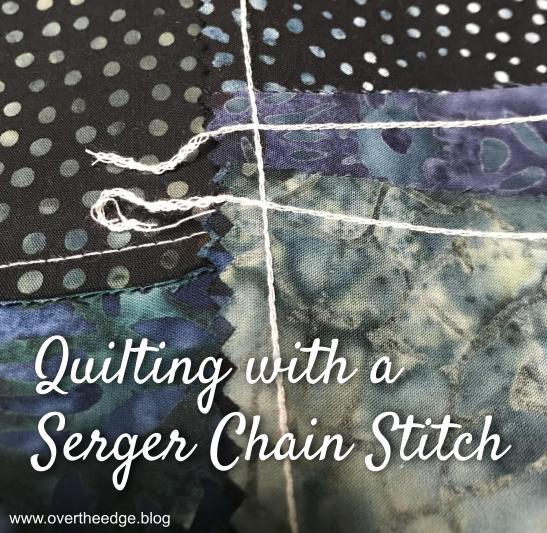
How to Serge a Quilt with a Chain Stitch
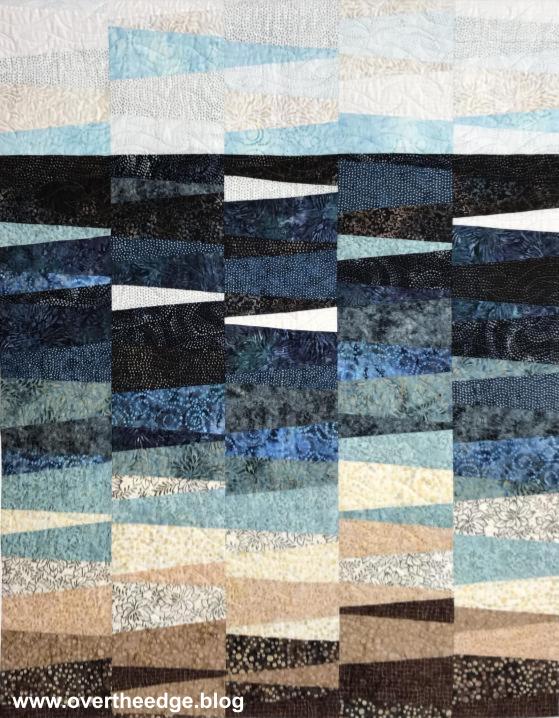
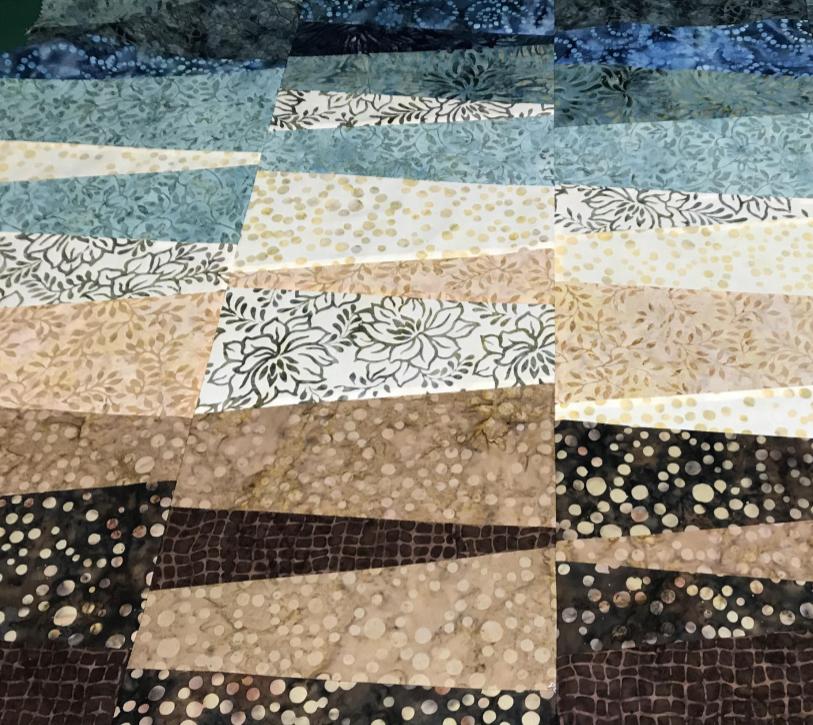
Did you know that you can serge a quilt with a chain stitch? I tried it, and I am so excited to share with you my latest quilt by serger. My Happy Place Quilt is an abstract waterscape quilt designed with a layer cake and a ten degree wedge ruler. I’ve made serger quilts using many types of serger stitches and techniques. But this is the first quilt I have pieced and bound exclusively using a serger chain stitch.
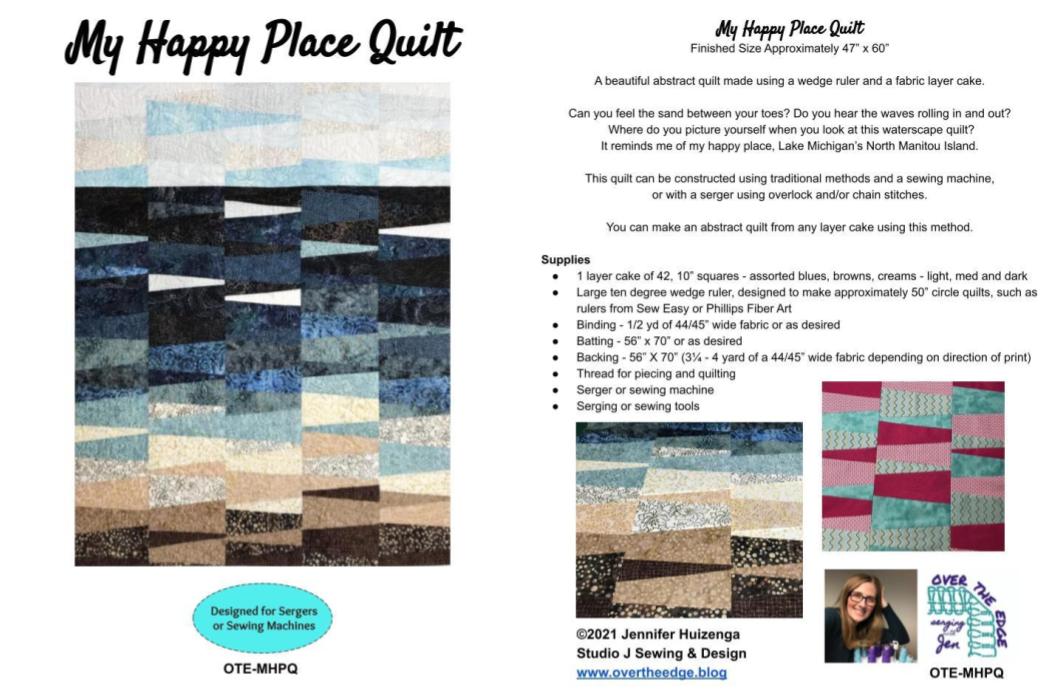
I was so happy with the results that I decided to create an official pattern for the quilt. The pattern is full of step by step photographs and diagrams. And the quilt can be made using a serger and/or a sewing machine. If you’d like to make your own My Happy Place Quilt, you can find the pattern for sale in the Shop section of my blog: https://overtheedge.blog/shop/
Story Behind the Quilt
I created the quilt as a personal design challenge for National Quilting Month this year. And of course, I chose to use my serger to make it. So I guess it counts for National Serger Month too!
I wanted to use my ten degree wedge ruler for another project.

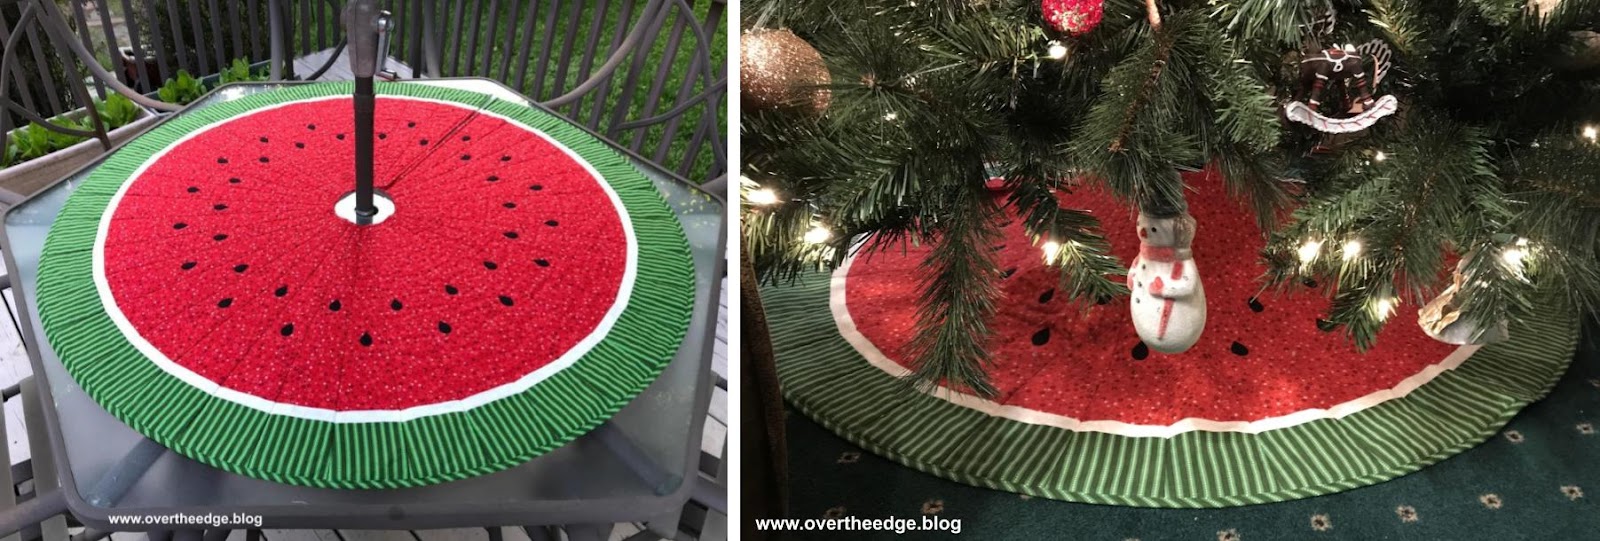
You may remember that last year I used my serger and ten degree wedge ruler to create a watermelon quilt. I’ve used the quilt as both a patio table topper and a tree skirt.
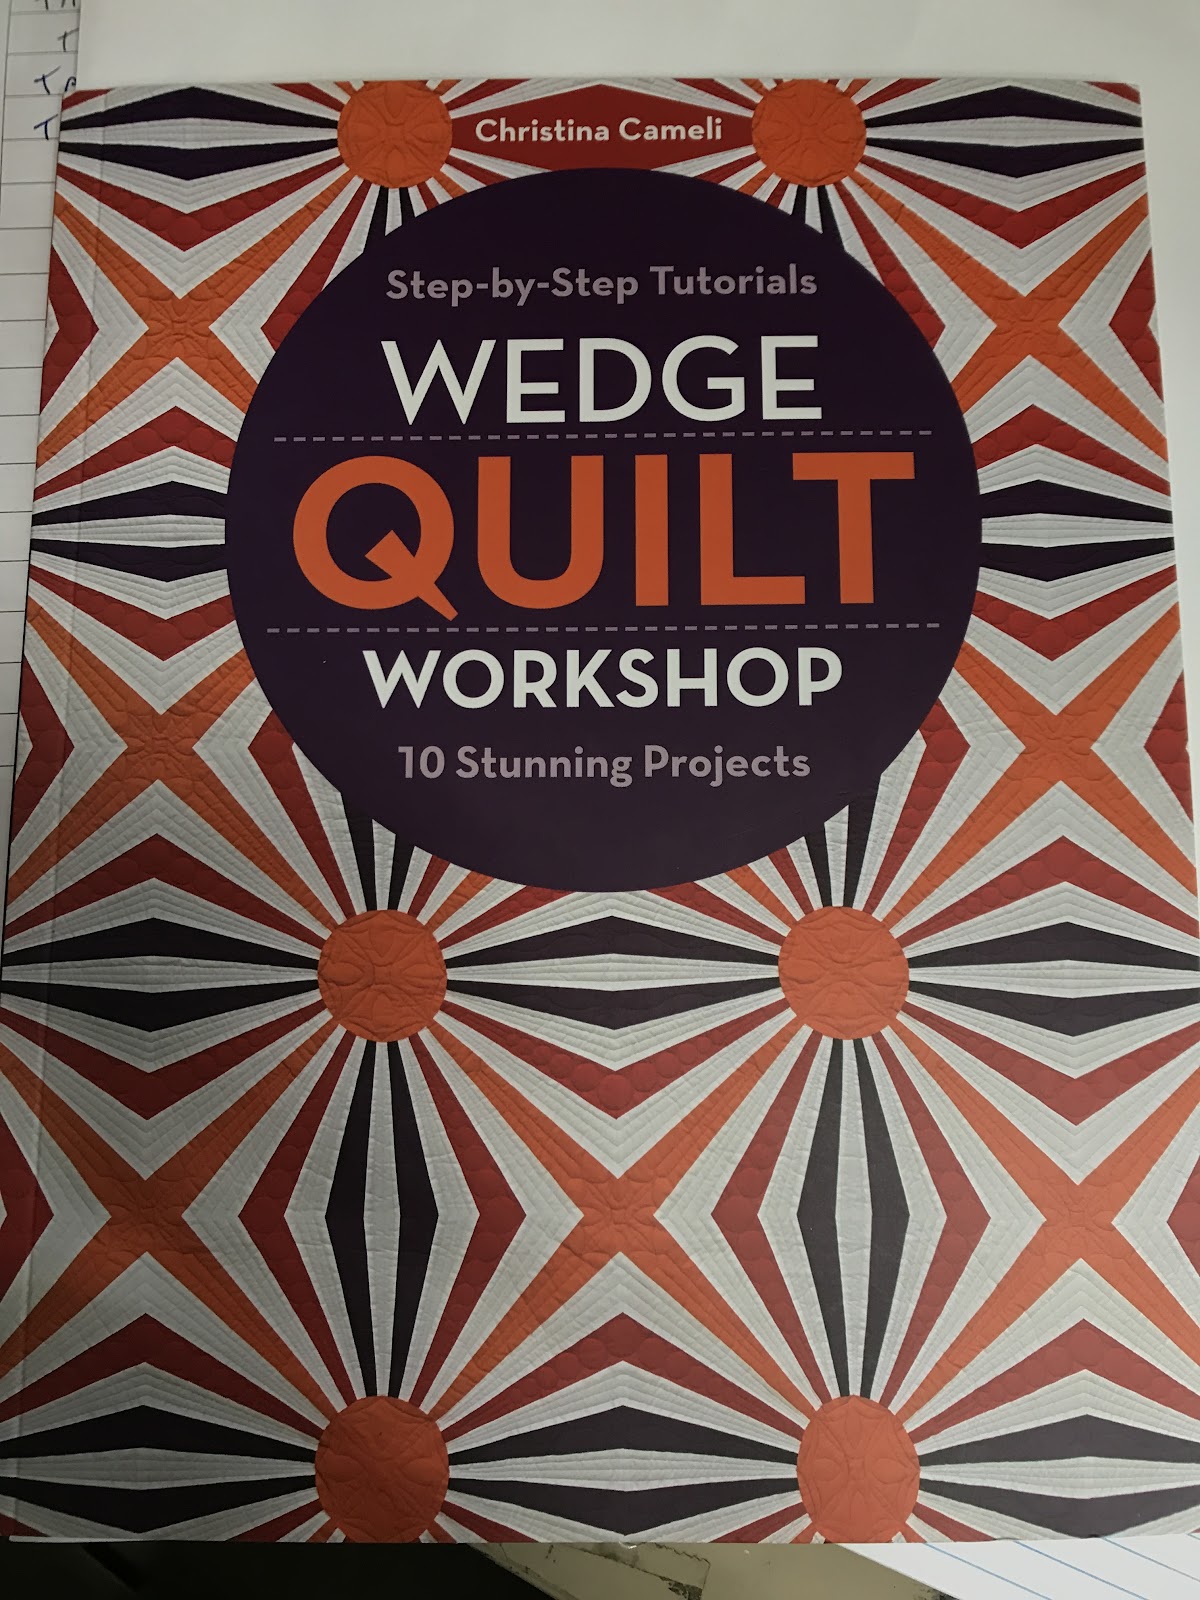
I found a few wedge style quilts online that seemed interesting. But when I saw the “It Takes All Sorts” quilt from Christina Cameli’s book, Wedge Quilt Workshop, I was instantly inspired.
I had the idea, but now I needed the perfect fabric. I found it in the sale rack where I work. It was the Ocean Stone batik layer cake from Boundless Fabrics by Craftsy. The blues and browns reminded me of Lake Michigan. And I love layer cakes because they are complete collections of coordinated fabric. The less time I spend choosing fabric is more time I can spend serging! At first I thought I would do something completely abstract, but as I experimented with my wedge layout, the abstract waterscape began to materialize.
How to Serge a Quilt with a Chain Stitch
Not all sergers are capable of making a chain stitch. But if your serger does, you can use a chain stitch to serge a quilt. I have a Baby Lock Evolution serger, which is both an overlock and a cover stitch machine.
Here are some useful tidbits about serging and quilting with a chain stitch.
- Seams can be pressed to the side or pressed open
- Uses two threads, similar to a sewing machine
- Can be quickly and easily removed if you make a mistake
- Blades are disengaged so no accidentally cutting into your seams
- Stitch length is usually a little longer than when sewing, about 2.75-3
- Don’t have to worry about running out of bobbin thread
- Can be used for piecing, binding and quilting
Piecing with a Serger Chain Stitch

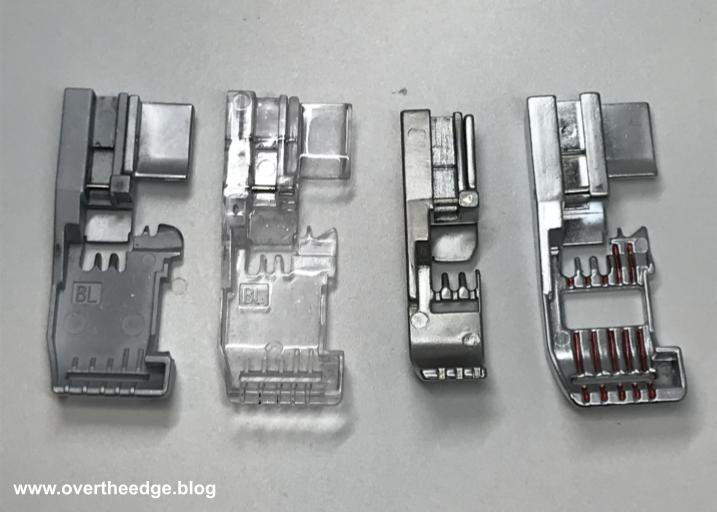
I pieced together all of My Happy Place Quilt using a chain stitch and the cover stitch presser foot. Several different feet can be used – standard foot, clear foot, open toe foot, cover stitch foot, etc. Check your manual for the best settings and presser foot to use for your serger. Any foot that has good visibility makes it easier to get accurate ¼” seams. For chain stitch quilting I prefer the cover stitch foot or the open toe foot.
Pictured below are a few presser feet I use to quilt with my Baby Lock Evolution serger. From left to right: standard foot, clear standard foot, cover stitch foot, open toe foot.
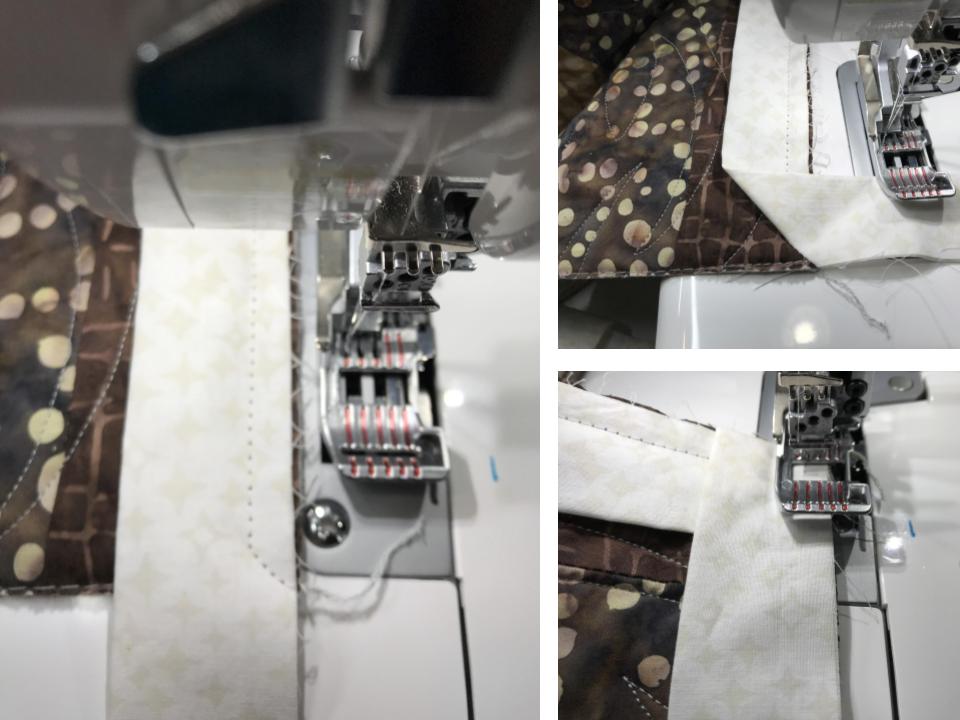
I used my left needle and guided the fabric along the right needle marking on the toe of my presser foot. Guiding the fabric this way gave me accurate ¼” seams. I used standard serger cone thread in my needle and chain looper.
Attach Binding with a Chain Stitch
Applying binding with a serger chain stitch is just like applying binding with a sewing machine. You stitch the binding onto the front or back of the quilt and then wrap it around the edges and stitch it down by hand or machine.
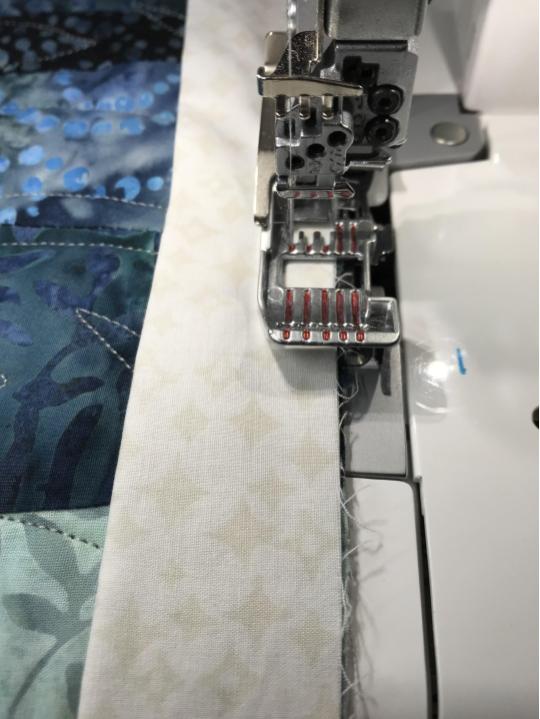
I used this binding method for my quilt because I wanted two layers of fabric in the binding at the raw edges of the quilt. I used a very light color binding and did not want the dark fabrics in the quilt to show through. After testing the seam allowances I decided that a scant ⅜” seam allowance was best. The binding on the back would be perfectly secured by the “stitch in the ditch” stitches from the front. A scant ⅜” seam allowance from my left chain needle is between the third and 4th red marking from the left on the toe of my open toe presser foot as seen in the photo below.

I even chain pieced my binding strip seams with the chain stitch on my serger.
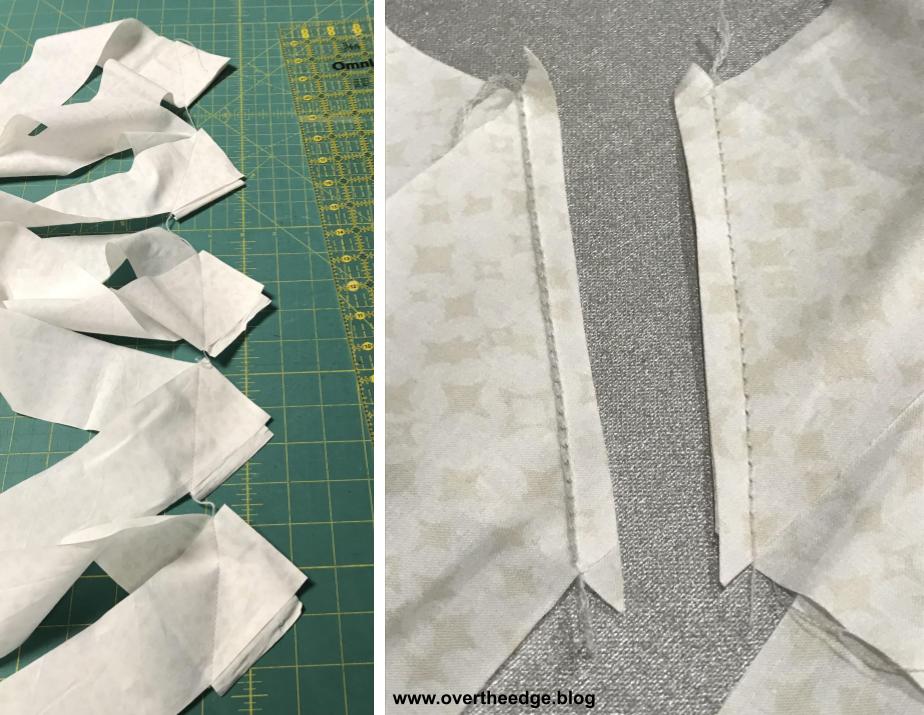
When I approached the corners, I simply turned the quilt clockwise and serged off the corner on a diagonal. Then I folded the binding at the corner and serged back on to the next side of the quilt, just like I would on a sewing machine.
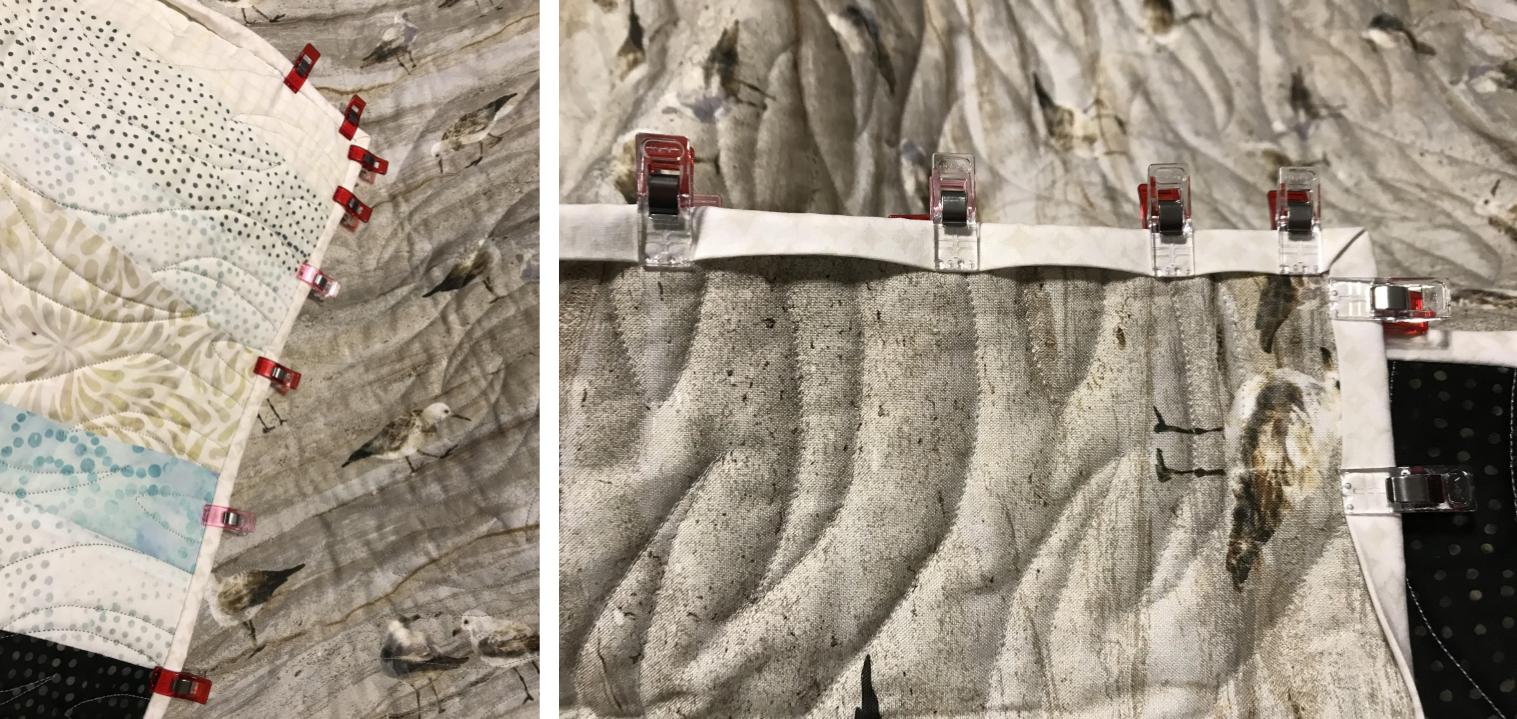
After the binding was attached to the front of the quilt, I turned the folded edge to the back and clipped in place.
Finish Binding – Stitch in the Ditch Method
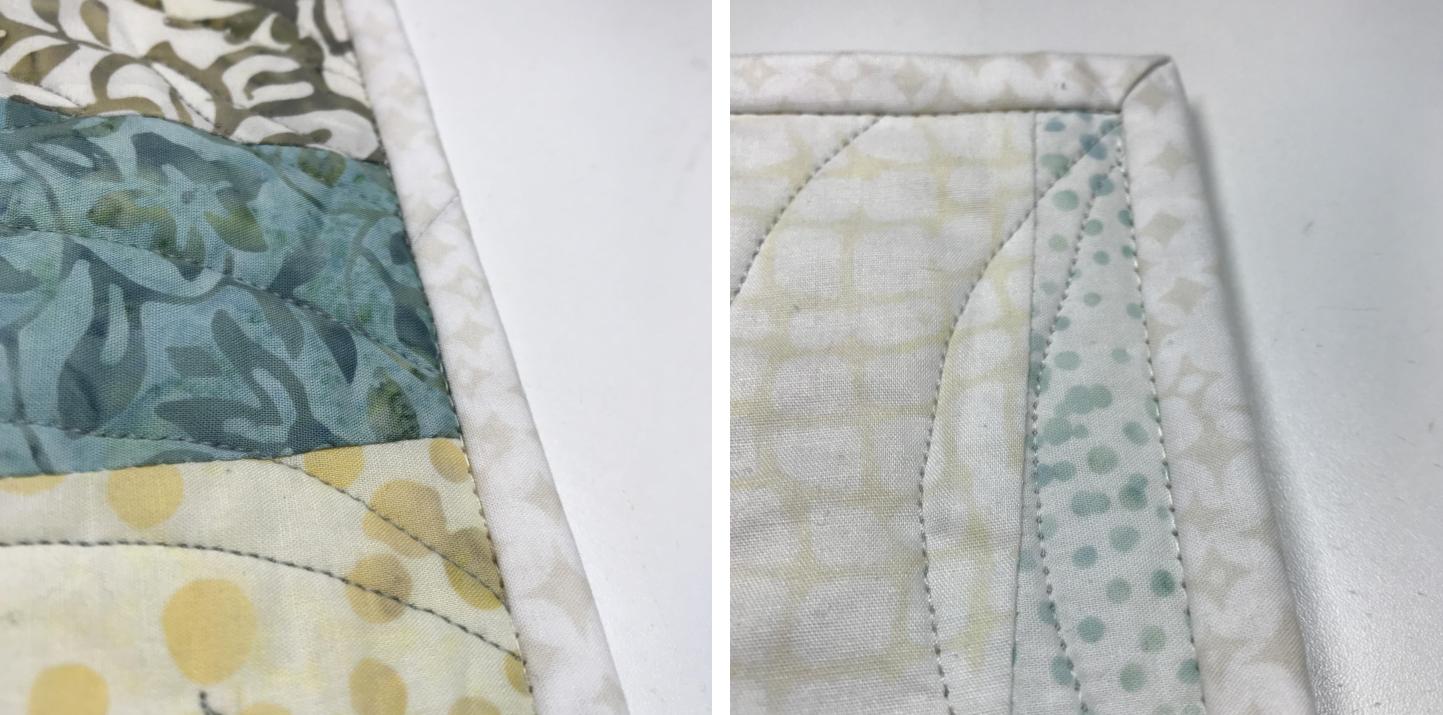
The last step of binding a quilt is stitching down the folded edge of the binding on the front or back of the quilt. It can be stitched by hand or by machine. I completed this last step of my quilt binding by serger, using a chain stitch and the “stitch in the ditch” method from the front side of My Happy Place Quilt. For the best visibility of the “ditch” between the binding and the quilt, I used my open toe foot and the center chain needle position.

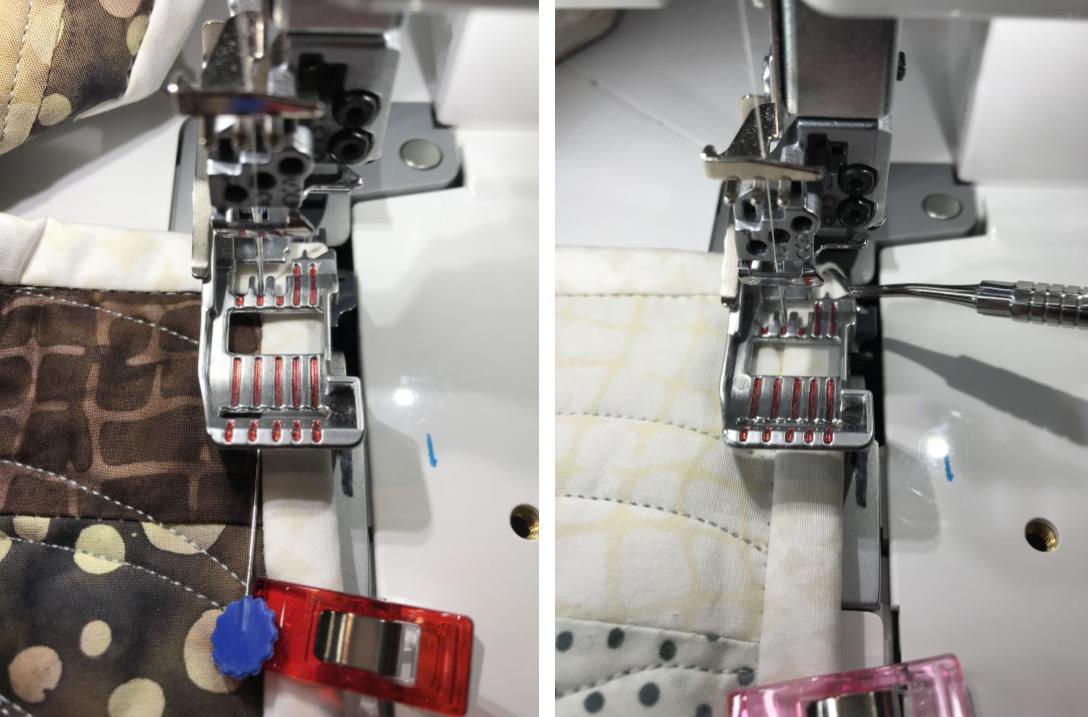
You do have to turn your corners just a little bit differently with a chain stitch. When you get to the corner, stop with your needle down in the fabric. Then turn the hand wheel until the eye of the needle just peeks out above the fabric.

Next lift the presser foot and carefully rotate your fabric counter clockwise. Once positioned, start serging again. You may need to use a stiletto or other tool to gently pull or push on the fabric to keep the bulky corner from getting stuck after the turn. I used a pin to hold the binding in place near the corner and removed it after I took a few stitches, since wonder clips are too bulky to use close to the corner.
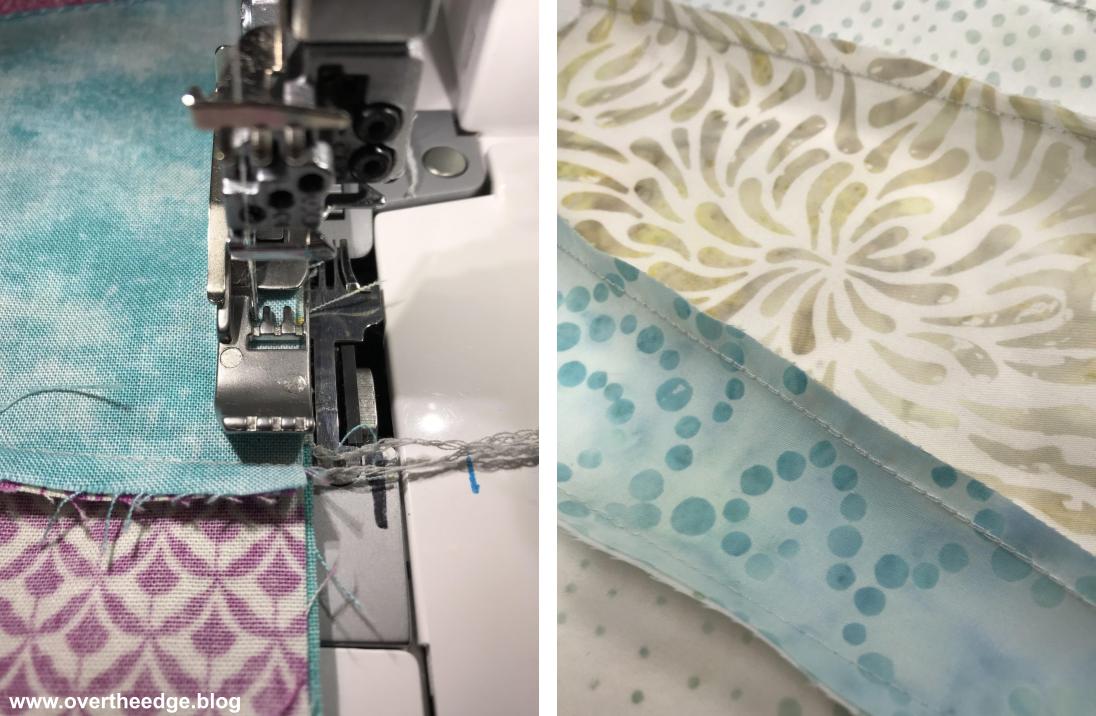
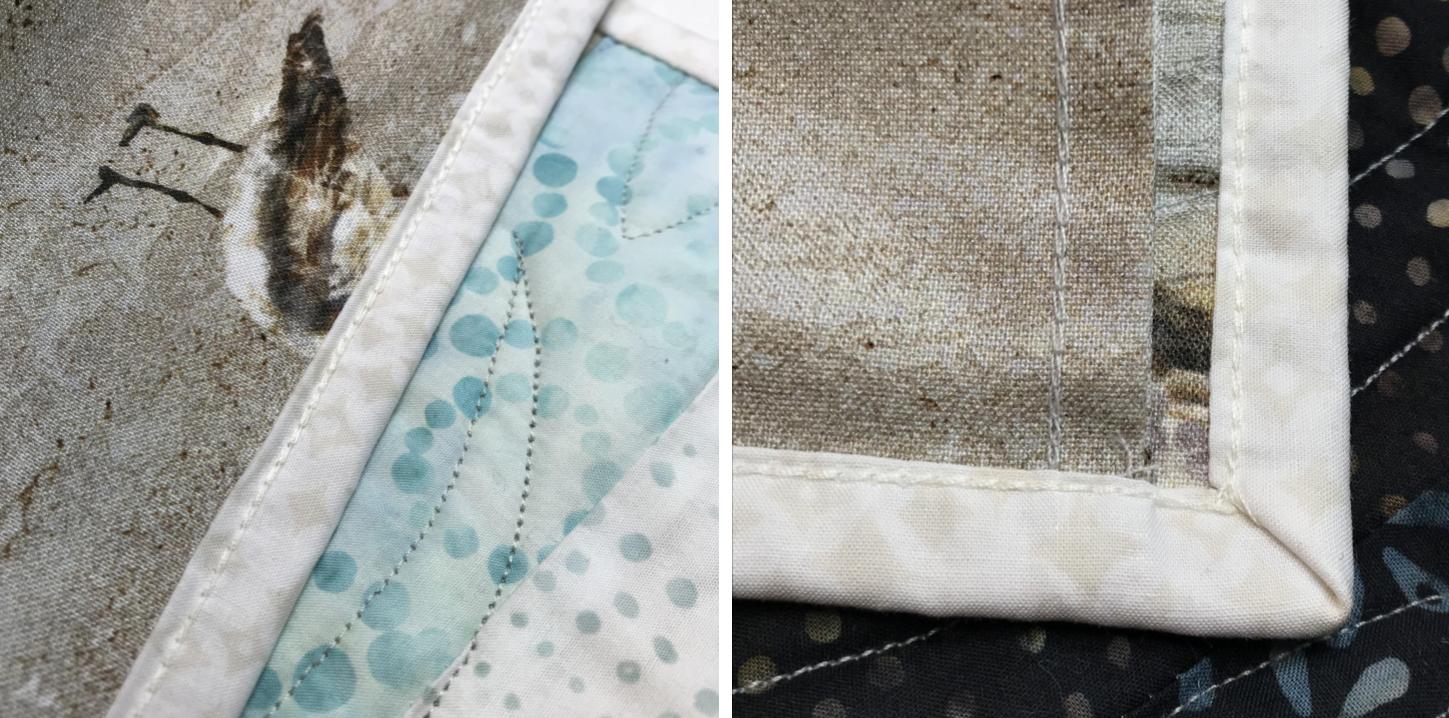
Here’s a view of the chain stitch in the ditch from the right side of the quilt.
Here’s a close up of the chain stitch on the binding on the back side of the quilt.
Tips for Serging with a Chain Stitch
When piecing my quilts with a chain stitch, I like to trim the thread chain tails to about an inch past the edge of the fabric. The extra inch of thread gives me a little wiggle room, just in case the chain starts to unravel as it is handled.
If you need some assistance with the mechanics of serging with a chain stitch, check out my tutorial: Tips for Serging with a Chain Stitch at https://overtheedge.blog/tutorials/tips-for-serging-with-a-chain-stitch/. In the tutorial I share tips on how to start and end a seam, how to secure the ends of the seam, and how to easily remove a chain stitched seam.
How to Serge a Quilt with a Chain Stitch
I hope you enjoyed learning about My Happy Place Quilt and how to serge a quilt with a serger chain stitch.

Resources
https://www.etsy.com/shop/studiojsewing?ref=seller-platform-mcnav§ion_id=30533440 – My Happy Place Quilt Pattern.
https://www.christinacameli.com/product-page/e-book-wedge-quilt-workshop – Quilts that inspired me.
https://quiltsocial.com/a-quilt-block-of-wedges-tantalizes-the-senses-using-shimmer-and-toscan/ – Quilt that inspired me.
https://overtheedge.blog/tutorials/tips-for-serging-with-a-chain-stitch/ – My tips for serging with a chain stitch.