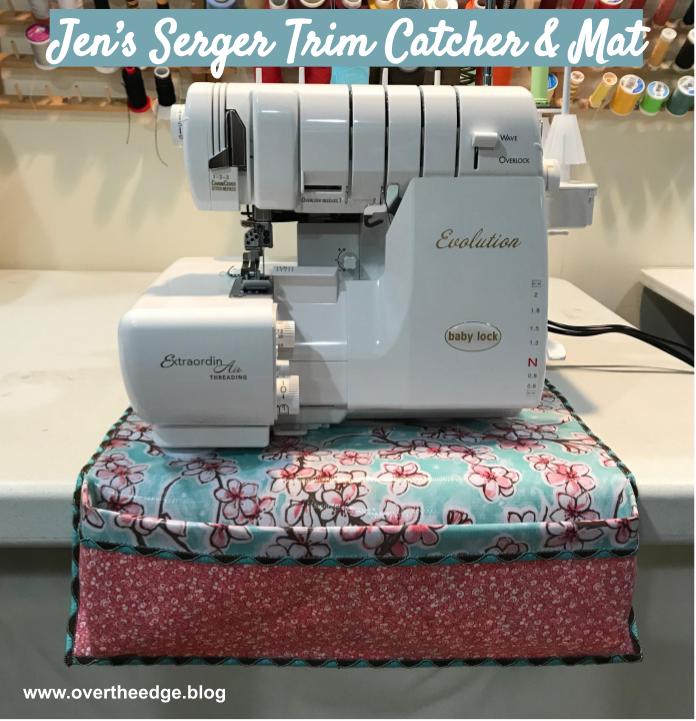
Serger Trim Catcher & Mat
What happens to the fabric and thread you trim off as you serge? Does it end up on your lap, your table, your floor or stuck to your project? Spend less time cleaning up and more time serging with Jen’s Serger Trim Catcher & Mat!
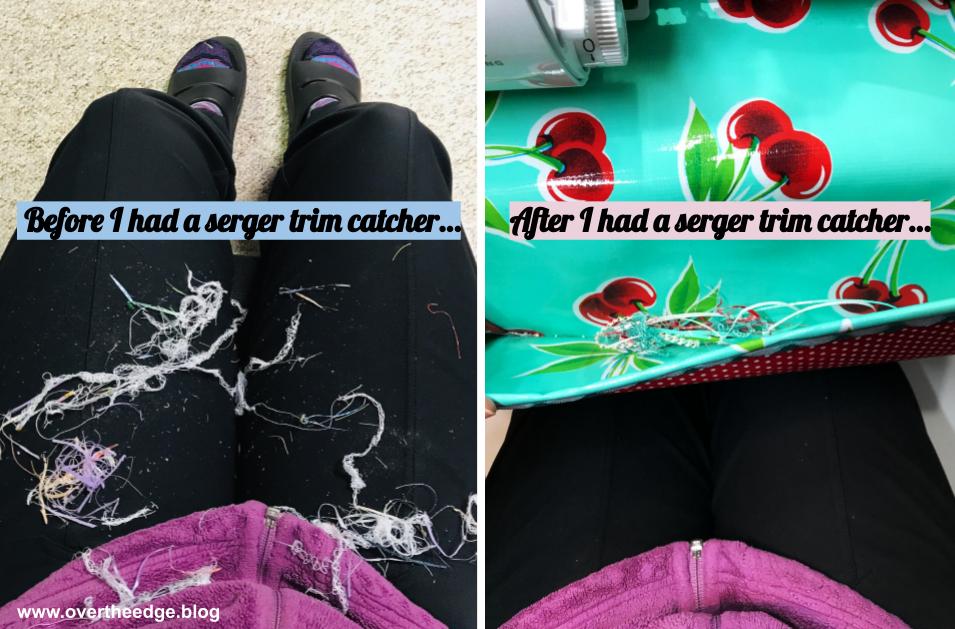
The first serger I ever owned had a plastic catch bin that attached to the front cover. It worked well for catching small bits of thread. But if you were cutting off much fabric there was a problem. The catch tray would cause the trimmed fabric to flip up into the loopers and get caught in my stitching. After a few mishaps, I removed the bin and let the trimmings fall to the table or my lap. Eventually I grew tired of all the “hitch hikers” that seemed to travel all over my house as they fell from my clothes. I needed a solution.
My solution was to use my serger to make a simple trim catcher mat that was easy to clean and non-slip, so that my serger didn’t vibrate around on my table. After experimenting with a few ideas, I came up with a working prototype that met all my requirements. And to celebrate National Serger Month, I thought I would share my design with you.

The Design of Jen’s Serger Trim Catcher & Mat
- I chose oil cloth for its smooth wipeable surface and its substantial “weight”. The serger trimmings wipe easily into the pocket on the front and are easy to scoop out and throw away.
- Grip shelf liner (or rug grip) seemed like a good material to keep my serger from vibrating around the table as I worked.
- The design should be simple and easy to construct.
- I didn’t want any extra pockets to hold tools on the front of my catcher. Having tools right in front of me is like asking them to get caught in my project while I serge. I prefer to have a tray on the table next to my machine to hold my accessories.
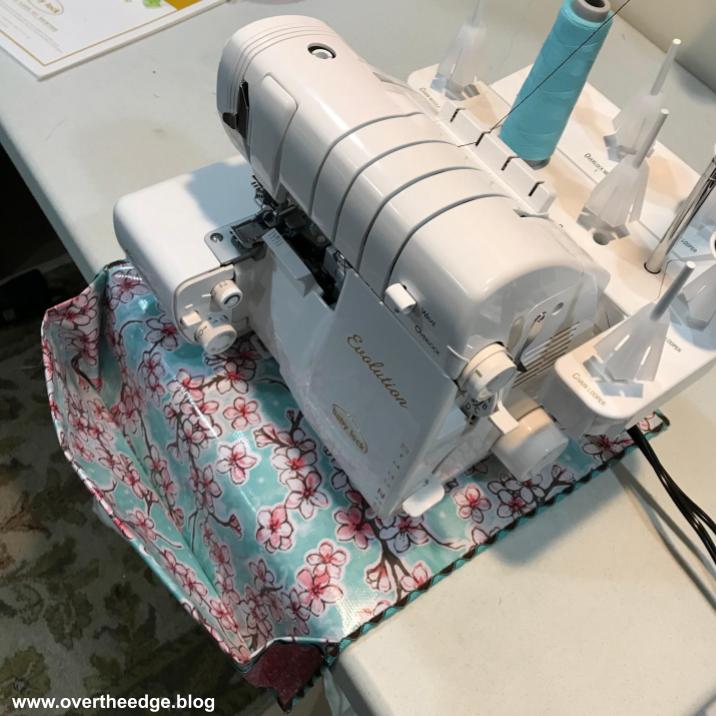
- The Evolution was my first serger with Babylock’s exclusive wave stitch and the trim catcher was my first project on that serger. I just had to use the wave stitch to embellish the outer edges of the trim catcher and mat!
- This mat works well for 4 thread overlock machines and smaller 8 thread overlock machines like the Babylock Evolution.
- Finished size of Jen’s Serger Trim Catcher & Mat – 15” x 18”.


Serging with Oil Cloth and Grip Liner
The only reason I didn’t put “easy” in the title of this project is because of the challenge of working with my chosen fabric. Both the grip liner and the oil cloth are “grippy” and can stick to the bed of your machine or table. I wasn’t sure that I could successfully serge the grip shelf liner and the oil cloth together, but the Babylock Evolution handled it beautifully! As I serged, I made sure the grip layer on the bottom was well supported and not catching on my machine or table. Be certain to test the combination of grip shelf liner and oil cloth layers with your serger. If your serger doesn’t like feeding the grip shelf liner you could always glue it to the underside of the oil cloth after you have completed the serging steps.


Pocket Support
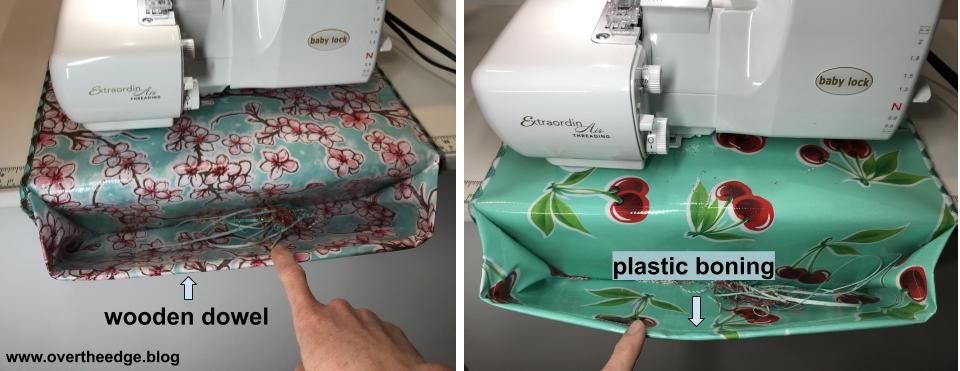
The first catcher I made did not include a dowel or boning for support of the pocket edge. It worked fine, but the pocket edge became a little droopy over time. So in my other versions, I tried a ¼” thick wooden dowel, and a piece of plastic boning (used in clothing for support). Both work well to support the upper edge of the trim catcher pocket. As you can see in the photo below, the pocket with the dowel is more rigid and the pocket with the boning is more flexible.
The Wave Stitch
The wave stitch looks best with thick decorative thread and serged onto the edge of a stable material that will not pucker under the weight and width of the stitching. It’s a stitch with oscillating tensions that creates a “wave” with the upper and lower looper threads. The wave stitch is exclusive to Babylock. If you don’t have the ability to do the wave stitch, you could embellish the edges of your serger trim catcher & mat with a three thread overlock.

Jen’s Serger Trim Catcher & Mat Tutorial
Are you ready to make a serger trim catcher for yourself? Go for it! Click on the link below for the full tutorial.

Other Resources
Check out the YouTube video below to learn all about the Babylock Wave Stitch.