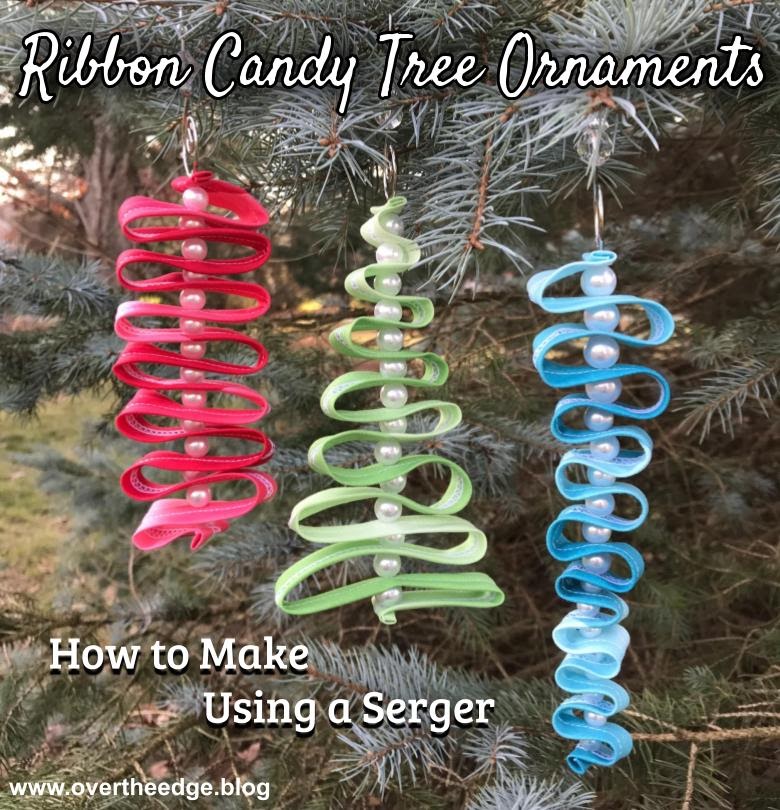
How to Make Tree Ornaments Using a Serger
How to Make Tree Ornaments Using a Serger
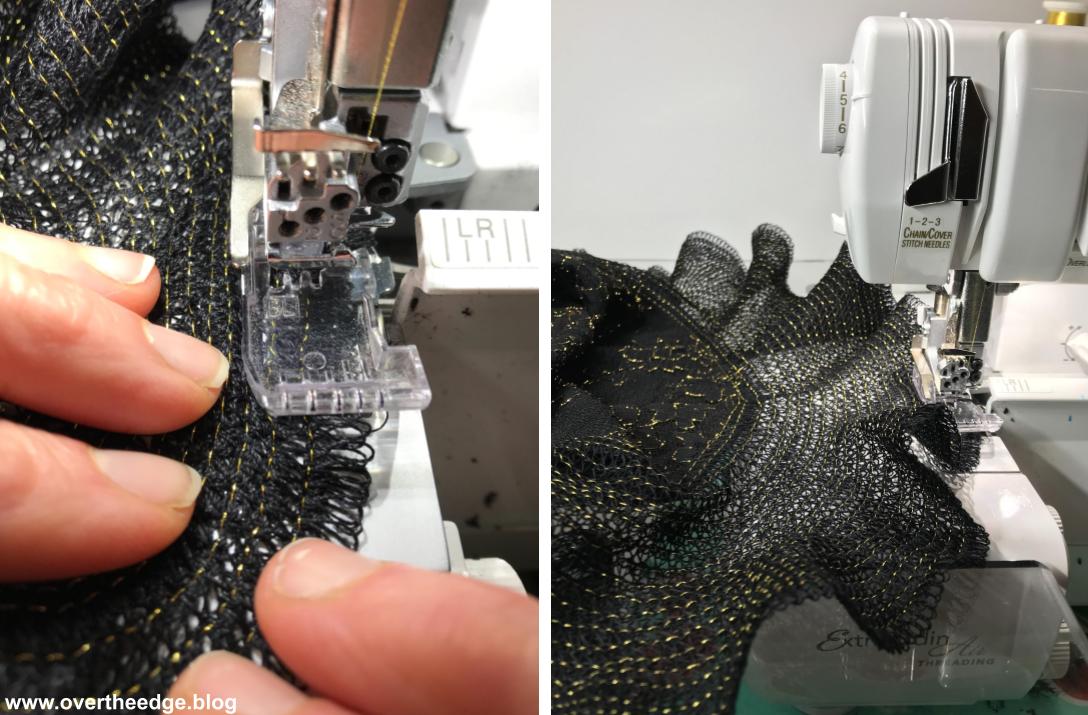
I’m always looking for new things to make with my serger and its attachments. And the holidays always bring out my creative side. As I was searching the internet for inspiration, I came across posts by Sara Gallegos of the Decorative Stitch and Mathew Boudreaux of Mister Domestic, which inspired me to create my Ribbon Candy Tree Ornaments Tutorial. (Links to their posts are in the Resources section at the bottom of the post). Sara followed Mathew’s strip tree ornament tutorial, but instead of using a sewing machine to create the fabric strips, she used her Baby Lock serger and the small belt loop binder attachment.
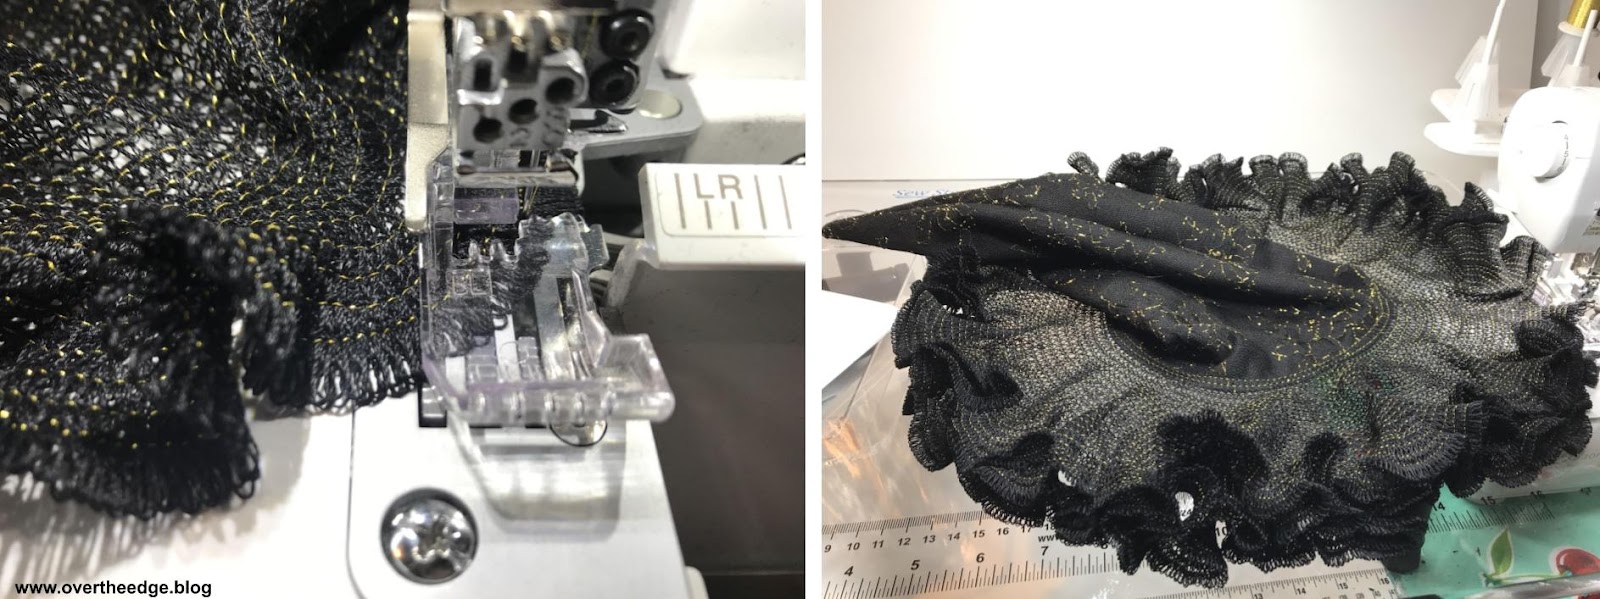
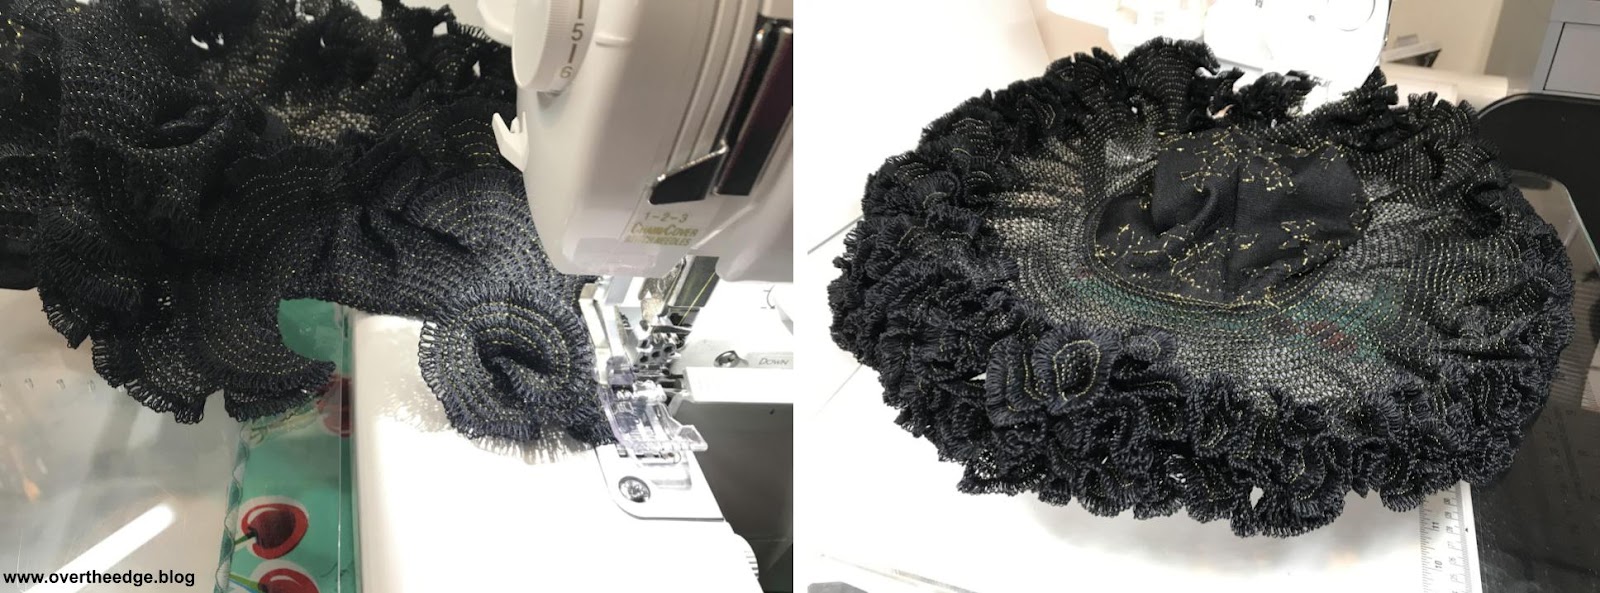
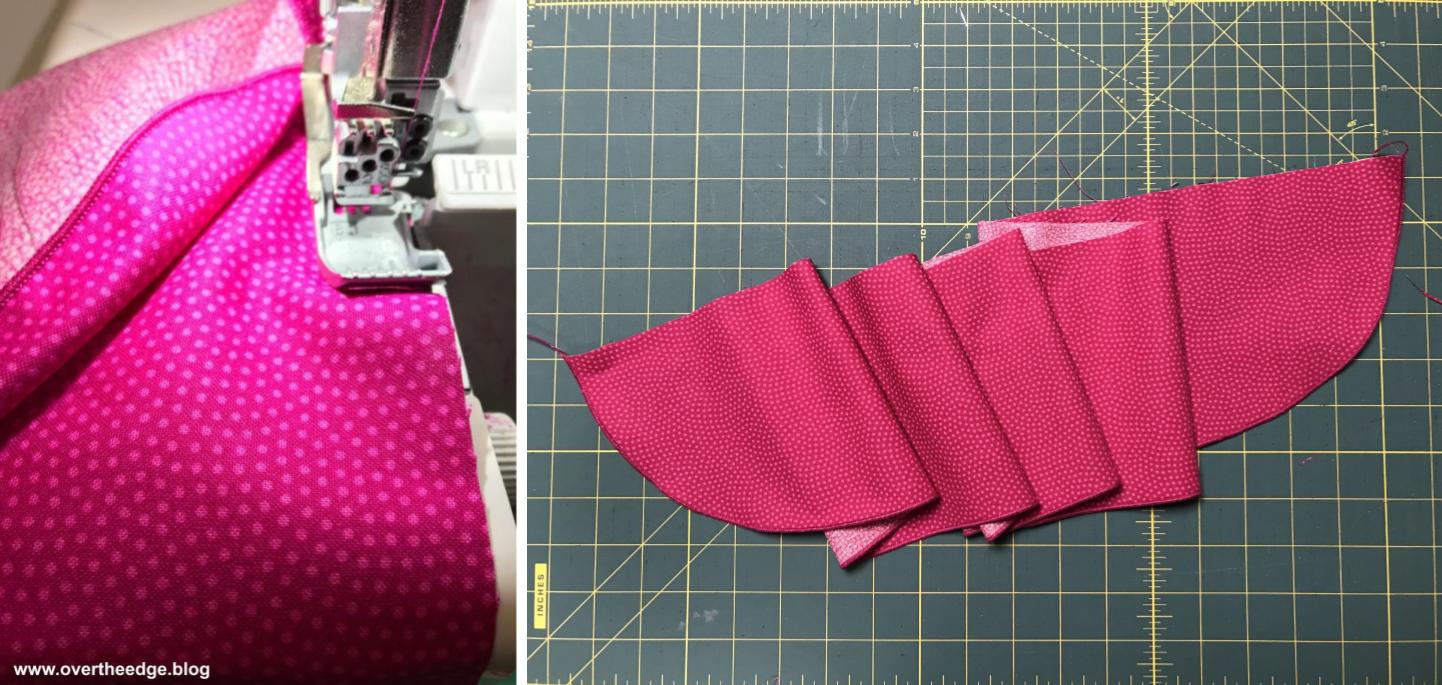
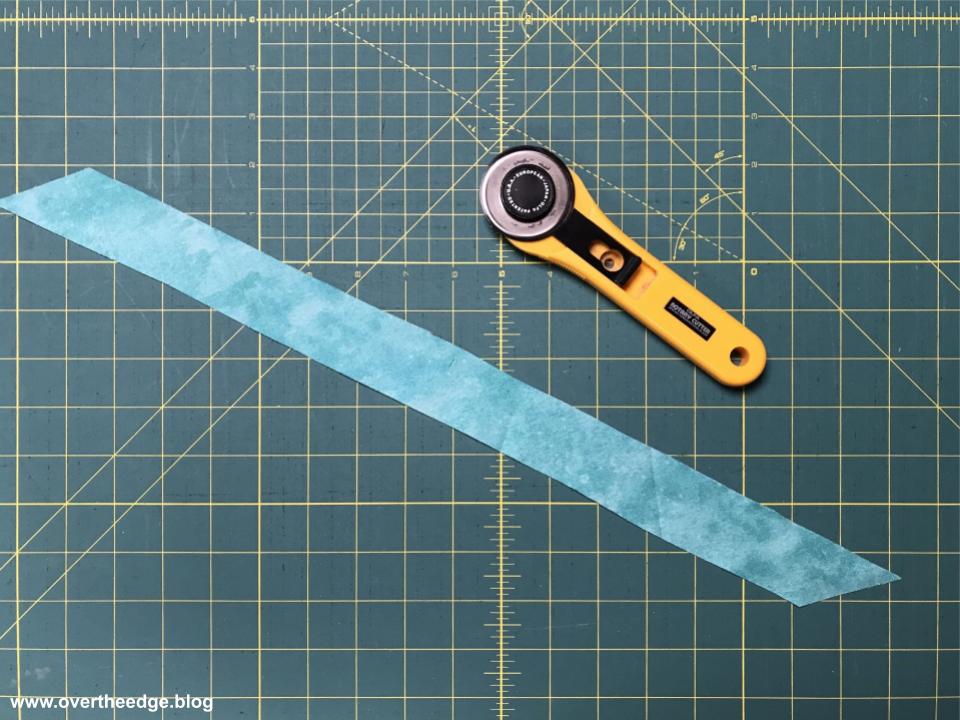
After reading about the process they used to make their tree ornaments, I decided to experiment with my serger and design my own ornaments. These ornaments all begin with a folded piece of fabric, which can be quickly and easily made with the right serger attachment. I own three different attachments for my Baby Lock serger that all fold the fabric and stitch it together in one step, so I tested all three attachments using both bias and cross grain fabric strips. I also tested the effect of adding interfacing to the fabric strips. This ornament project is a great way to practice using your attachments. Keep reading to learn how to make tree ornaments using a serger.
My Experiments with Making Fabric Ribbons Using a Serger
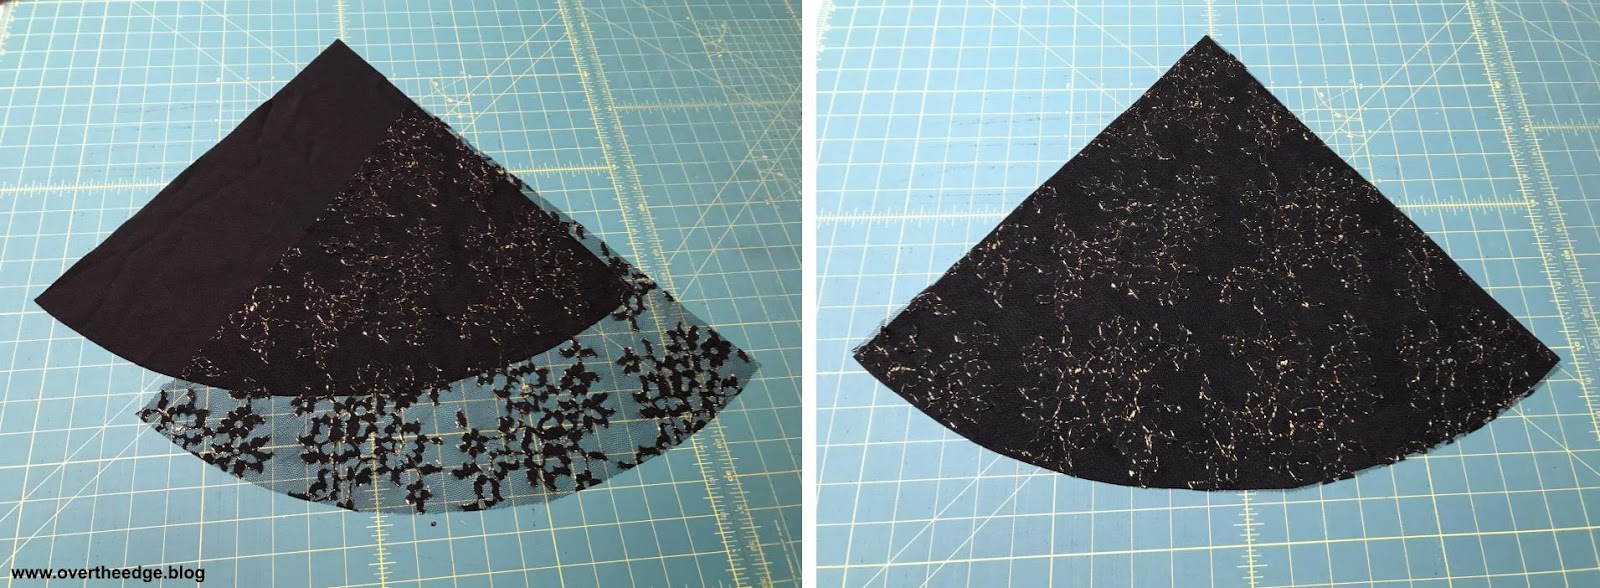
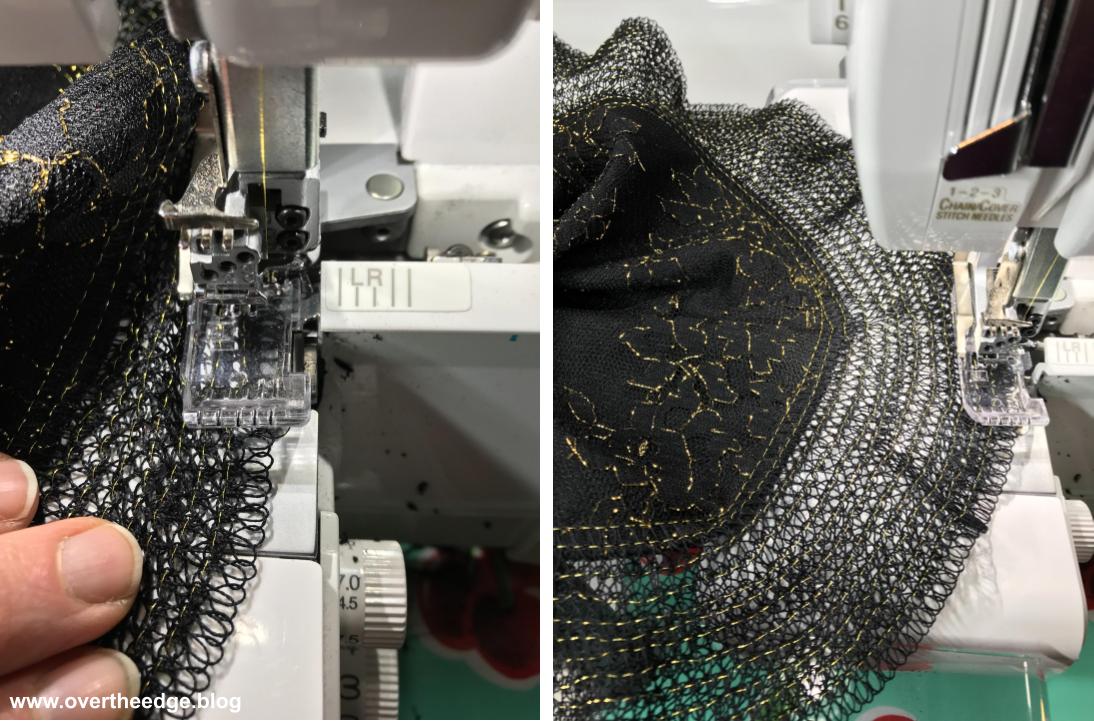
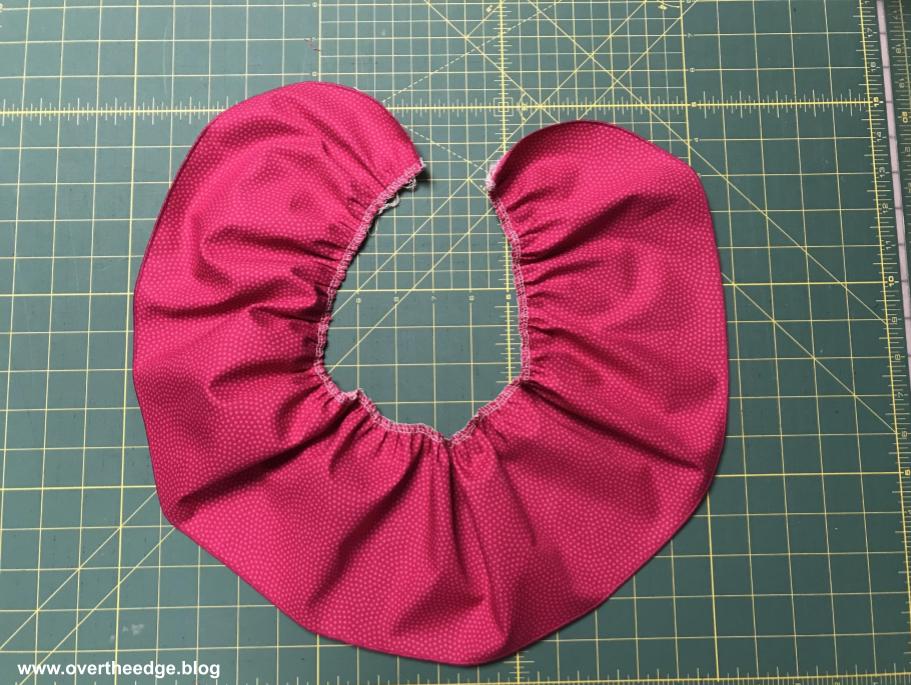
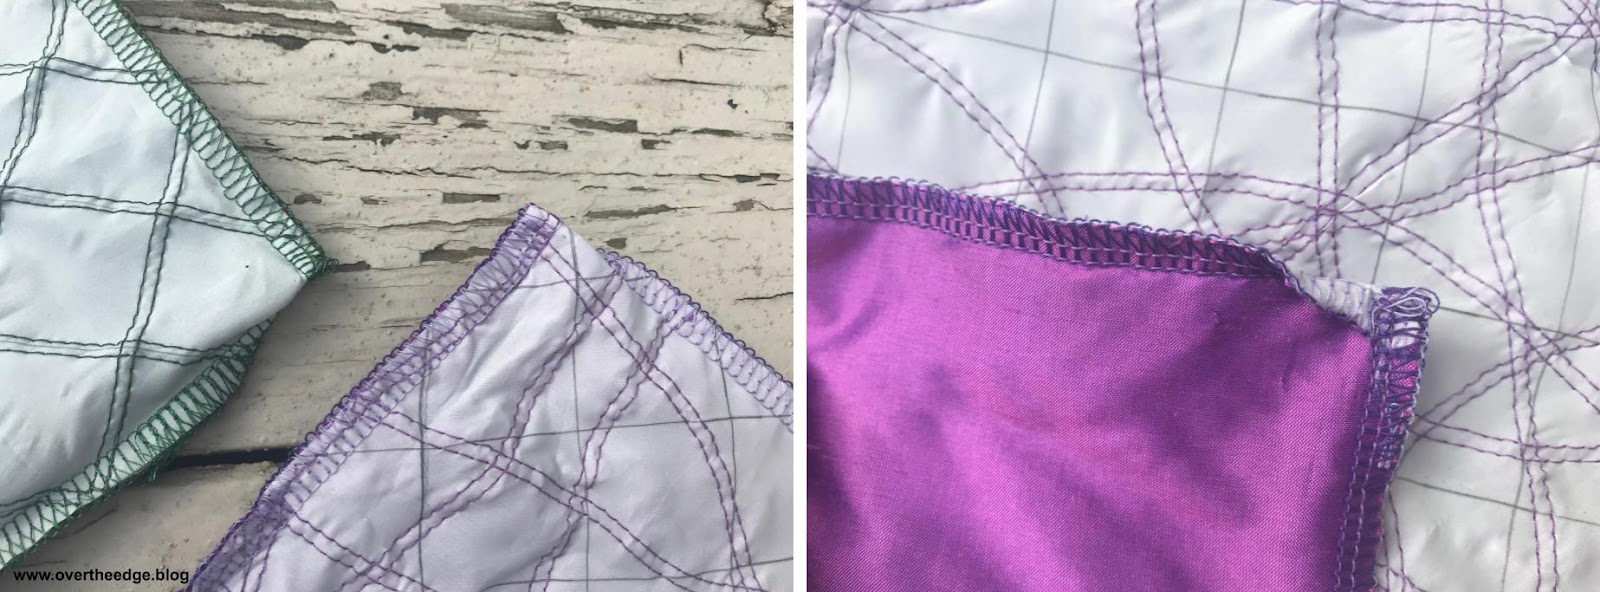
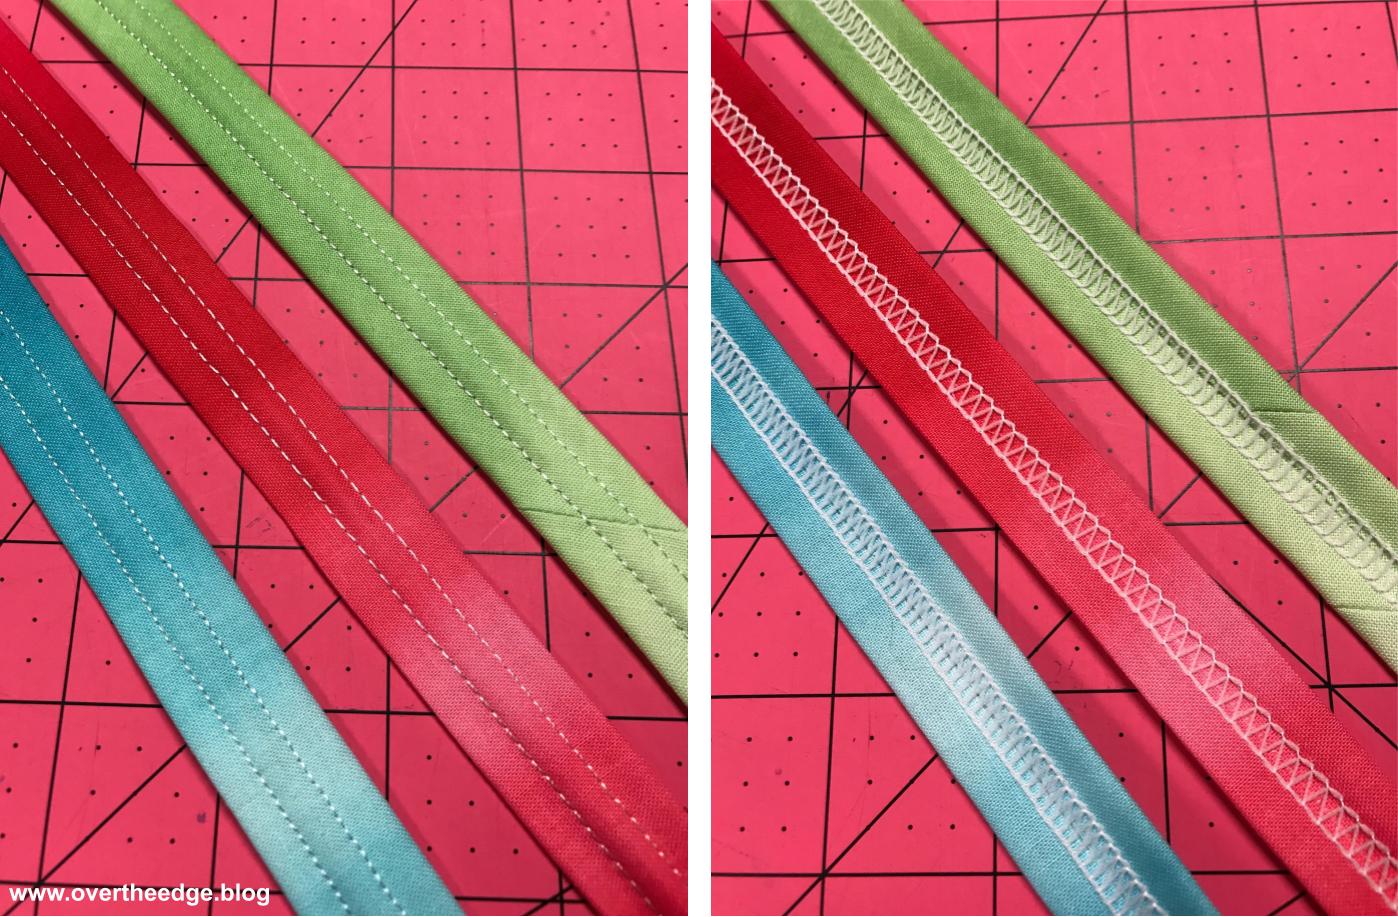
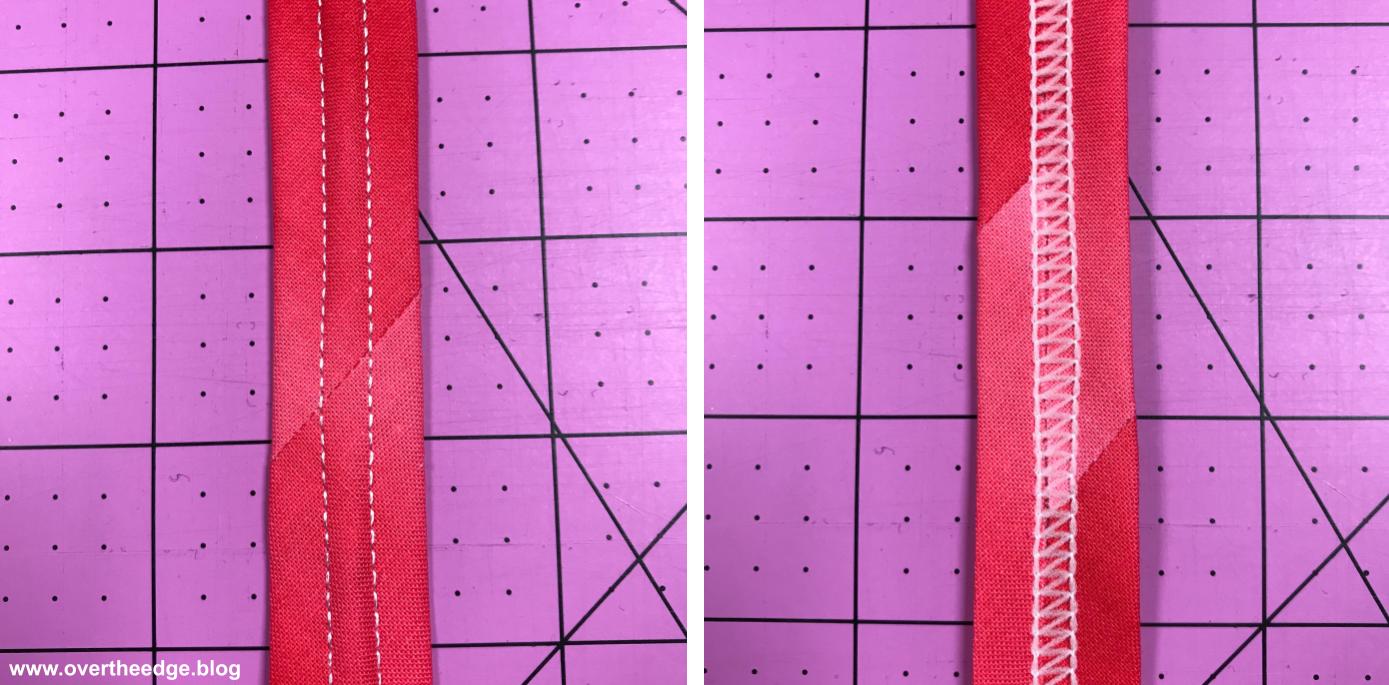
Using quilting weight cotton fabric I made fabric “ribbons” using three different attachments that I have for my serger. All three attachments are meant to be used with a cover stitch and fold under the raw edges of the strips to conceal them within the fabric and/or stitching. I used a wide cover stitch for the large belt loop attachment and a narrow cover stitch for both the smaller belt loop binder and the double fold bias binder. I tried each attachment with both crosswise grain and bias grain fabric strips. The red strips in the photo below are bias grain strips and the blue ones are cross grain.

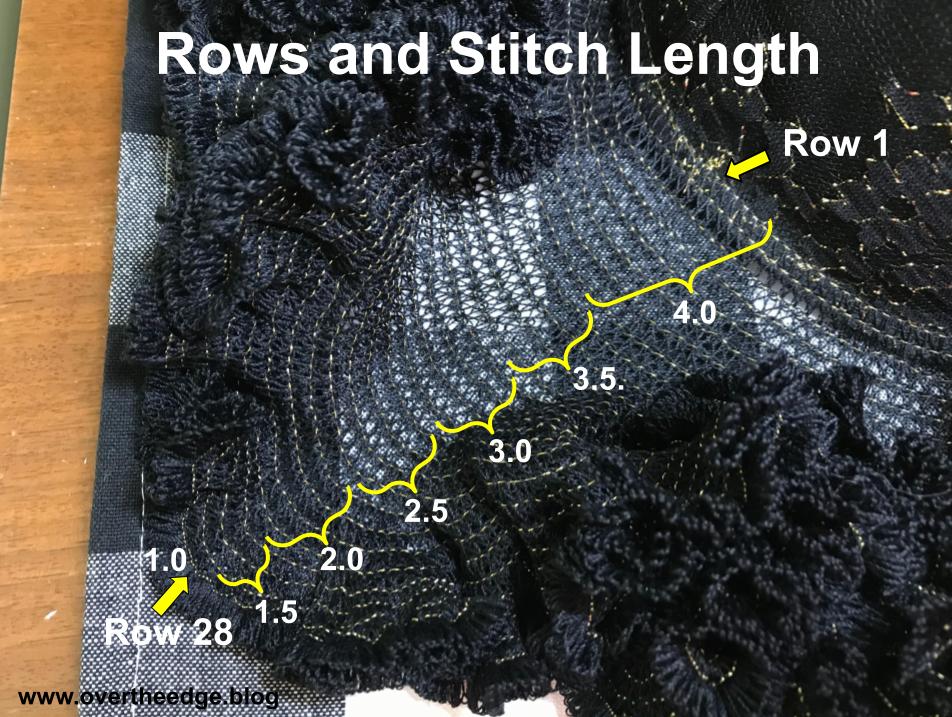
I also experimented with different stitch lengths. The blue belt loop was serged at a stitch length of 2. the green at a stitch length of 2.5 and the red at at stitch length of 3. See photo below. At stitch lengths less than 3 on my Baby Lock serger you lose the ability to chain off with the cover stitch, but the shorter stitch lengths cover the raw edges better. I used embroidery thread in the needles and wooly nylon in the looper for better coverage of fabric raw edges.
Serger Attachments
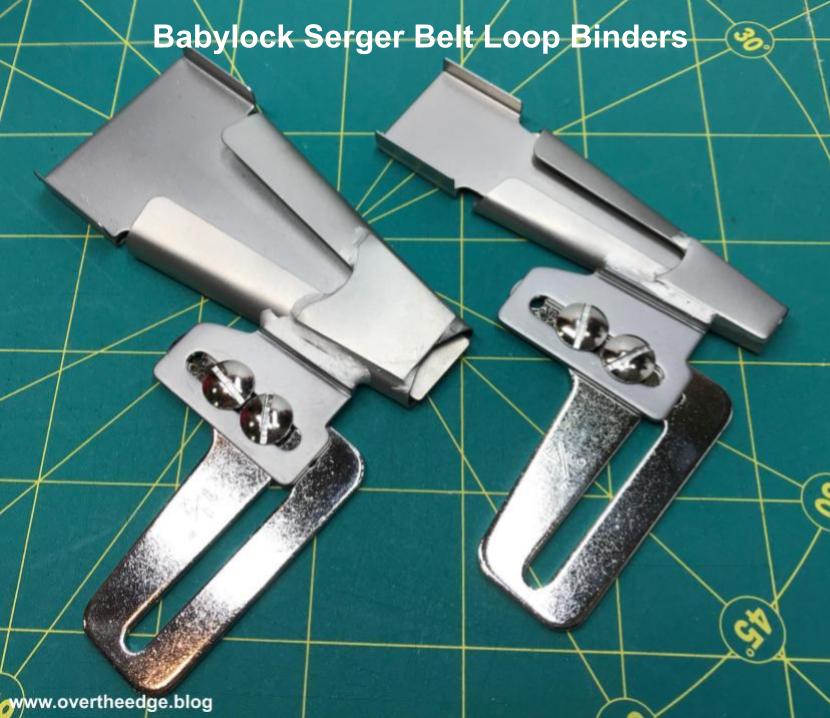
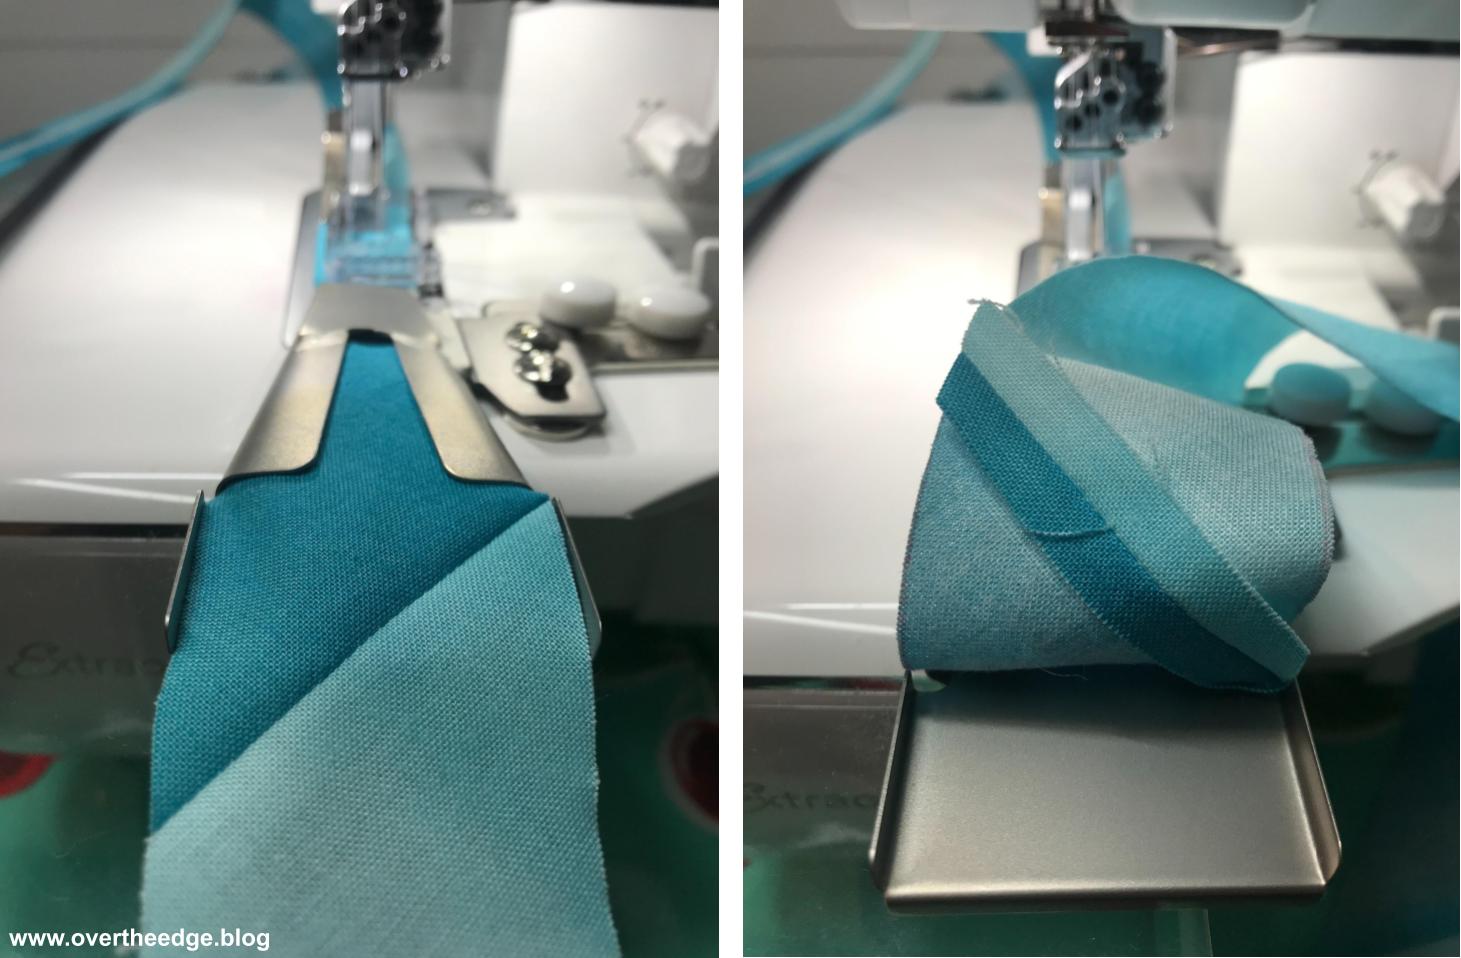
Belt Loop Folder/Binder Attachment
Baby Lock makes two different sizes of belt loop binders – 1½” and ¾”. The larger one makes finished belt loop strips that are about ¾” wide. The smaller one makes finished belt loop strips that are about ⅜” wide. The fabric is folded once and therefore the finished strips have two layers of fabric. There is a link to my belt loop binder tutorial in the Resources section at the bottom of this post if you would like more information about this attachment.


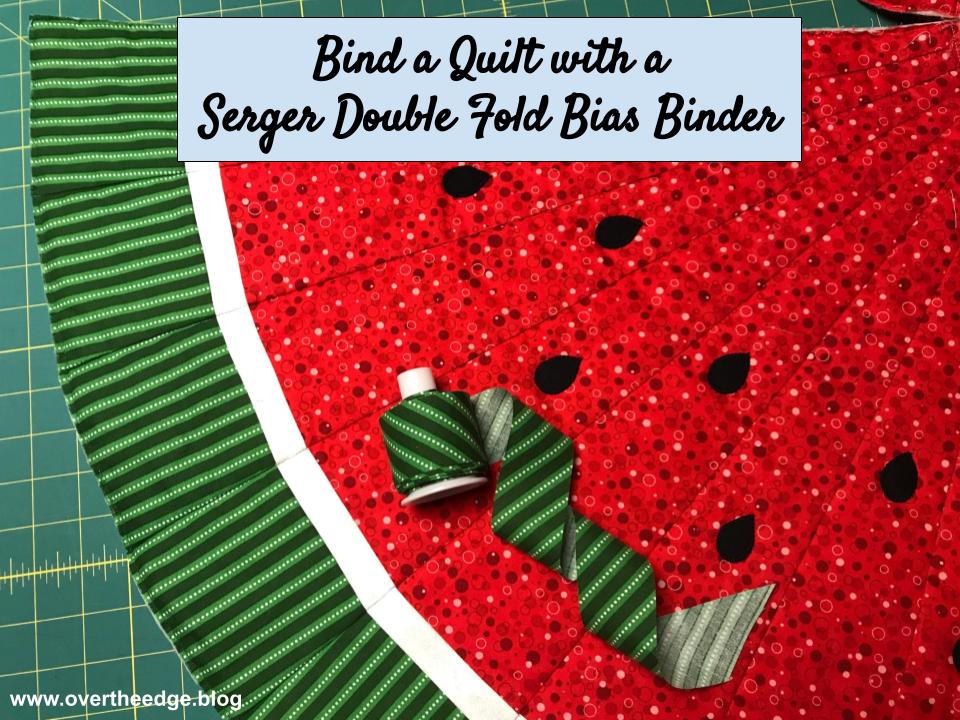
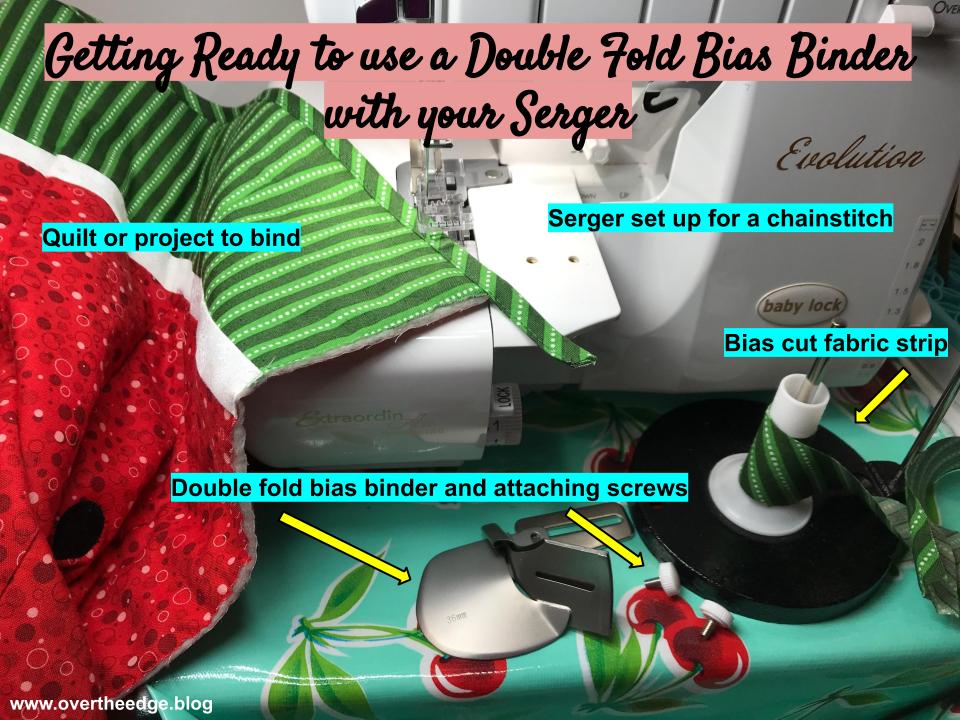
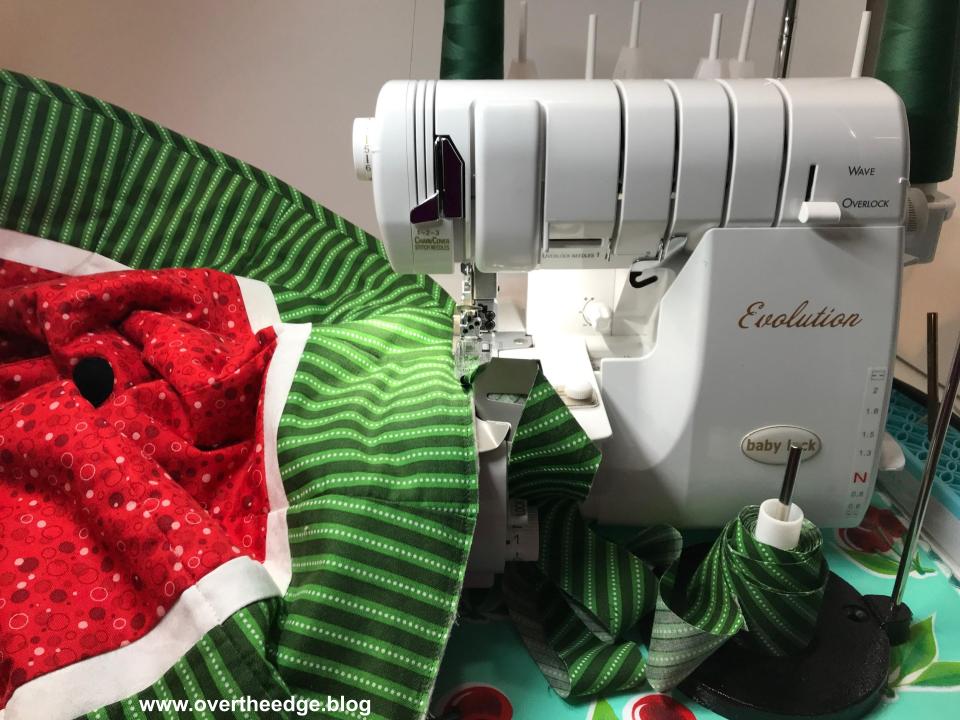
36 mm Double Fold Bias Binder Attachment
A serger double fold bias binder attachment can also be used to make finished binding strips that work well for making ornaments. This attachment makes finished binding that is about ⅜” wide. Since these strips are folded twice, there are four layers of fabric in the finished binding strip.
Normally when using this attachment to bind an edge you have to guide both the binding strip and the fabric you are binding. But for making fabric ribbons for ornaments you only have to guide one piece of fabric because you are not attaching the binding to anything.
There is a link to my double fold bias binder tutorial in the Resources section at the bottom of my post if you would like more information about this attachment.


Fabric Grain and Strip Width
Can you use Both Cross Grain and Bias Fabric Strips in the Attachments?
Both crosswise grain fabric strips and bias fabric strips will work in the belt loop binder attachment and the double fold bias binder attachment. But you may need to adjust the width of the cut fabric strips for best results depending on whether you use cross grain or bias layout. Interestingly, I found that the cut strip width recommended in the instructions worked well for the crosswise grain strips, but not so well for the bias cut strips. For me the bias cut strips folded better when I added another ⅛” to the width of the cut strip.
The chart below lists the best cut strip widths for the quilting cotton fabric I used in this comparison:
| Attachment | Grain | Cut Strip Width |
| 1½” Belt Loop Binder | Crosswise | 1⅝” |
| 1½” Belt Loop Binder | Bias | 1¾” |
| ¾” Belt Loop Binder | Crosswise | ⅞” |
| ¾” Belt Loop Binder | Bias | 1” |
| 36mm Double Fold Bias Binder | Crosswise | 1⅜” |
| 36mm Double Fold Bias Binder | Bias | 1½” |
Which Grain Makes the Best Ornament?
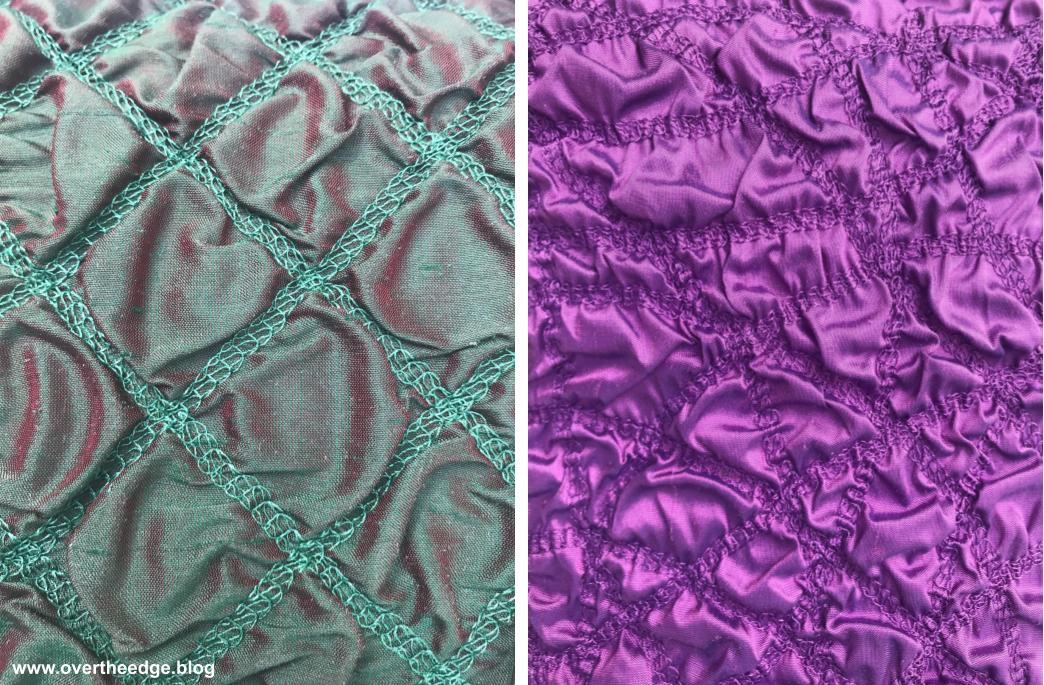
The fabric strips I use for weaving work well on the cross grain because weaving is done in a straight line. However, for the ornaments, I think the bias fabric strips work better because of the curves. The loops of the ornaments look smoother using bias fabric strips. See photo below for a comparison. The tree ornament on the left was made using a crosswise grain belt loop strip and the ornament on the right was made using a bias belt loop strip. The curves of the cross grain loops tend to slightly buckle. The curves of the bias grain loops are much smoother. So although I prefer to use the bias belt loop strips for my ornaments, the cross grain strips will work. So should you use cross grain fabric strips that are easier to cut or bias strips make a smoother curve? The decision is yours.

With or Without Interfacing?
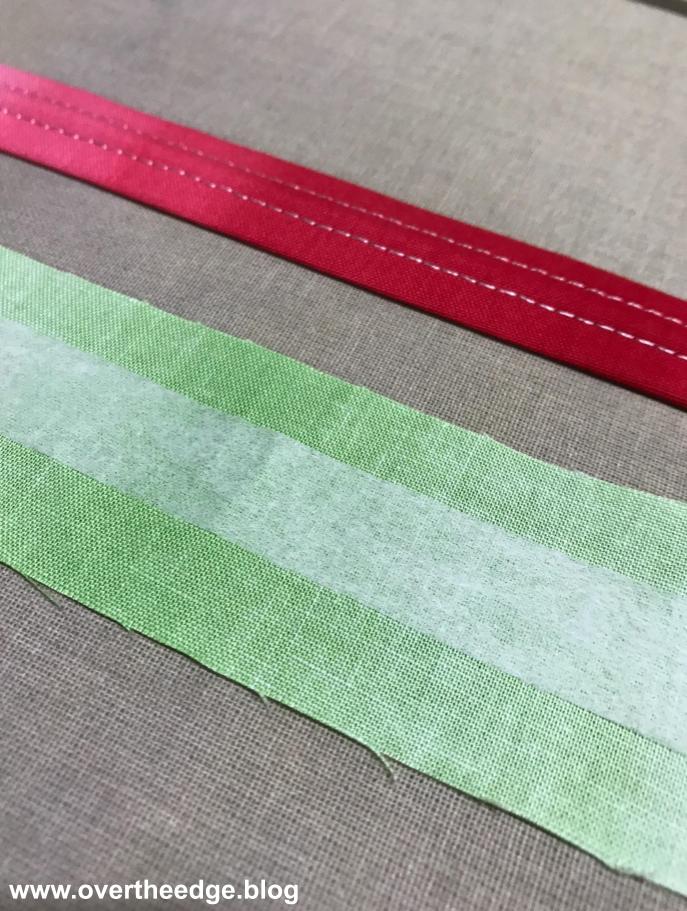
Both Sara and Mathew used interfacing in the fabric ribbons they used to make their ornaments. I experimented with using interfacing on a crossgrain strip for the 1½” belt loop binder.
The first strip I serged without interfacing (red). The second strip I added a strip of light weight fusible interfacing to the strip (green). I fused a ⅝” wide piece of interfacing to the center of the wrong side of my fabric strip. I made my interfacing ⅛” smaller than the finished width of the belt loop, so the edges were not too stiff for proper folding.
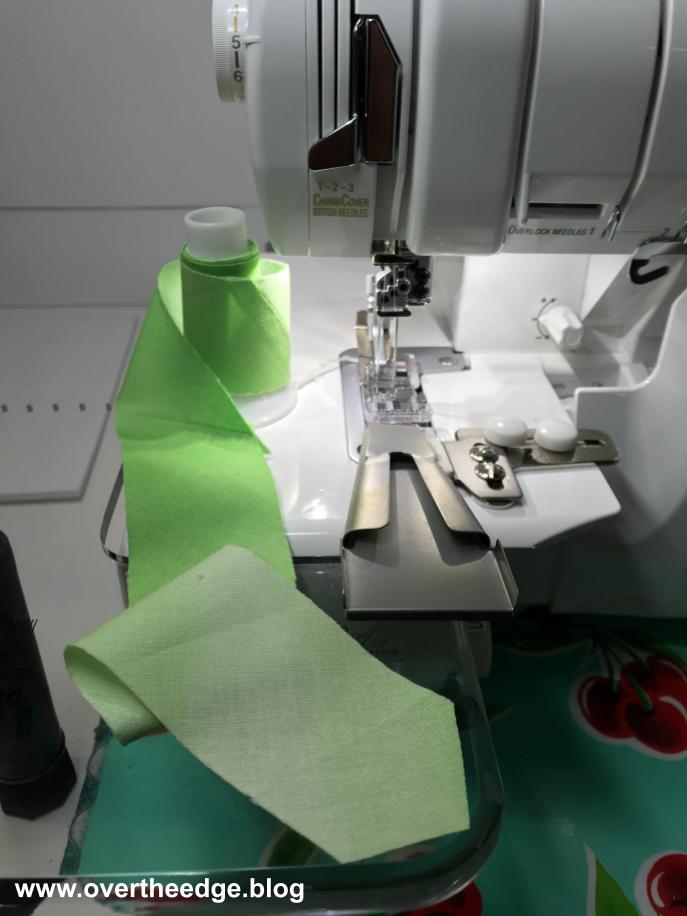
Sara used a stabilizer in her example. She did not pre fuse it to the fabric. She fed it into the attachment as she was feeding in the fabric. I tried this method a few times and couldn’t get the hang of it it. So I decided to fuse the interfacing to the fabric before I fed it into the attachment.
The bias belt loops I used in the ornaments seemed to hold their shape fine, so I didn’t feel the need to add interfacing.
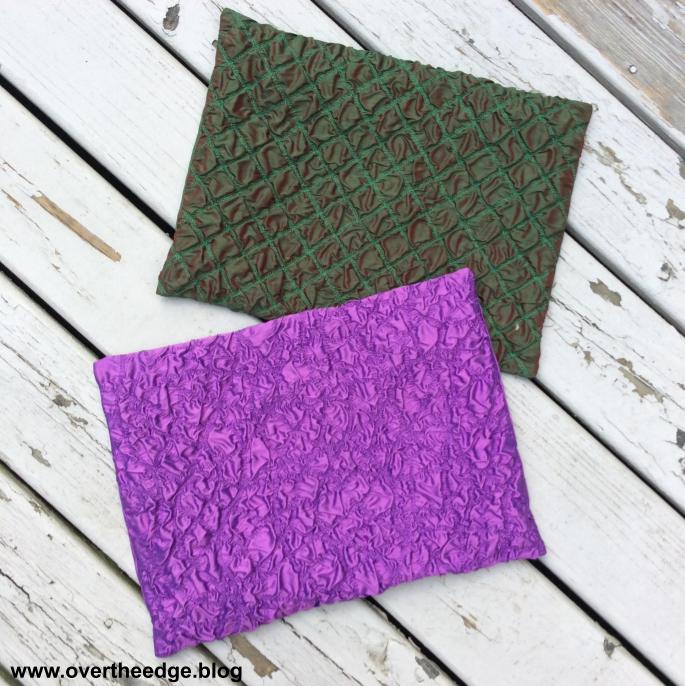
I made a tree ornament from both strips to compare the results. The loops on the green tree are more stable with the interfacing added. The loops on the red tree ornament without interfacing are softer and more prone to bending. So both methods of making belt loop fabric will work. You will get a sturdier ornament with the interfacing and a softer one without it.

Tips for Success Using Fabric Strips in a Serger Attachments
Press Seams Open
Make sure that seams in the fabric strip are pressed open and stay open when feeding into the attachment. When the seam allowances flip together, those areas may be too thick for the attachment to fold the fabric properly.
Minimize Number of Seam Allowances
Make your bias fabric strips from large pieces of fabric with as few seams as possible. The more seams in your bias strips, the more chances for them to flip the wrong way and cause “blips” in your perfectly folded belt loops. This is also true of seam allowances in cross grain fabric strips.
Avoid Intersecting Seams
The attachment can easily fold one pressed open seam.
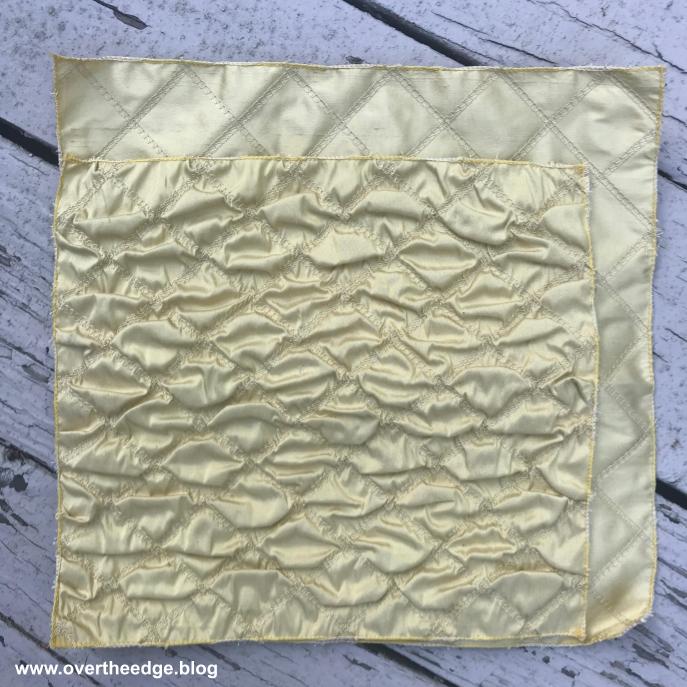
But not two intersecting seams. You will always be disappointed with the folding results of intersecting seams in your belt loop fabric. The attachment just can’t fold the extra thick areas nicely. See example below where two perpendicular seams in the bias fabric strip come together and see how the attachment can’t fold it under.

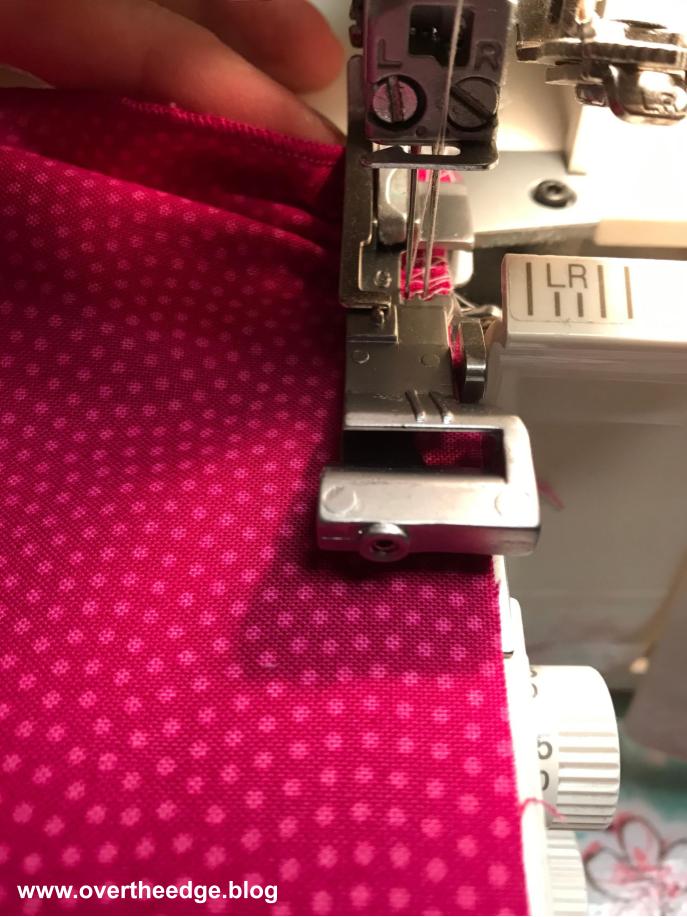
Raw Edges Not Being Caught in the Stitches
If your raw edges are not catching in the stitches there are a couple of reasons why that might be happening.

Check the Width of your Fabric Strip
It could be that your strip isn’t wide enough. Different fabrics and even different grains within the same fabric can fold differently. The initial bias strips that I cut at 1⅝” wide (per the instructions) and fed into the belt loop binder weren’t wide enough to always catch the raw edges in the stitching. So I cut my bias fabric strips a little bit wider to 1¾” (just an extra ⅛”) and the problem went away. The cross grain strips cut at 1⅝” folded well as they went through the attachment.
Check the Placement of your Attachment
Not having the needles centered within the fabric strip can lead to raw edges on the back not being caught by the stitches. You should test your attachment line up and adjust as necessary.
Pay Attention to the Fabric Strip as it Feeds into the Attachment
How the fabric is fed into the attachment can affect whether or not the raw edges get folded under properly and captured within the stitches. Make certain your fabric strips are feeding into the attachment smoothly and evenly, centered within the feeding slot on the attachment. Pay special attention to the pressed open seam allowances to make certain they don’t flip as they enter the attachment.
Fabric Buckles and Folds
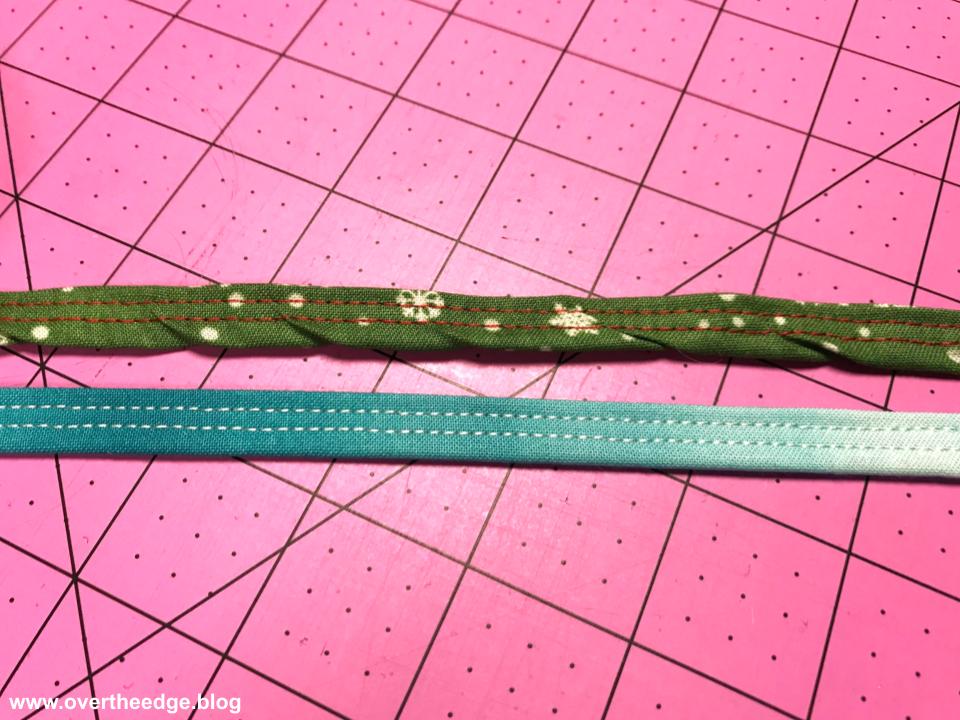
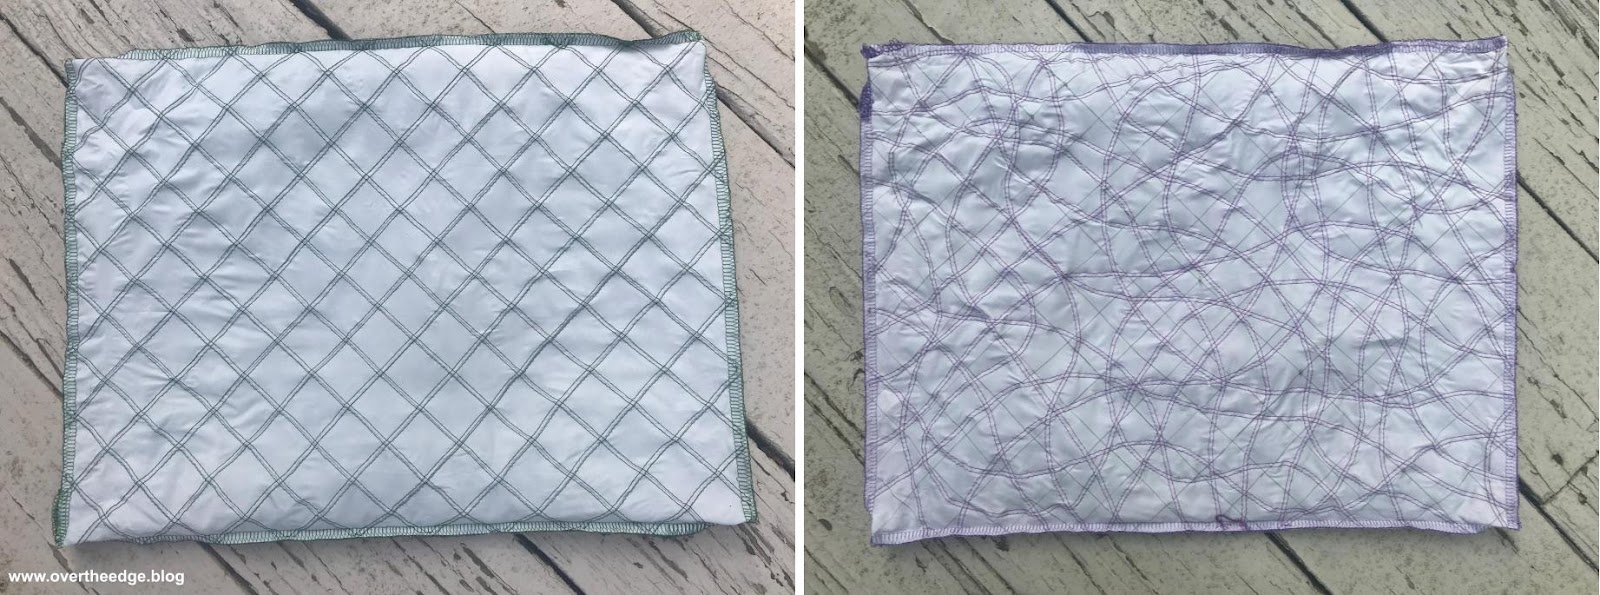
If the fabric strip is too wide to fold properly, it will buckle, fold and twist as it is folded within the attachment and stitched. The direction of grain in the strips, as well as the properties of the fabric itself can make a difference in the “right” width, so you may need to experiment to get your strips looking their best. In the photo above, there are two double fold bias binding strips, both cut on the cross grain of the fabric. The green one was cut at 1½” wide and was just a little too wide for the attachment, and it buckled, folded and twisted as it went through the attachment. And those folds and twists were stitched right into the strip. The blue one was cut at 1⅜” wide, and folded well in the attachment to create a nice smooth strip.
In Conclusion
All above methods of making fabric “ribbons” on a serger yielded good results for making ribbon candy tree ornaments. If you prefer the look of an ornament made from ⅜” wide fabric ribbons then I would use the smaller belt loop binder or the double fold bias binder. If you prefer the look of an ornament made from the ¾” wide fabric ribbons then I would use the 1½” belt loop binder.

Get My Instructions for Making Ribbon Candy Tree Ornaments
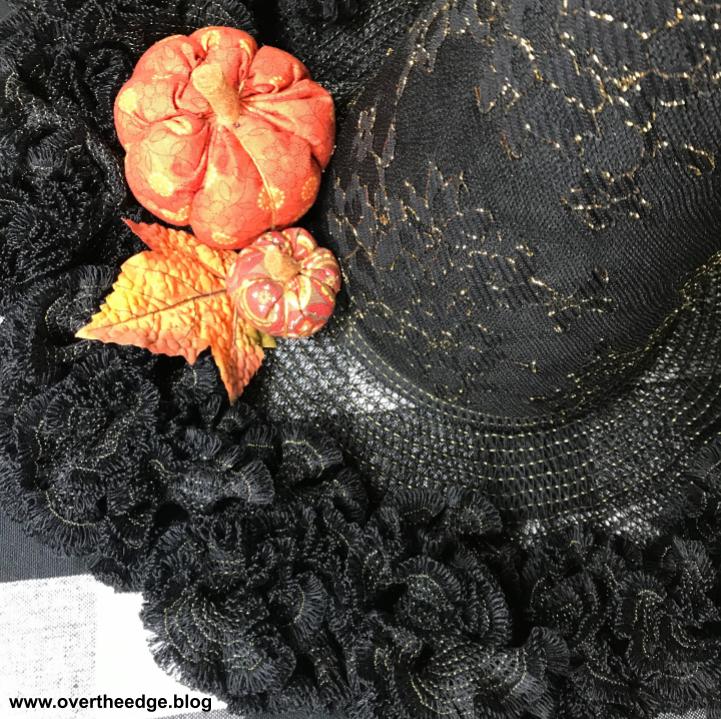
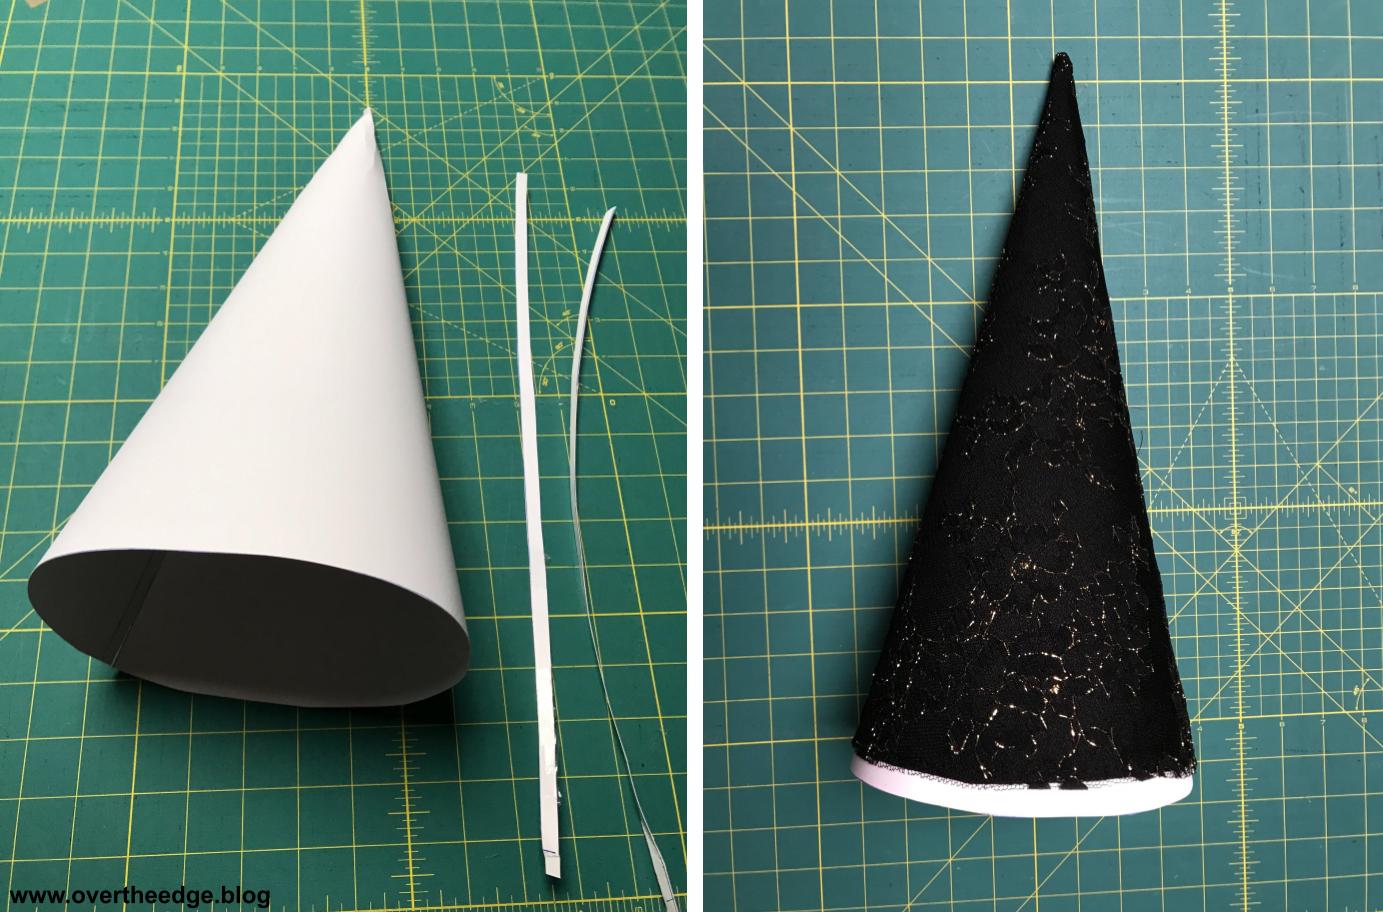
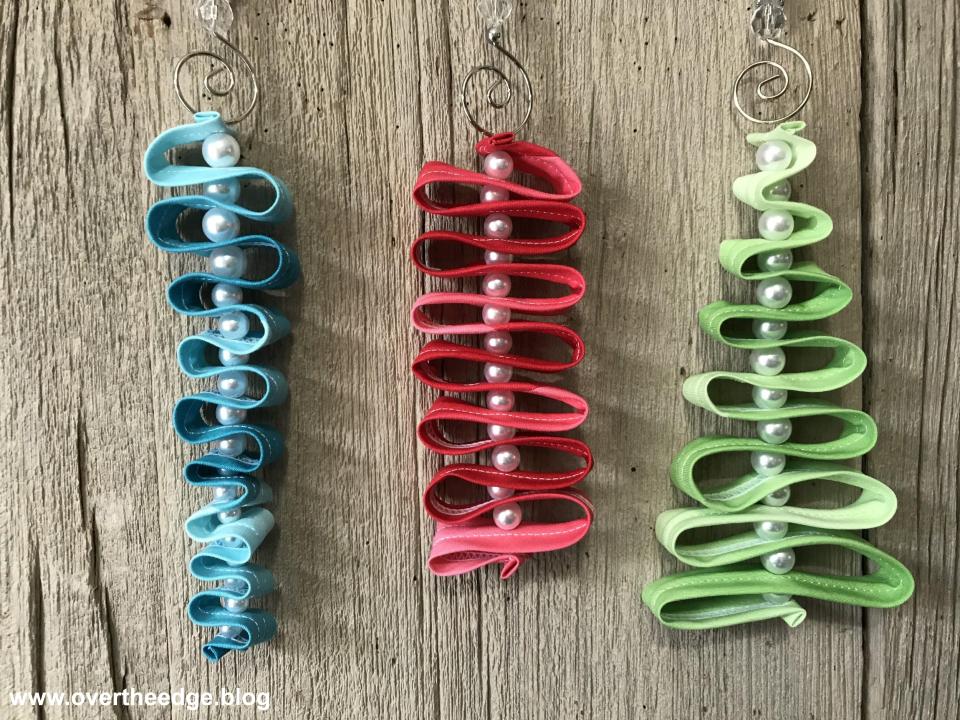
For my Ribbon Candy Tree Ornament Tutorial, I chose to use the bias fabric ribbons without interfacing made with my 1½” belt loop binder attachment. I wanted to make “large” ornaments which I thought worked best with the larger ribbon produced by this attachment. I created my own version of three different ornament shapes – a tree, an icicle and a piece of ribbon candy – and have shared my instructions with you in my Ribbon Candy Tree Ornament Tutorial for Sergers. Here is the link: https://overtheedge.blog/tutorials/ribbon-candy-tree-ornament-tutorial-for-sergers/
Feel free to experiment and find your favorite combination. I hope you enjoyed learning about how to make tree ornaments with your serger. I would love to see the ornaments that you create!

Resources
My tutorial on using a serger belt loop binder – https://overtheedge.blog/tutorials/how-to-use-a-serger-belt-loop-binder-to-make-folded-fabric-strips-for-weaving/
My tutorial on using a serger double fold bias binder – https://overtheedge.blog/tutorials/serger-double-fold-bias-binder-tutorial/
How to Make your own Continuous Bias Binding – https://sew4home.com/how-to-make-your-own-continuous-bias-binding/
Let’s Make a Serger Christmas Ornament post by Sara Gallegos of The Decorative Stitch – https://www.decorativestitch.com/lets-make-a-serger-christmas-ornament.htm
Strip Tree Ornament post by Mathew Boudreaux of Mister Domestic – https://misterdomestic.com/2017/11/20/strip-tree-ornament-ornament-along-8/